Contents
- What is an establishing shot
- How an establishing shot works in a sequence
- What an establishing shot must communicate
- Choosing the right establishing shot size: wide, extreme wide, or macro
- Movement, parallax, and the drone problem
- Re-establishing shots: the fix for scenes that start to feel like coverage
- Sound and on-screen text can establish a scene faster than a skyline
- How to establish on a budget: macro cues, smart wides, stock plates
- Frequently asked questions
A mistake I see constantly: an artist opens a sequence with two characters talking, and I have no idea where they are. Kitchen? Alley? Spaceship? The artist knows, but I’m left guessing.
If I’m spending panels figuring out the location, I’m not following your story. Most readers won’t stick around to finish.
An establishing shot solves this. It’s the first shot of a scene, and it tells the audience where they are, whose space it is, and the mood of the place before anyone speaks.
By the end of this, you’ll know how to create one that handles orientation, emotion, and story all at once. You’ll also learn how to make it clear in your storyboards, so anyone flipping through your portfolio gets it instantly.
What is an establishing shot
An establishing shot is the first shot of a scene. It answers three questions: where are we, when is this happening, and how close or distant do these characters feel. It doesn’t have to be wide. It just has to do its job.
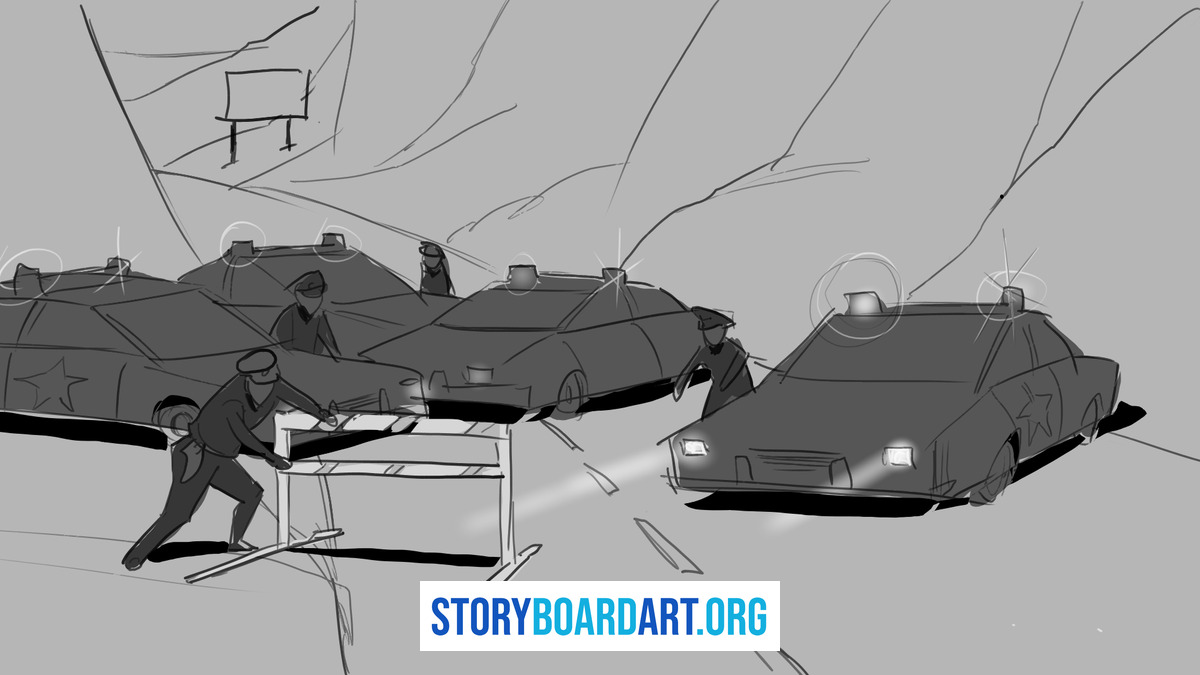
Too many artists think it’s about the camera setup. You don’t need a drone shot of a city skyline. A close-up of a wedding ring on a messy nightstand can say everything about a marriage, a mess, and a mood.
In your storyboards, this panel is where you prove something. Anyone can draw a wide shot of a building. Few can choose the one shot that sets geography, time, and emotional distance on purpose. That decision happens in panel one.
How an establishing shot works in a sequence
An establishing shot does four things, in order.
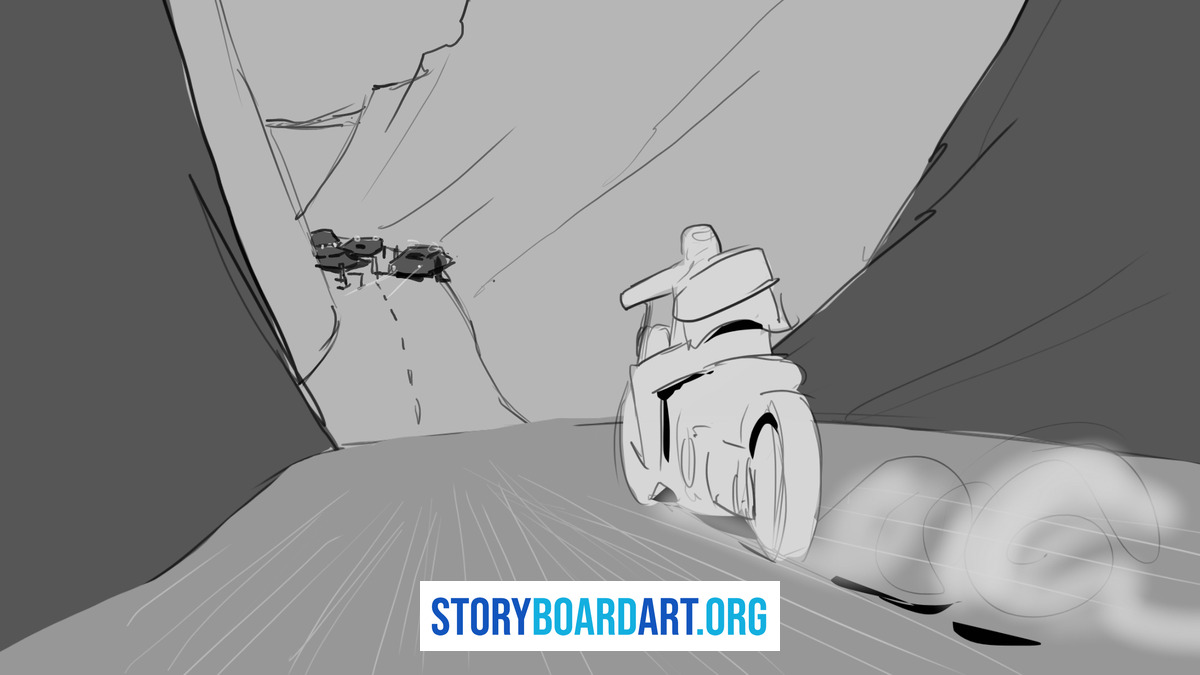
Step one: it draws the map. Where are we, and how big is the space? A kitchen reads differently than a warehouse. Answer that fast, and every panel after becomes easier to follow.
Step two: it sets how close the reader feels. Most artists skip this, and it’s crucial.
Robert Dalva, an Oscar-nominated editor, taught me this while I was working on Star Wars: The Clone Wars. The camera is the audience. The closer it sits to a character, the more the viewer relates. The further away, the less connected they feel. Story artists make this call early, sometimes before the cinematographer even joins. You have to know how the camera will make the viewer feel.
Step three: it points at what comes next. Light, movement, or where you place a character should hint at the next beat. A character looking toward a doorway makes the cut feel earned.
Step four: it closes the distance on purpose. Three shot sizes, three jobs:
- Wide shot: what’s the situation.
- Medium shot: who’s here and where they stand.
- Close shot: what this person is feeling or deciding.
Moving through these, wide to medium to close, isn’t a rule. It’s about delivering information in the order the reader needs it.
On the panel, write three things: the location, a time-of-day cue, and one line naming what the reader should notice first. A director or editor should get it without asking.
For more shot choices, see Camera Angles for Storyboard Artists: A Complete Shot Guide.
What an establishing shot must communicate
Before drawing, answer these four questions. Miss one, and the reader guesses. Guessing readers stop trusting your boards.

Place. Not the city. The room. “New York” tells nothing. “Kitchen, dishes piled in the sink” tells everything. Specific beats broad every time.
Time. Day or night, what season, and if time has jumped since the last scene. Show it with light and wardrobe, not a caption.
Geography and relationships. Who stands where, what’s close, what’s far, what blocks the path between them, and where the exit is. If a character needs to run for a door in panel six, the reader needs to know where it is.
Meaning. What the place feels like, and what that tells us about the scene. A cramped office reads differently than a wide-open one, even with the same two people talking.
Frame an office wide and clean, and the reader expects calm. Frame it tight and cluttered, and they brace for tension. Same room, same people, different expectation. You set that before anyone speaks.
Here’s the hard rule. Draw arrows across the panel showing where characters can walk, where they can’t, and where they’d run. If you can’t do that in one pass, the shot isn’t established yet. Fix it before moving to panel two.
Choosing the right establishing shot size: wide, extreme wide, or macro
Once you know what it has to do, decide which size works best. You have three options, each a tool, not a preference.
Extreme wide. Pulls back to show a whole landscape or a tiny figure in a huge space. It sells scale and isolation. The tradeoff is distance. Pull back too far, and the reader stops feeling anything.
Wide master shot. Your workhorse for blocking. Shows the room and people clearly enough that the reader always knows who’s near what. For dialogue scenes, this is usually your most useful choice.
Macro establishing. One close detail that tells the reader where or when they are. A street sign. Rain on a window. Worn boots by the door. Use this when a wide shot isn’t possible or would slow the scene down. A single object can do the job of an entire skyline if the reader already trusts it.
Ask this before picking a size: does the reader need a map or a feeling? A map means wide or extreme wide. A feeling often comes from one sharp detail, drawn close, with everything else left out.
Two notes for the board:
- Build the panel in layers. Something in front, middle, and back. That makes even a small panel read as real space.
- If you go macro, add a panel right after showing the wider space. Without it, the detail reads as a random insert. The macro raises the question, and the next panel answers it.
Movement, parallax, and the drone problem
Most of this covers still frames. But many establishing shots move now.
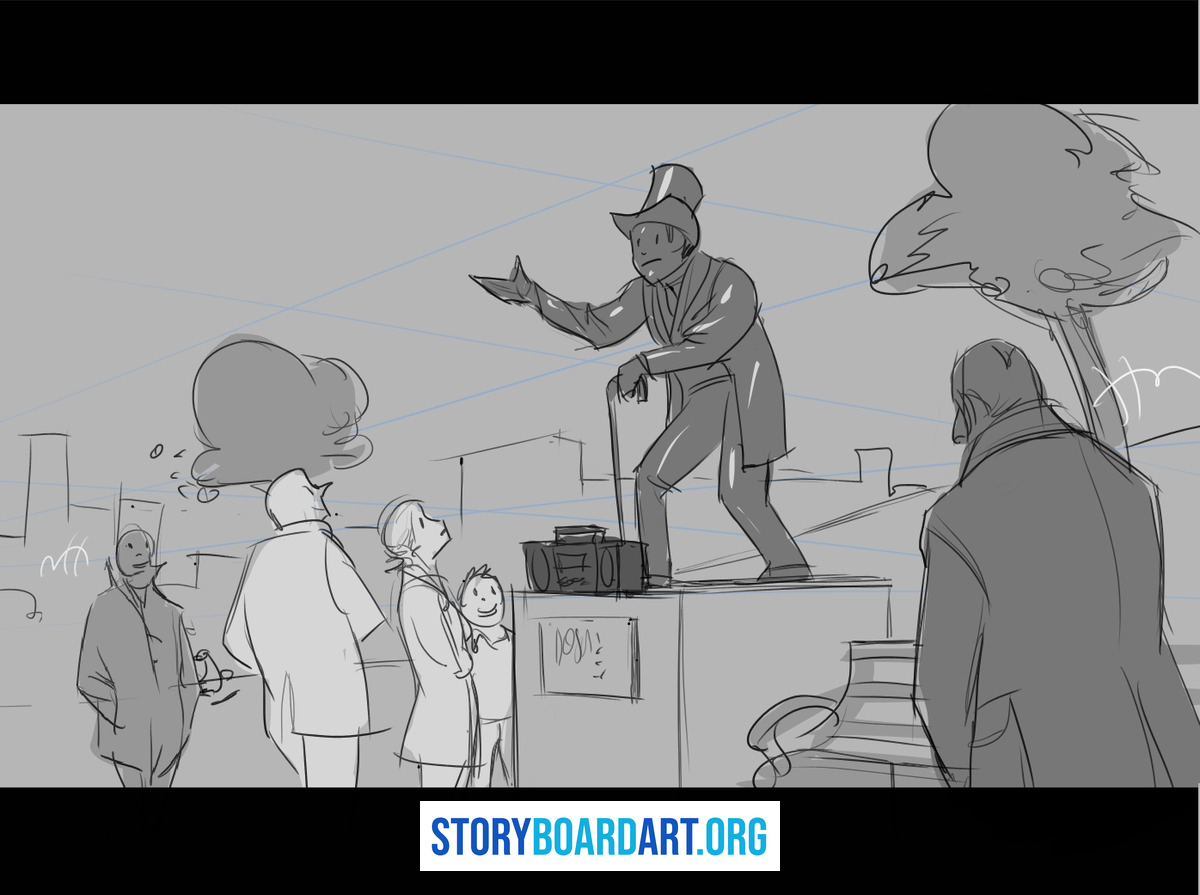
A moving shot reveals space over time. A still shot shows everything at once. A moving shot lets the audience discover it piece by piece.
Parallax makes a moving shot feel real instead of flat. Things close to the camera move faster than things far away. Picture a fence post whipping past while a mountain barely shifts. That speed difference sells depth and scale in a way a still wide shot can’t.
Here’s the uncomfortable truth. A drone shot that drifts over a city, with nothing changing and no new information, is filler. It looks expensive but tells the reader nothing they didn’t already know.
For the board:
- Draw the camera’s path with one clear arrow.
- Show two or three key poses along that path.
- Label what changes during the move: what gets revealed, who enters the frame, where the focus lands by the end.
Use this test. Freeze the first panel of the move. Can the reader still tell where they are?
If not, the movement is doing essential work.
If yes, it had better be doing emotional work instead, building tension or pulling the reader closer to someone. If it’s doing neither, cut it.
Re-establishing shots: the fix for scenes that start to feel like coverage
Long scenes need re-establishing shots. These are later wide shots that remind the reader where they are, placed after cuts or movement, so their mental map stays accurate.
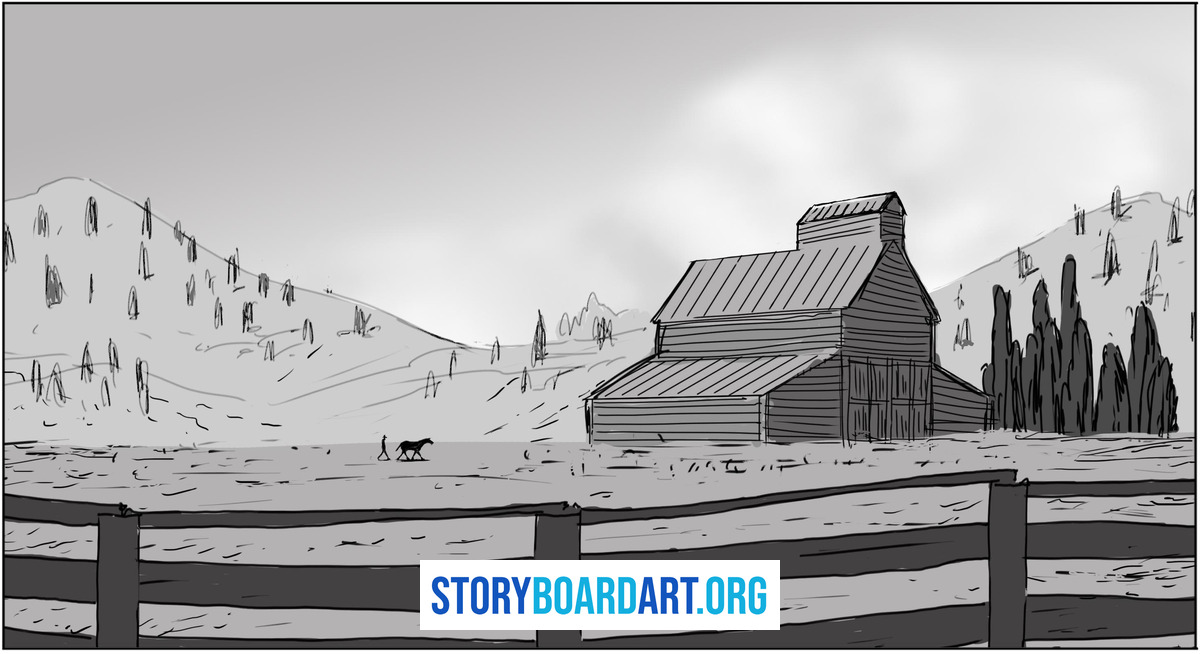
You need one when:
- Long dialogue with several angles. If you’ve cut between two faces ten times, and a third character walked in, the reader may have lost the room.
- Action that crosses the space or changes levels. A fight that starts by the door and ends by the window needs a shot that says so.
- A run of close shots with no spatial reminder. Three or four close-ups is fine. Six or seven, and the reader starts guessing where everyone is.
A weak re-establishing shot just repeats the opening wide. A strong one updates the geography and shows consequence: the mess from the fight, the crowd that’s grown, the danger that’s crept closer.
This is a common portfolio issue. The first wide shot is fine. By panel 25, the reader can’t track where anyone is, and the sequence reads like random shots instead of one continuous scene.
Placing a re-establishing shot signals something: you track a scene like an editor, not just draw panels. That's the difference Portfolios for Storyboard Artists keeps coming back to: illustrating versus boarding.
Sound and on-screen text can establish a scene faster than a skyline
Audiences often know where they are before they see it clearly. They hear it.
A door opens, and you hear traffic. It’s a city before anyone shows you a building. A door opens onto crickets and wind. It’s a forest before you see a leaf. The picture just confirms what your ears already told you.
This matters for your boards. One short note under a panel does the job.
- “City bed, distant siren”
- “Forest insects, no human sound”
A sound bed is the background noise sitting under a scene. That one line tells a reviewer you’re thinking about the whole scene, not just the drawing.
Some shows use a text card. Keep the words minimal: “Chicago, 1998” does the job. Don’t explain the scene. That’s the shot’s job, not the text’s.
Sound also helps at the cut. Carry the same ambient bed from one shot into the next, and the two shots feel glued into one space. Break the sound bed, and the cut feels like a jump to somewhere new.
You don’t need a finished soundtrack or an animatic for a portfolio. One well-placed audio note under a key panel shows you’re thinking past the picture.
How to establish on a budget: macro cues, smart wides, stock plates
Most productions can’t afford a crane, a permit, or a flight to a real location. That’s the budget talking. Your boards should show shots that can actually get shot.
Three approaches solve this.
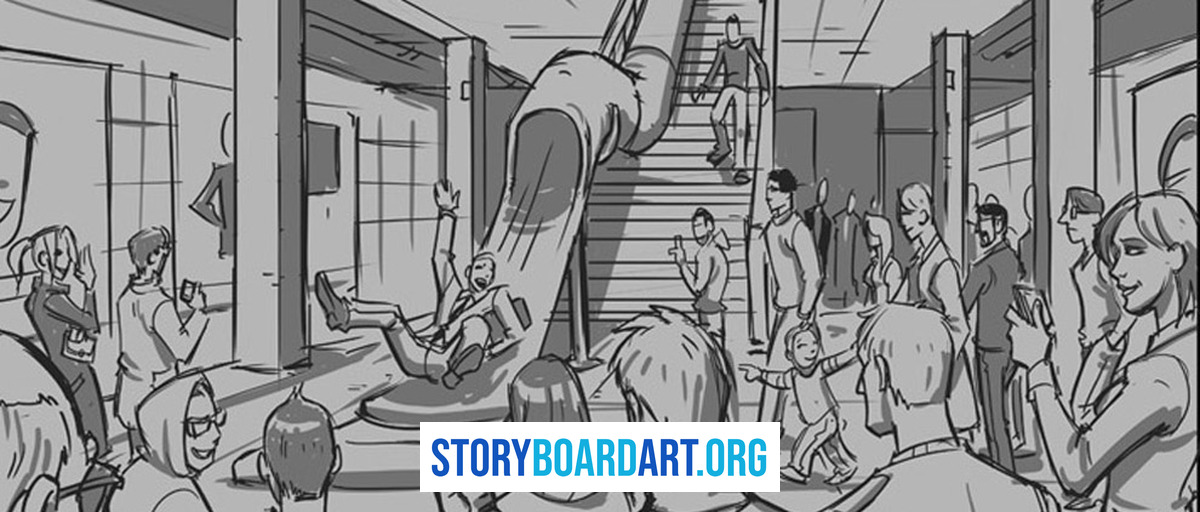
Smart wide from ground level. Find a doorway, hallway, or corner that shows the whole space the scene needs. No crane, no wide lens, no permit. A camera standing in a doorway can read as an establishing shot if framed right.
Macro establish plus confirm. Open on one close detail that tells the reader where they are. Then cut to a medium shot that confirms the room. This saves a full location build.
Stock plate insert. Use a licensed exterior shot, then cut inside to a set the production can actually afford. A stock plate is footage or a photo already shot, licensed for reuse.
If you board a stock plate, match three things: aspect ratio, light direction, and color grade. Add a matching ambient sound bed so the cut inside doesn’t feel pasted together.
One habit matters here. If you’re boarding a stock plate, label it. A production that doesn’t know your wide shot was meant as licensed footage will waste time trying to figure out how to shoot it themselves.
Frequently asked questions
Do you still need an establishing shot in modern filmmaking?
Yes. What changes is the shape it takes, not whether you need it. Sometimes it’s a full wide shot. Sometimes it’s a fast close detail paired with a sound cue or a text card followed by a wide interior shot. The job never goes away: a viewer with no context should know where they are within the first few seconds.
How long should an establishing shot be in storyboards?
Usually one strong panel. Sometimes two, if the shot involves a reveal or a camera move that needs a beginning and end point shown separately. If you’re drawing five panels just to explain where the scene is happening, that’s a warning sign. The staging is unclear, or the camera move is carrying more weight than it should.
What is the difference between a master shot and an establishing shot?
A master shot is coverage: a wide take of the scene you could play from start to finish to understand where everyone stands and how they move. An establishing shot is whatever shot makes the scene readable the moment it opens. Often, the same shot does both jobs. But not always.
How do I avoid the generic drone establishing shot look?
Make the shot earn its screen time. A drone shot that only shows scale, with nothing changing and no story information arriving, is filler. Give it a reveal, a story clue, or a clear mood statement instead. If all you need is scale, consider a grounded wide with strong foreground layers.
Where should an establishing shot go in a storyboard portfolio sequence?
Put it where a reviewer sees it first: panel one, doing its job cleanly. Then spend the rest of the sequence proving you can collapse that distance on purpose, moving from wide to medium to close as the scene turns, and re-establishing when the space or stakes change.
If you want help tightening a full sequence around this, our free storyboard portfolio training walks through what that looks like from panel one to the last cut.
