Contents
- What is the 180-degree rule?
- How to apply the rule in a storyboard workflow
- Coverage that holds: shot reverse shot and movement
- Multiple characters and crossing the line on purpose
- Breaking the rule on purpose, and a worked example
- When to follow the rule and when to bend it
- Frequently Asked Questions
- Is the 180-degree rule mandatory?
- What's the difference between the 180-degree rule and the 30-degree rule?
- How do I handle the rule in a tiny room where I can't position the camera?
- Can I fix a line break in editing or an animatic?
- Does the 180-degree rule change for vertical video?
Your panels look fine on their own. But when the sequence cuts? Characters mysteriously swap sides. It reads wrong, and you can't figure out why.
Drawing skills aren't the issue. Your lines might be crisp and clean. The problem lies deeper. It's spatial continuity.
Enter the 180 degree rule, borrowed from film. Imagine a line between your characters. Keep the camera on one side of it, and left stays left, right stays right across every cut.
By the end of this, you'll spot the axis in your boards, plan camera positions before putting pencil to paper, manage three or more characters, and break the rule intentionally without it looking like a mistake.
What is the 180-degree rule?
The 180 degree rule is about continuity. It keeps the camera on one side of an imaginary line between two characters. This ensures left and right stay consistent shot to shot, so viewers always know who's where.
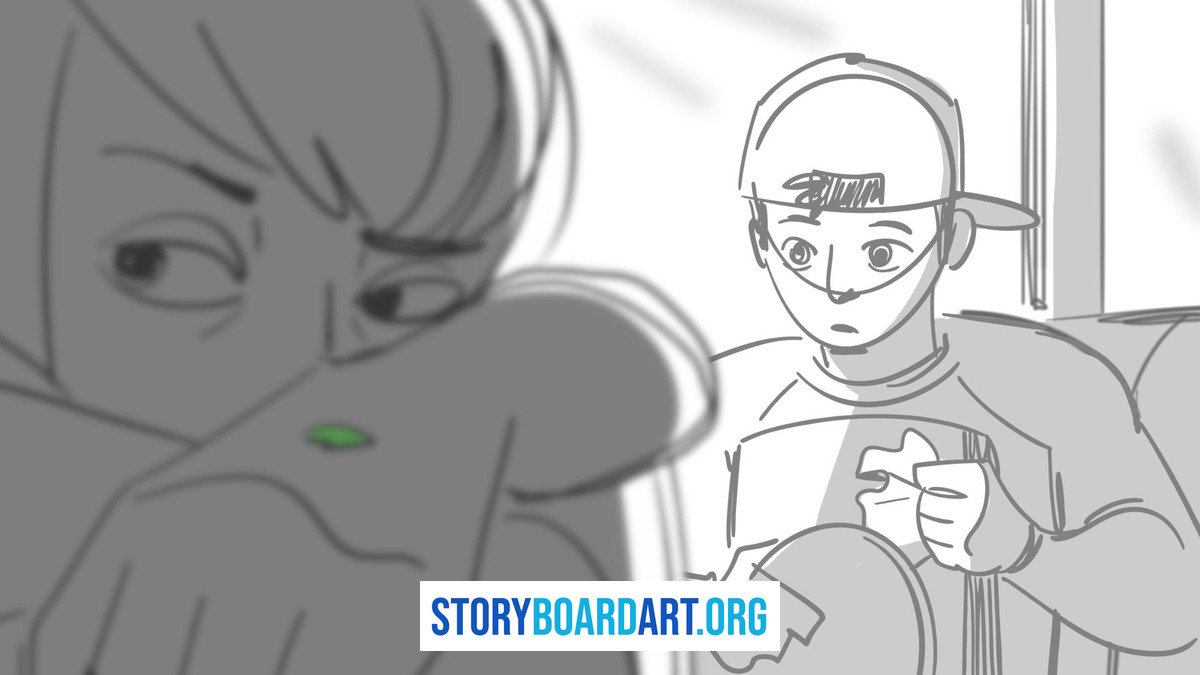
Break it accidentally, and you've either "crossed the line" or "jumped the line." Both mean the same thing: the camera moved to the wrong side, flipping a character's position. Viewers sense something's off, even if they can't pinpoint why.
This isn't a law. Pros break it intentionally when the story demands disorientation. The difference is planning. Later, we'll cover how to cross the line on purpose without confusing your audience.
How to apply the rule in a storyboard workflow
Here's how to apply this rule when boarding a scene, and what it's actually protecting.
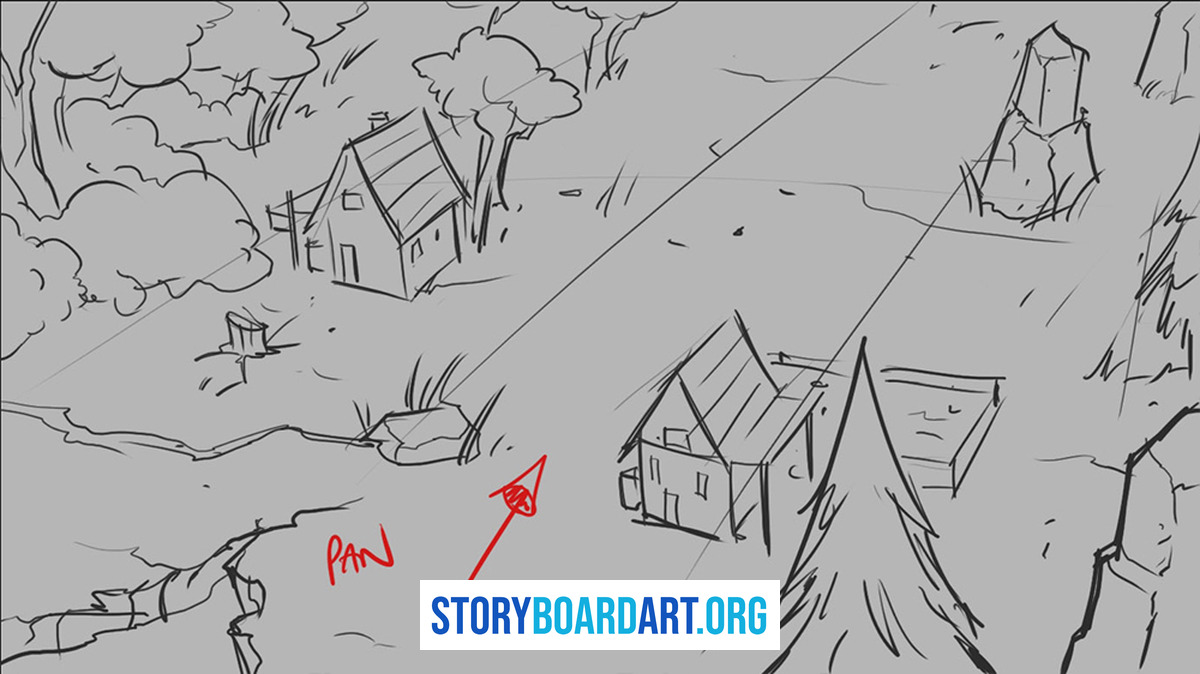
Step 1: Draw the map first. Sketch two stick figures from above, like a bird's-eye view. Draw a line between them. This is your axis of action, the core of the rule. Every shot decision stems from this line.
Step 2: Pick your side. The line splits the space into two halves. Choose one. That's your camera's home for the scene. Stick to it.
Step 3: Lock the directions and write them down. If Character A is on the left, looking right, and Character B is on the right, looking left, jot it down. You'll forget by panel twenty otherwise.
Step 4: Build shots that cut together. Start with a wide shot to establish the scene. Then move to mediums and close-ups, mostly over-the-shoulder shots where the camera looks past one character at the other. Keep every shot on your chosen side of the line. That lets the editor cut cleanly without characters flipping sides.
Step 5: Treat movement as its own line. If a character exits frame left, they should enter the next shot from the right, assuming they're still moving the same direction in reality. Mess this up, and it looks like they turned around mid-walk.
Step 6: Plan any side change on purpose. Sometimes crossing the line is necessary. Use a shot that moves the audience across the space, or follow a character who's walking to the other side. We'll cover this in detail later.
The line is protecting two things at once: screen position (which side of the frame a character occupies) and screen direction (which way they look or move across it). Audiences build a mental map of both, fast and unconsciously, and a line cross rewrites that map mid-scene without warning.
A quick test: label two characters A and B, then draw arrows showing which way they face in each key panel. Flip through and watch only the arrows. If they stay consistent, your geography holds. If they flip randomly, you've found your problem.
Coverage that holds: shot reverse shot and movement
Once you've got your line, you can build the standard shot package for dialogue scenes:
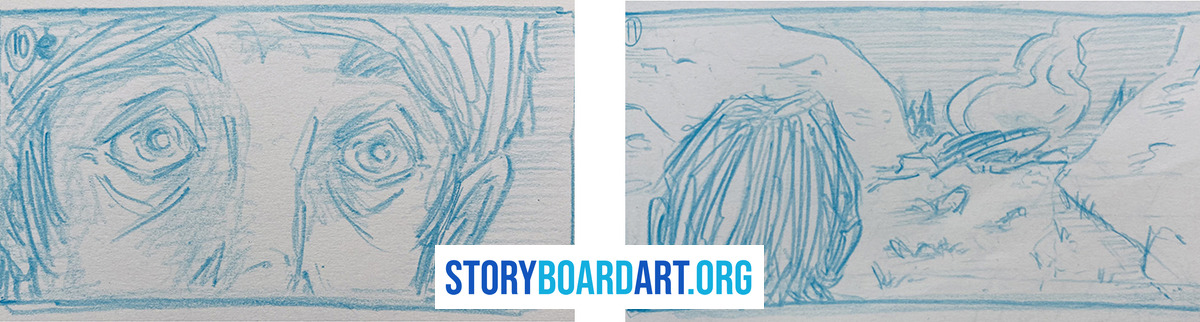
- A master wide. Shows both characters and the room. Editors use this as a fallback.
- An over-the-shoulder on A. Camera sits behind Character A's shoulder, looking at B.
- An over-the-shoulder on B. Same thing, reversed. Camera behind B, looking at A.
- Clean singles or close-ups. Shots of just one face, no shoulder. Use these for high-pressure moments.
One rule makes this work: both over-the-shoulder shots must come from the same side of the line. Break this, and the eyelines stop matching — A will look left at nothing instead of right at B, and the cut will feel wrong. If you can't point to your axis, your shots stop being choices and start being guesses, and guesses don't cut.
The same logic covers movement. A character walking left to right should keep going left to right after a cut, unless you've deliberately shown them changing direction. A car passing the camera should keep driving the same way in the next shot. A chase around a corner should keep both runners moving the same way relative to each other.
This matters because of attention, not correctness. When direction stays steady, the audience focuses on the story beat. When it flips, they lose half a second reorienting — and that's a half-second a good action beat can't afford.
Multiple characters and crossing the line on purpose
Two characters give you one line to protect. Add a third, and you've got three: A to B, B to C, and A to C. That's why group scenes break faster than two-person dialogue — you're tracking a triangle, not a line.
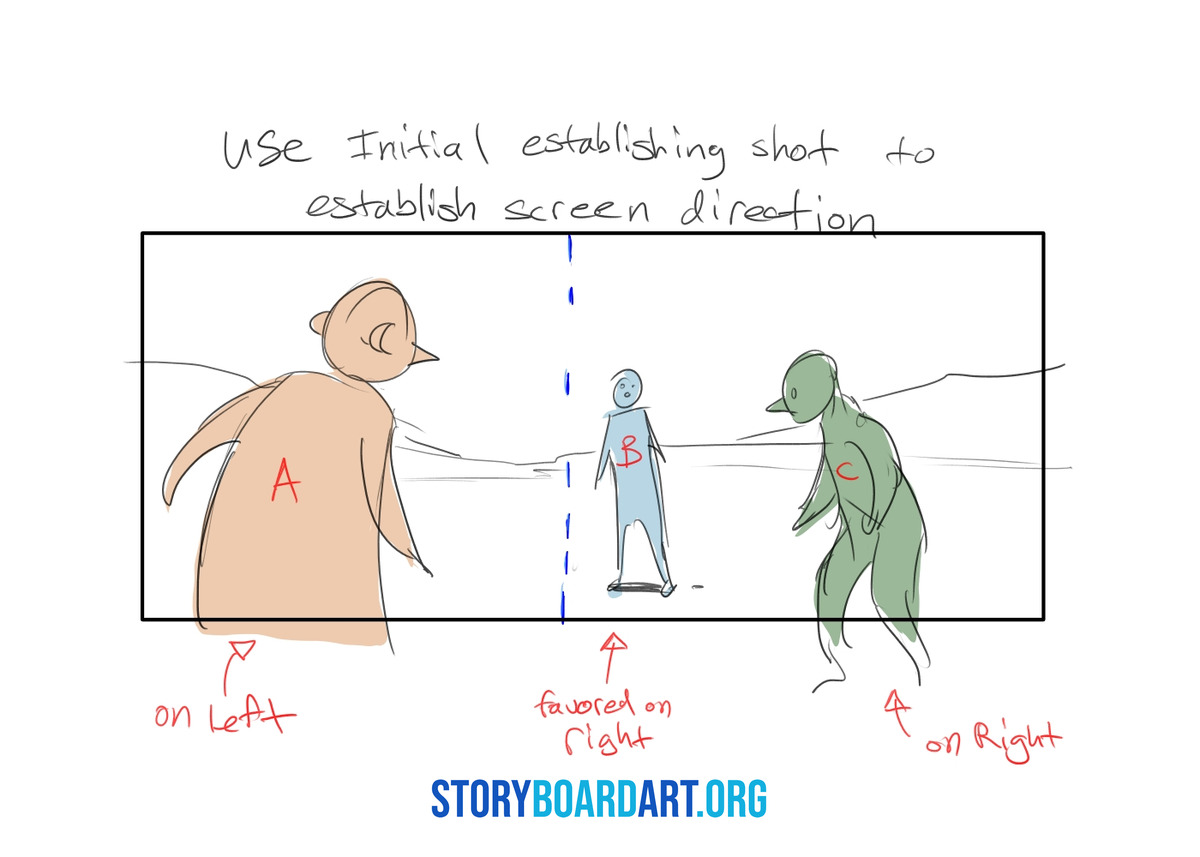
Handle it like this: start with a master wide that plants all three characters. Then name your active pair — at any moment, the scene is usually about two of the three people, and they get their own axis like a two-person scene would. Whenever the active pairing shifts, return to the master wide (or another clear wide) to reset the audience's map before cutting tighter again.
Sometimes you need to cross the line anyway — the room's too small for your ideal angle, or the story demands it. The rule isn't "never cross." It's "never cross without telling the audience." Three moves handle most cases.
The sweep. Show the camera physically moving across the axis in one continuous shot, so the audience's mental map updates smoothly instead of snapping.
The neutral. Cut to a shot lined up straight on the axis. This resets left and right cleanly before you land on the new side.
The wide reset. Cut to a wide shot from the new side before returning to close shots, so the next close shot makes sense.
If the room's cramped, lean on the neutral and the wide reset, and keep eyelines consistent even when the camera position isn't perfect.
Breaking the rule on purpose, and a worked example
If you break the line, the audience will feel something shift. Your job is to decide what that feeling should be before drawing it. Three reasons are worth breaking the rule for:
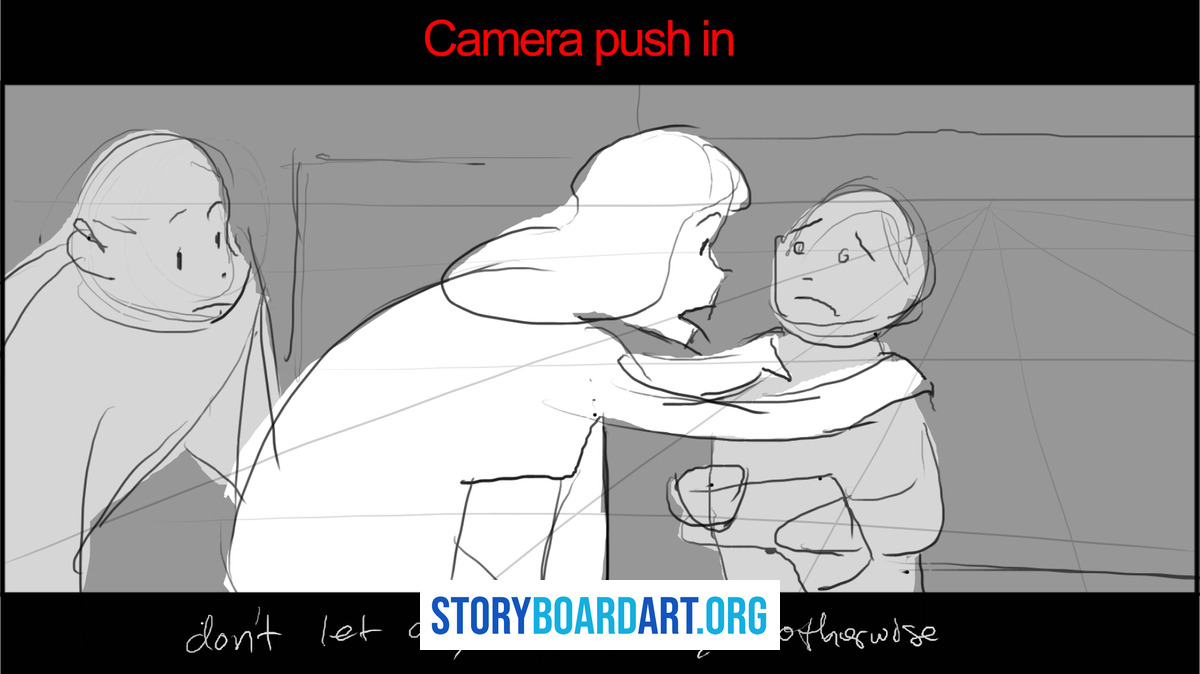
- Power shift. Cross the line mid-conversation to show a character seizing control of a scene they were losing.
- Psychological unease. A room that suddenly stops making sense on screen can convey a character feeling unstable.
- Chaos in action. A fight or crash can use confusion deliberately, so the audience feels the same disorientation as the characters.
I treat the rule the same way: as a tool, not a constraint to look clever breaking. Most of the time I don't break the 180 unless I really need to. It's hard enough to land the emotional beats of a scene without complicating them with broken screen direction. When I do break it, it's on purpose: in an intense action scene, or to create something jarring for the audience, like a reversal or a change in story direction. The break has to mark something that has actually happened, supported by the story beats of the scene. Used that way, screen direction becomes a tool for steering the audience and making a scene hit harder. The rest of the time, I keep things straight.
Execution matters. Break the line at a story beat — the exact moment something changes — not in the middle of a shot out of laziness. Support the break with a neutral shot, a sweep, or a wide reset unless raw confusion is the point. If you go chaotic, commit: run the disorientation for a few beats, then re-establish geography with a clean wide shot. An unmotivated line break screams "student work," even if the drawings are solid.
Here's what that looks like in practice. Two characters sit at a table. Character A is camera-left, Character B is camera-right. Draw the scene from above and connect A and B with a straight line — that's your axis. Mark camera spots in degrees from that line, like points on a half-circle; anywhere on that half-circle, A and B keep their screen positions.
Place a camera at +45 degrees for your master wide, and a second at +70 degrees for an over-the-shoulder. Here's the five-panel breakdown:
- Master wide, shot from +45 degrees. A is screen-left, B is screen-right.
- Over-the-shoulder on A, shot from +70 degrees.
- Over-the-shoulder on B, shot from +70 degrees — same side of the line as panel 2.
- Cut to a camera at -45 degrees, the opposite half-circle. A and B swap sides on screen. Nothing changed in the room; only the camera moved to the wrong side of the axis.
- The fix: insert a camera at 0 degrees before panel 4, sitting right on the axis. This neutral shot resets left and right, so the cut to -45 degrees reads as a new angle, not a mistake.
Thirty seconds with two stick figures and a line, before you start thumbnailing, saves you a revision pass later.
When to follow the rule and when to bend it
If a viewer has to stop and figure out who's where, you broke the rule by accident. If they feel a jolt but still know where everyone stands, you broke it on purpose. That's the game. Match your choice to what you're showing.
Early portfolio sequences. Stick to the rule almost always. Story supervisors want proof you can stage cleanly before they see anything fancy.
Dialogue with a power shift. A motivated cross can work here. Pair it with a neutral shot or a wide reset, so the audience feels the shift without getting lost.
Action sequences. Chaos can work, but only after you've planted clear geography first. Confusion has to be the point, not an accident.
Pick a sequence you've already boarded. Sketch an overhead map, marking the axis. Find three cuts that break the line without a reason, and fix them. That single pass will teach you more than a week of new drawing.
For a full walkthrough of how sequences are judged, read Killer storyboard portfolio. For the mechanics of building coverage that survives a review, see our filmmaking shot list guide.
Frequently Asked Questions
Is the 180-degree rule mandatory?
No. It's a continuity tool, not a law. Break it accidentally, and it reads as a mistake. Break it on purpose, with intent and technique, and it reads as a choice. See the section on breaking the rule intentionally for how to make that difference clear.
What's the difference between the 180-degree rule and the 30-degree rule?
They protect different things. The 180 degree rule maintains left-right orientation and screen direction. The 30-degree rule ensures smooth cuts by requiring shots of the same subject to differ by at least 30 degrees. You can follow the 180 degree rule perfectly and still produce jarring cuts if shots are too close in angle.
How do I handle the rule in a tiny room where I can't position the camera?
Lean on neutral shots or wide resets more often. Cramped spaces can block ideal angles. When that happens, keep eyelines consistent even if the camera position isn't perfect. Readable geography from a compromised angle beats a technically ideal shot that flips the screen.
Can I fix a line break in editing or an animatic?
Sometimes. A buffer shot, a neutral on the axis, or a re-establishing wide inserted between the offending shots can often repair it. If the coverage is fully reversed with no bridge available, new shots are usually the clean fix. Animatics are the place to catch this before it becomes costly reshoots or re-boards.
Does the 180-degree rule change for vertical video?
The principle stays the same. The frame is narrower, so you need clearer anchors. Use clean singles, neutral shots, and short establishing wides more often. A vertical frame can't rely on wide two-shots like a horizontal frame can.
