Contents
- Shot reverse shot 101
- Making it work: continuity editing for storyboard artists
- The real power of shot reverse shot
- OTS vs clean singles: choosing your reverse shots
- Handling three or more characters
- Eyelines and off-screen characters
- Breaking the ping pong effect
- Example: a 10-panel dialogue beat
- Common mistakes, and when pros break the rules
- Shot reverse shot FAQs
You're boarding a conversation. Panel after panel shows the same two faces, left, right, left, right. It's boring. It's mechanical. And worst of all, it doesn't feel real.
Every story artist struggles with this at first. There's a technical term for that back-and-forth pattern: shot reverse shot. It's the standard way to film dialogue scenes. Understanding it separates amateur boards from professional ones.
Let's cut the film school jargon. Here's what you actually need to know to make conversations work in your boards without putting people to sleep.
Shot reverse shot 101
Shot reverse shot means cutting between two characters during a conversation. First you see Person A looking off screen. Then you cut to Person B looking back. When done right, the audience reads it as a single exchange.
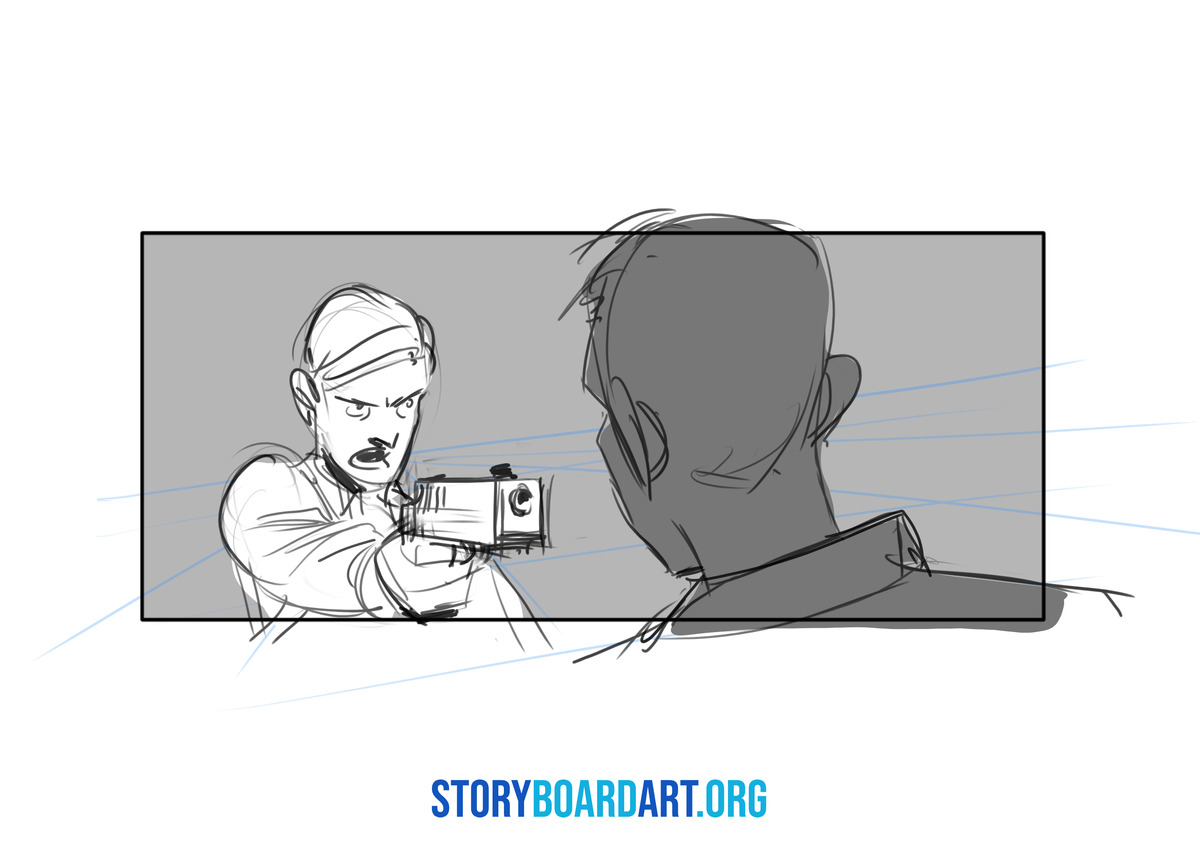
Some people call it shot/countershot instead. Same thing. This technique exists for one simple reason: it's the clearest way to show two people talking without confusing the audience about who's where.
Don't think of it as drawing two talking heads. You're placing two cameras that agree about the space. If they contradict each other, the scene falls apart no matter how well you draw each shot.
The key is eyeline matching, which means making sure both characters appear to be looking at each other. If Character A looks screen right at Character B, Character B better be looking screen left at Character A.
Making it work: continuity editing for storyboard artists
Here's how to avoid the most common mistakes before you draw anything.
- Show the space first. Draw a wide shot establishing where everyone is standing. Skip this and your close-ups will feel disconnected. See the establishing shot guide for why this matters.
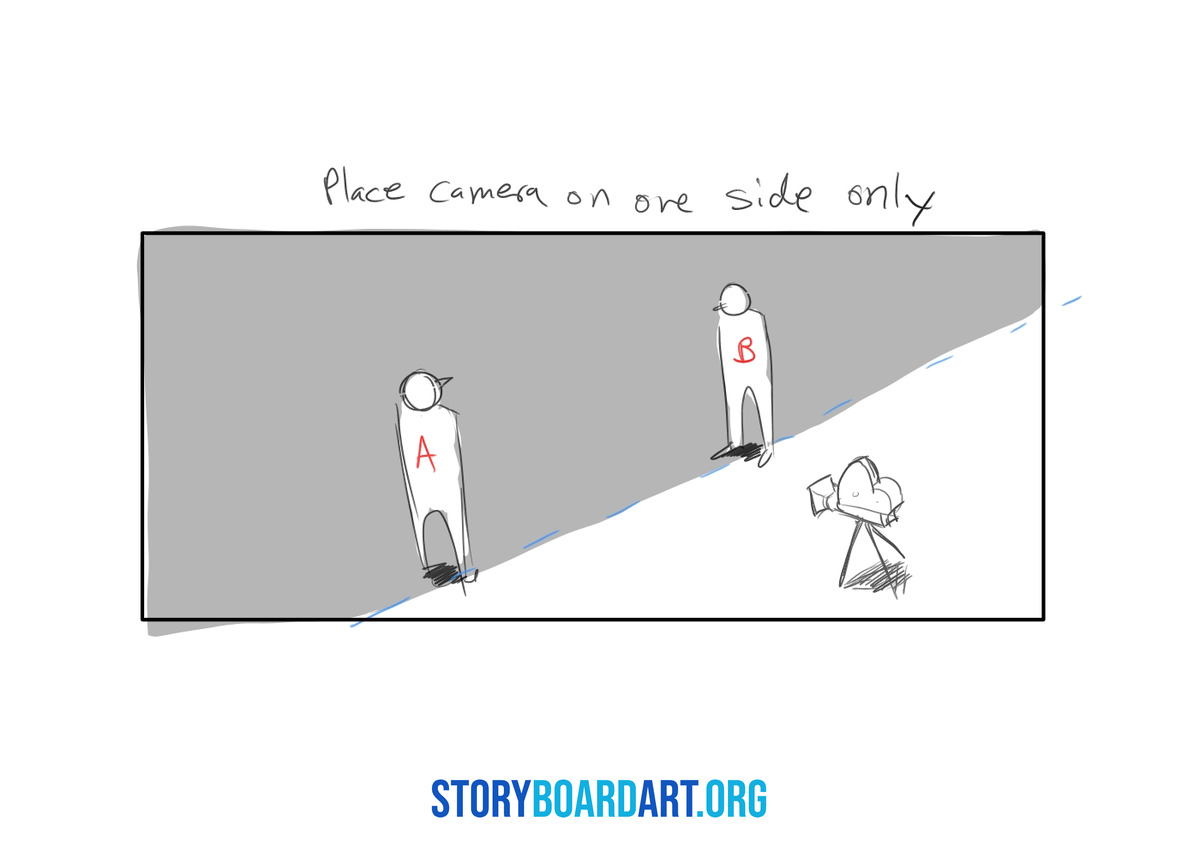
- Draw your line. Imagine a straight line connecting the two speakers. This is the 180 degree line. Every shot stays on one side of this line. Cross it and the characters seem to swap places, which confuses audiences even if they can't say why. More on this in the 180 degree rule guide.
- Place cameras smart. Your first shot looks at Character A from your side of the line. The reverse shot isn't just "the other angle," it's the mirror position on the same side. This pairing keeps the space consistent.
- Match those eyelines. If A looks slightly down and right, B should look slightly up and left in the reverse shot. Getting these angles wrong makes characters seem like they're talking past each other.
- Cut for impact, not obligation. You don't need to cut on every line. Hold on a reaction. Stay wide if nothing important is happening. Cut when something actually changes.
This isn't abstract theory. The American Society of Cinematographers and Motion Picture Editors Guild exist because these rules get used every day on professional sets.
The real power of shot reverse shot
Most beginners use this technique mechanically: line, cut, line, cut. That's fine, but it misses the real tool here, which is controlling audience connection through shot size.
I learned this from Robert Dalva, the Oscar-nominated editor, while I was working as a storyboard artist on Star Wars: The Clone Wars. The camera is the audience. The closer it is to a character, the more connected viewers feel. The farther away, the more detached they become. As story artists, we make these calls before anyone else, which means we control how intimate or distant each moment feels.
That idea changes how you should plan a scene. Stay wide when a character is hiding something, because distance keeps the audience guessing about what's really going on underneath. Push in when a decision lands, because that's the moment you want to pull viewers all the way into the character's head. And treat every change in distance like punctuation: each shift should mark something real happening in the scene, not just a change for its own sake. If you push in and nothing has actually shifted emotionally, the audience feels the trick instead of the story.
For the full range of shot sizes, see Different Camera Shots in Film.
OTS vs clean singles: choosing your reverse shots
Most dialogue scenes use just two setups for their reverse shots, and picking between them comes down to what the scene needs from the audience.
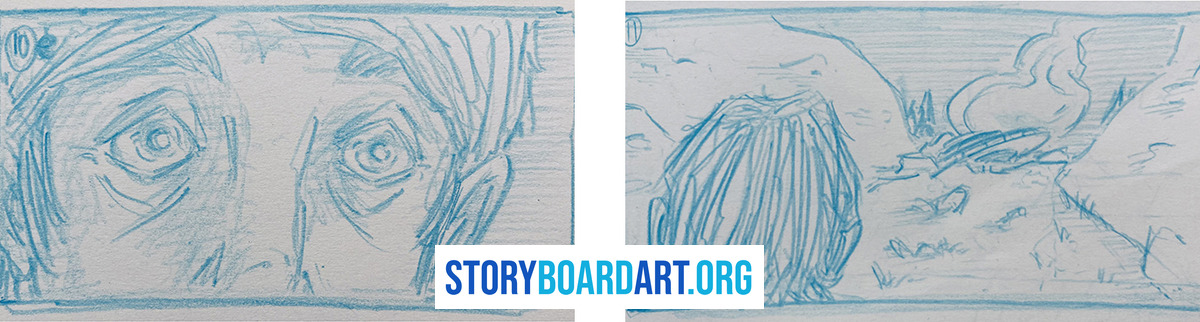
An over the shoulder shot, usually called an OTS, shows a slice of one character's shoulder in the foreground while the other character fills the frame beyond it. The value of that foreground sliver is that it keeps both characters present in the viewer's mind even when only one of them is speaking. You never lose track of who's in the room, because part of them is still sitting right there in frame. More on this in the OTS shot guide.
A clean single drops that shoulder and shows just one face, with nothing else to compete for attention. Use it when the acting needs to carry the whole moment and any foreground clutter would get in the way. The tradeoff is that you lose the spatial context of who's where, so leaning on singles too long can leave an audience feeling untethered from the room.
The OTS itself comes in two flavors, and the difference is mostly about camera placement relative to the two characters. An external reverse places the camera outside both characters, which gives the exchange an observational, almost reportorial feel, like we're watching from a slight remove. An internal reverse places the camera between them instead, tucked closer to the eyeline, which makes the exchange feel more intimate and more tense because we're sitting right inside the conversation.
So when you're choosing, let the story decide. Reach for an OTS when geography matters or when you need to keep tension between two people visible in every frame. Go internal when you want intimacy, external when you want to observe from a slight distance, and drop to a clean single whenever the performance itself is the whole point and nothing else should share the frame.
Handling three or more characters
Two people? Easy line between them. Add a third and things get messy fast.
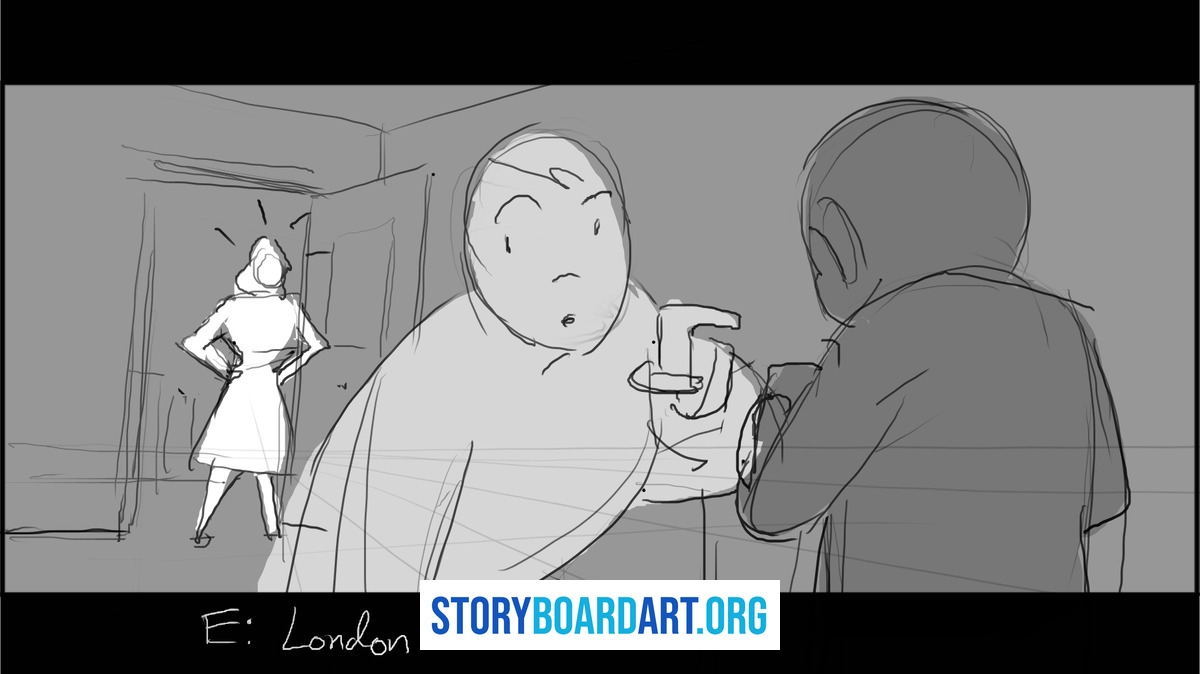
Don't panic. Use the triangle system, which means imagining each character's head at a corner of a triangle. This replaces your simple line and gives you more flexibility, since now there are three possible pairings instead of one.
Pick one pair as your main focus and shoot them normally, as if the third character wasn't changing the math. The third character becomes a variation on that same setup rather than a whole new scene with its own rules.
There are two reliable ways to make this work. The first is a two shot plus singles: use a wide shot with all three characters as your home base, then cut to singles as needed to punctuate individual lines or reactions. The second is a shared eyeline approach, where you keep every character's look direction consistent so the audience always knows who's talking to whom, even without a wide shot to remind them.
One warning worth repeating: don't spin the camera around the triangle unless you actually want chaos. Each new angle you introduce multiplies the chances of a mismatched eyeline, so added complexity should always come with added discipline.
More camera options in the Camera Angles guide.
Eyelines and off-screen characters
Here's a common issue: your reverse shots look fine individually but feel fake together. The usual culprit is eyelines that don't actually match, even if they look close enough at a glance.
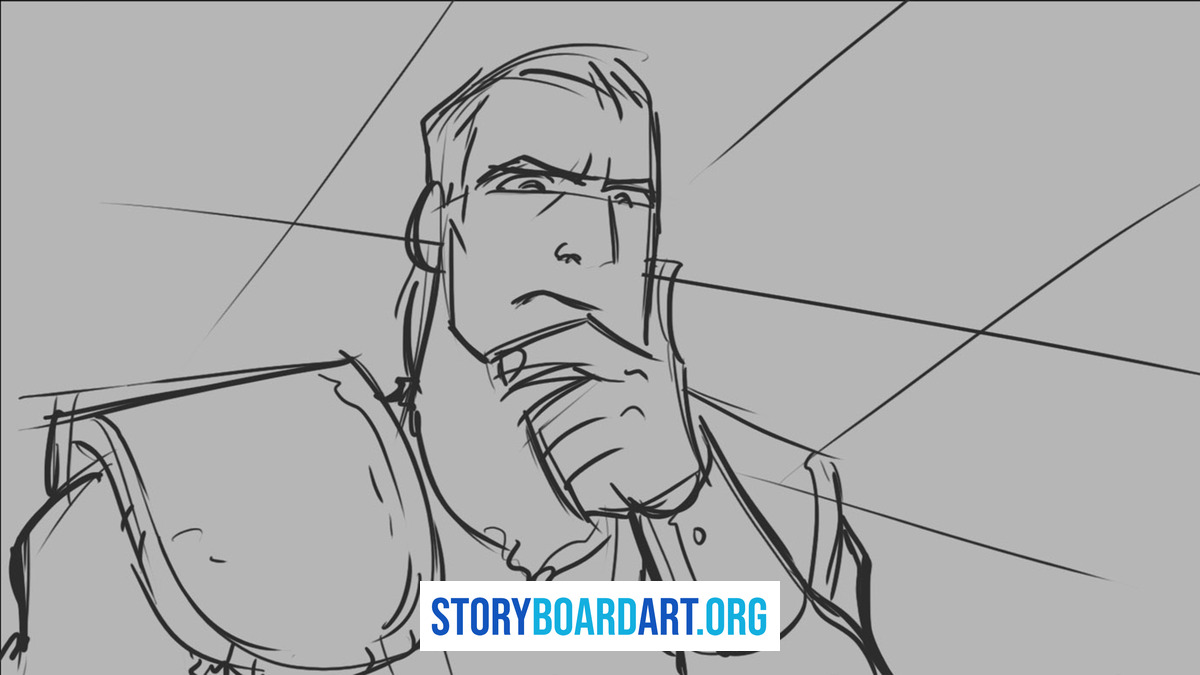
Before you draw, it helps to work out the geometry on paper first. Note each character's eye height so you know whether they're looking up, down, or level with each other. Mark the distance between them too, since how far away the other person stands changes how sharp or soft that eyeline angle should be. Precision matters more than it seems: a few degrees off reads to an audience as the characters looking past each other rather than at each other, even if neither artist meant it that way.
When the other actor is off-screen, you still need to point their scene partner's eyes at an exact spot in space rather than a vague direction. Real sets use physical markers for actors to look at, and you should effectively do the same on paper, picking a consistent spot and sticking to it across every panel.
One rule worth memorizing: avoid direct camera eye contact unless you specifically want the character to address the audience. An accidental glance at the lens reads as a broken fourth wall even when nothing else about the panel suggests it.
Before you call a sequence finished, run a quick check. Confirm the eye heights actually match between reverse angles. Verify the look directions stay consistent from panel to panel. And double check that you didn't accidentally cross the line somewhere in the middle, since that's the easiest mistake to miss once you're focused on performance. See the 180 rule guide for a refresher.
Breaking the ping pong effect
Ping pong cutting is when you mechanically cut on every single line of dialogue. It's an easy trap to fall into because it feels thorough, but it kills the scene's energy by turning every exchange into the same predictable rhythm.
The fix starts with treating reaction shots as real beats rather than filler between lines. A reaction only earns its place if something is actually changing in that character, not just because it's "their turn" in the back and forth.
Two editing tools help here, and it's worth keeping them straight. A J-cut is when the audio of the next shot starts before we cut to its picture, so we hear the next speaker before we actually see them appear on screen. An L-cut is the opposite: the audio of the current shot keeps carrying on over the next picture, so we keep hearing the speaker while we cut away to the listener's reaction. Both techniques soften the mechanical feel of a straight cut, because the sound and picture are no longer changing at exactly the same instant.
Whichever you use, give editors options to work with. Two identical angles repeated back to back offer nothing for an editor to cut between, no matter how good each individual drawing looks.
Example: a 10-panel dialogue beat
Two characters at a table. One's about to deliver bad news.
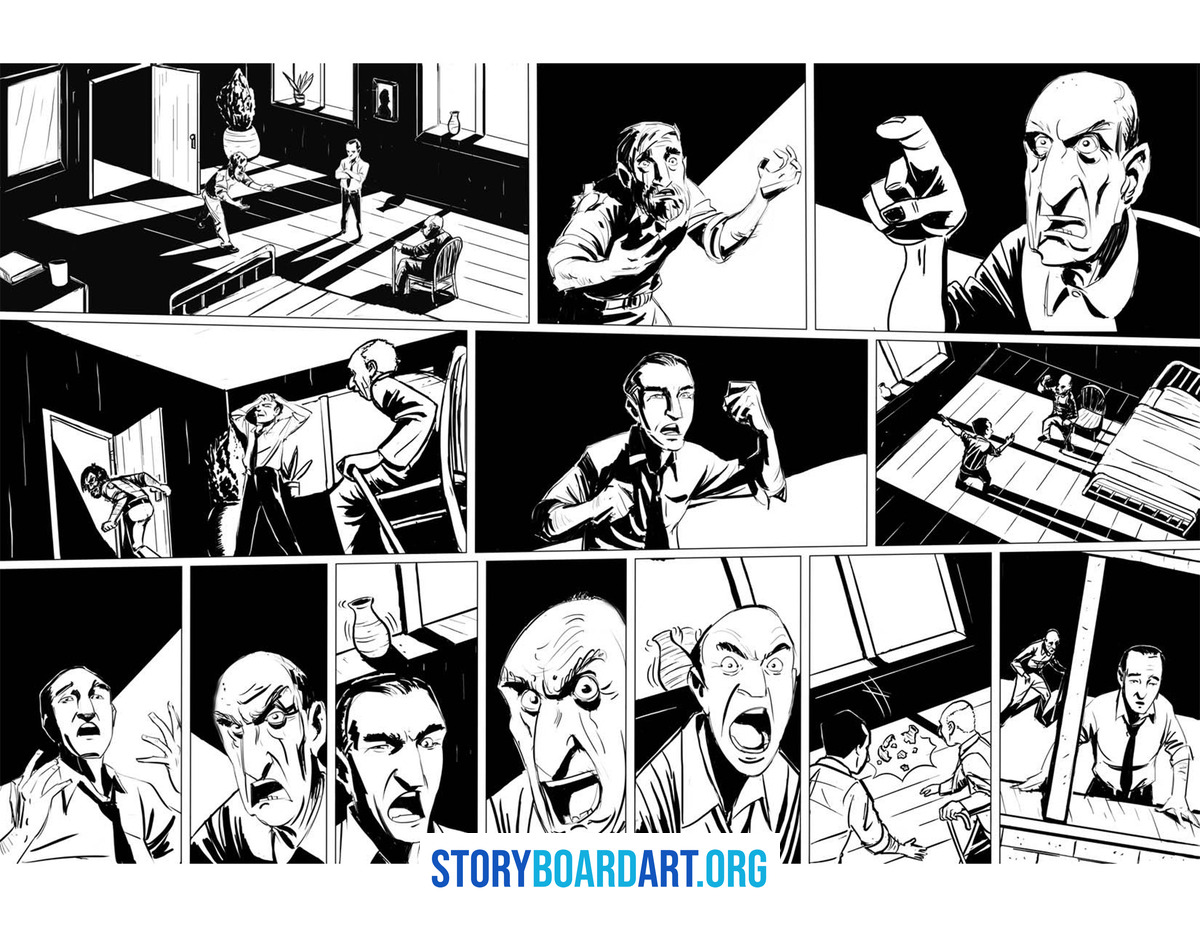
- Wide shot: Establish the room
- Medium on A: First line
- Medium on B (reverse): Listening
- Close on B: Reaction before speaking
- Close on A: Seeing that reaction
- Tighter on B: Staying on 180 line side
- OTS or two shot: Re-establish space
- Close on A: Decision moment
- Held close on B: Let the moment breathe
- Wide/medium: Show physical consequence
Note: panels 6-7 could use a J-cut, letting B's next line start under panel 6 so we hear it before we cut to the re-establishing shot in panel 7, for a smoother transition.
Common mistakes, and when pros break the rules
A few mistakes show up constantly in early work, and most of them come from rushing past the planning stage. Cutting from a medium shot straight to another medium shot with no change in size is one of the most common, since it gives the audience nothing new to read and makes the whole scene feel flat. Accidentally crossing the line is another, usually because the artist got absorbed in a single character's performance and lost track of the established geography. Mismatched eyelines creep in the same way, a few degrees off here and there until the characters seem to be addressing different rooms. And background continuity gets forgotten entirely once attention narrows to faces, leaving props or extras that jump between panels.
Once you've genuinely mastered these fundamentals, you can start breaking them on purpose, and the results read completely differently from an accidental error. Breaking the 180 degree rule can create a jarring, disorienting effect when a scene calls for exactly that kind of discomfort. Mismatching eyelines on purpose can show unease or disconnection between two characters who are supposed to feel out of sync. Crossing the line deliberately can underline a real shift in the story, like a relationship flipping or a character losing their footing.
The difference between a mistake and a choice is simple: breaking rules only works when it's intentional, and when the audience can feel that intention even if they can't name it.
Shot reverse shot FAQs
Is shot reverse shot the same thing as countershot? Yes, these are just two different names for the same technique. "Countershot" shows up more often in older or European film texts, while "shot reverse shot" is the more common term in contemporary use. Either way, professionals in the industry will understand exactly what you mean.
Do I need an OTS shot every time I cut to the reverse angle? No, clean singles work perfectly well and are sometimes the better choice. An OTS is best when spatial context matters and you want the audience to stay aware of both characters at once, while a clean single is better when the performance itself needs total focus without any foreground distraction.
How is this different from the Kuleshov effect? Shot reverse shot is really one specific application of that broader principle. The Kuleshov effect describes how audiences read meaning into the juxtaposition of shots generally, and shot reverse shot is simply the dialogue-scene version of that same underlying idea.
What do I do when a scene has three characters instead of two? Switch from a simple line to the triangle system, imagining each character's head at a corner of a triangle instead of two points on a line. Pick one pair as your main axis for most of the scene, and build the sequence around a two shot plus singles so the third character stays woven into the geography rather than feeling like an afterthought.
What's the fastest way to make my boards look more professional? Start by marking your axis before you draw a single panel, since that decision shapes everything that follows. From there, vary your shot sizes meaningfully rather than out of habit, and treat every reaction shot as its own beat instead of a placeholder between lines. See the Portfolio Guide for more on how hiring reviewers actually judge this kind of work.
