Contents
- What POV really means
- Building a POV sequence that works
- The three real POV types, and how they read on the page
- Choosing camera distance: the emotional math of POV
- Drawing POV that reads, and the rules that keep it honest
- Sound, editing, and annotating for production
- How POV goes wrong, and the questions worth answering first
Your board says "POV" in the corner. That's not enough. A real POV shot makes the audience live inside a character's eyes, not just watch from outside.
Junior portfolios screw this up constantly. Story supervisors can spot a fake POV immediately. The difference between a skilled POV and a lazy one is about two seconds of reading time.
Here is a fundamental tip I learned from Robert Dalva, the Oscar-nominated editor, while I was working as a storyboard artist on Star Wars: The Clone Wars: the camera is the audience. The closer the camera is to the subject, the more the audience will relate to that subject. The further away it is, the less the viewer feels emotionally connected. In a POV shot it goes one step further. The audience isn't watching the character see something. The audience is the one seeing it.
Here's how to do it right. We'll cover shot types that actually work, how to stage them so they land, and how to write notes that save production headaches. First question: whose eyes are we in?
What POV really means
A true POV shot places the viewer directly inside a character's visual perspective, seeing exactly what they see, as if the lens were their own eyes. It's not about camera movement. You could shoot it on a tripod or strap it to a helmet. If the viewer feels locked to that person's perspective, it's working.
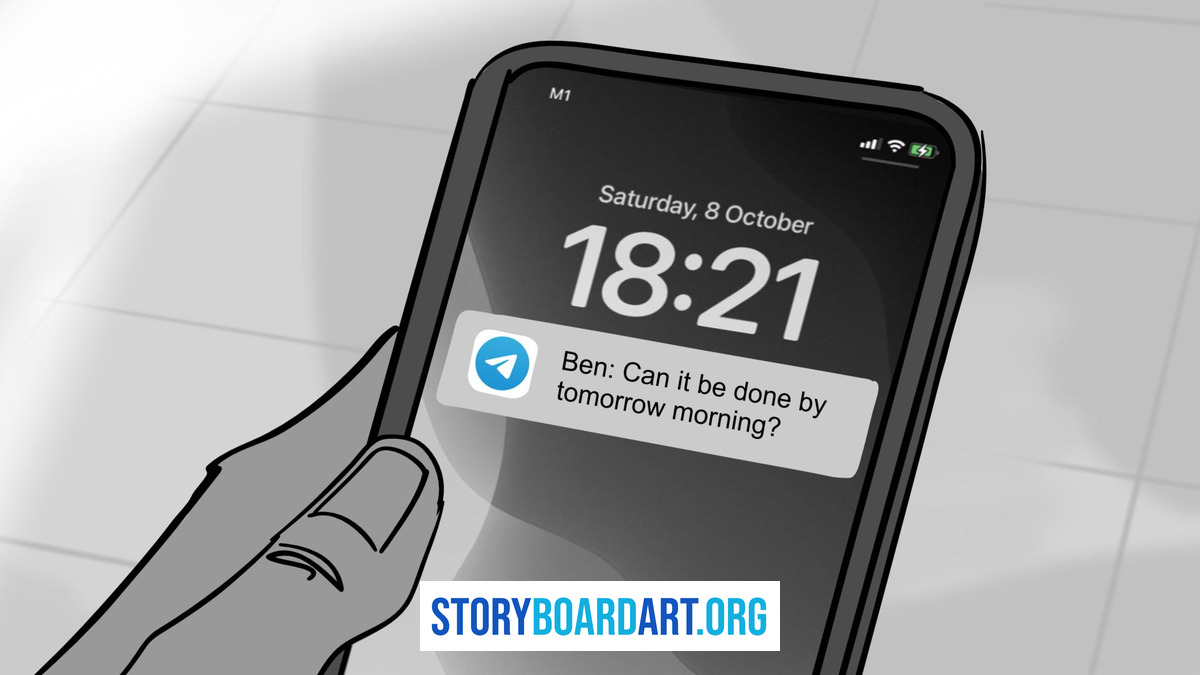
But "POV" gets slapped on shots that aren't. There are three actual types. Clean POV shows just what the character sees, with no body parts in frame. Dirty POV includes a sliver of shoulder or hand. Body-mounted POV moves like an actual human head, with the sway and jolt of a person walking or running.
Mixing these up causes real problems on set and in the edit bay. A cinematographer needs to know which rig to grab, since this connects to the broader set of camera angles a story demands. An editor needs to know how to cut it, which is really a question of different camera shots working together instead of against each other.
Building a POV sequence that works
Here's the fast path to nailing it.
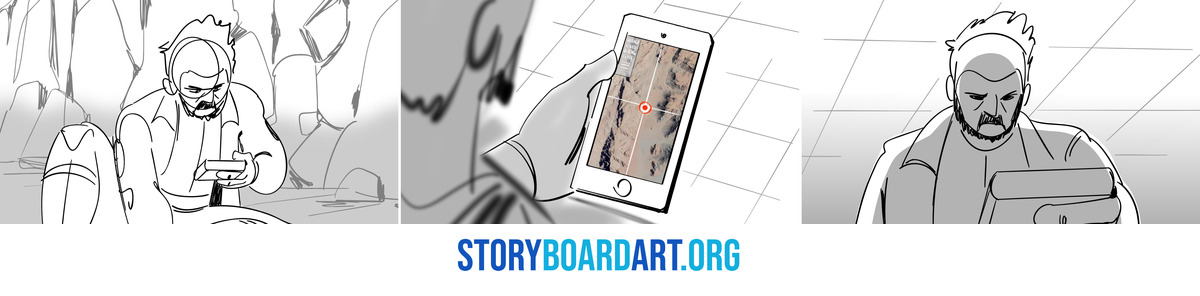
Name the verb. Before drawing, answer why you're in their head. Discovering? Freaking out? Lusting? If you can't name it, don't draw it.
Earn the moment. Never drop straight into POV. Show the character looking first, in an objective shot where we see them turn toward something.
Match the eyeline. A 5'4" character needs the camera at 5'4". A crouching character needs the camera crouched too. Break this and the shot feels wrong instantly.
Pick your weapon. Clean POV is pure information, like reading a letter. Dirty POV is physical action, like aiming a gun. Body-mounted POV is a raw experience, like running from danger.
Compose ruthlessly. In POV, nothing exists outside the frame. That shadow better be visible or the whole beat dies.
Show the fallout. Cut to their reaction. POV without payoff is dead weight.
Here's a working example, panel by panel. A medium shot shows the character hearing a noise and turning their head. Their eyeline lands on a half-open door. A clean POV reveals a shadow where none should be. A close-up catches their face realizing what they're seeing. A new objective shot shows the world changed by what they just saw. Five panels, no fluff. That's what production needs.
The three real POV types, and how they read on the page
Clean POV gives us just the view. It's perfect for reveals, clues, any moment where seeing clearly matters more than feeling the body behind the eyes. Draw it tight and let the information do the work.
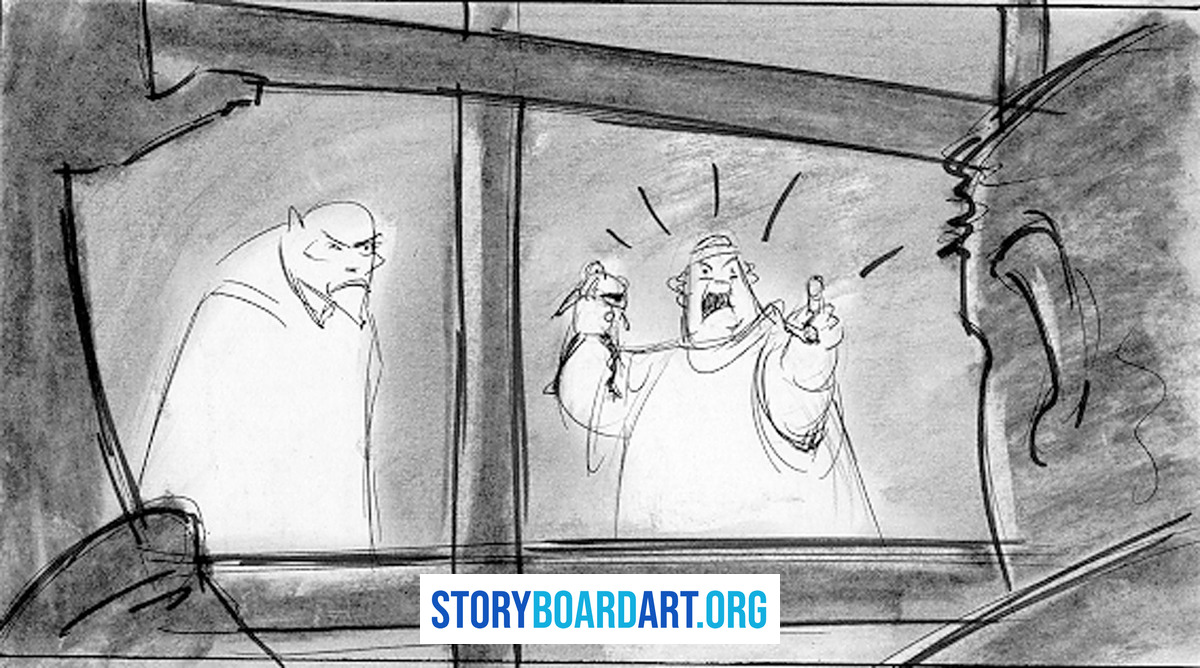
Dirty POV keeps a hand on the wheel or a gun barrel in frame. It anchors us during physical action, since a totally clean frame can feel weightless when a character is fighting or driving. Sketch the intruding object small and let it frame the real subject.
Pseudo POV, often chest-mounted, sways with movement and feels immersive without matching exact eyelines. It's a compromise, useful when true eye-level staging would be awkward to board or shoot.
Write the subtype in the label every time. "POV (dirty), hand on door" beats a vague "POV" note, because the board artist two desks over needs to know which rig this becomes.
Choosing camera distance: the emotional math of POV
Camera distance equals emotional distance, and in POV shots that equation gets stress-tested constantly. A tight clean POV crowds the audience into a character’s immediate focus. A wider POV pulls them back out and makes them an observer.
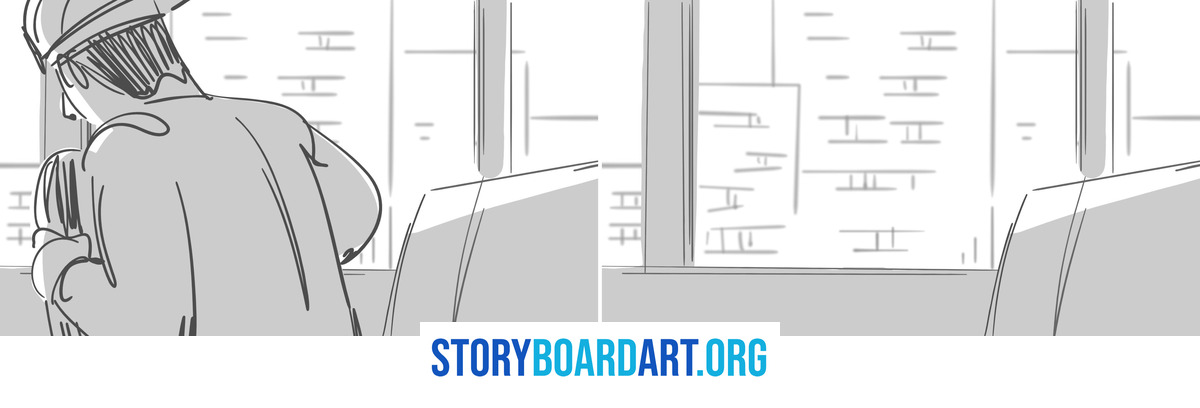
One of the things I got wrong on a sequence was not understanding the point of view the scene required. The point of view of the characters needed the camera to be close, an intimate moment, and I was staging everything with wide and medium shots. It felt disconnected to the audience. My director pointed it out, and I had to adjust and fix it so the scene actually carried the right emotional charge. So before you thumbnail a POV sequence, decide what point of view the scene needs, then choose the distance that puts the audience there.
Use POV for one of four jobs. Empathy shares a character's exact eye level. Threat traps the viewer in an unavoidable sightline. Comedy lets the audience misunderstand what they're seeing, right alongside the character. Reveals let the audience learn exactly when the character learns. Decide which job you're doing before anyone touches the shot, because that choice determines everything downstream: height, lens, cut length.
Drawing POV that reads, and the rules that keep it honest
You're not filming yet, you're drawing. Make it clear with foreground cues: a doorframe edge, a steering wheel, anything that anchors the view in physical space. Control the horizon too. Dutch angles only work when you mean them; an accidental tilt reads as a mistake, not a choice.
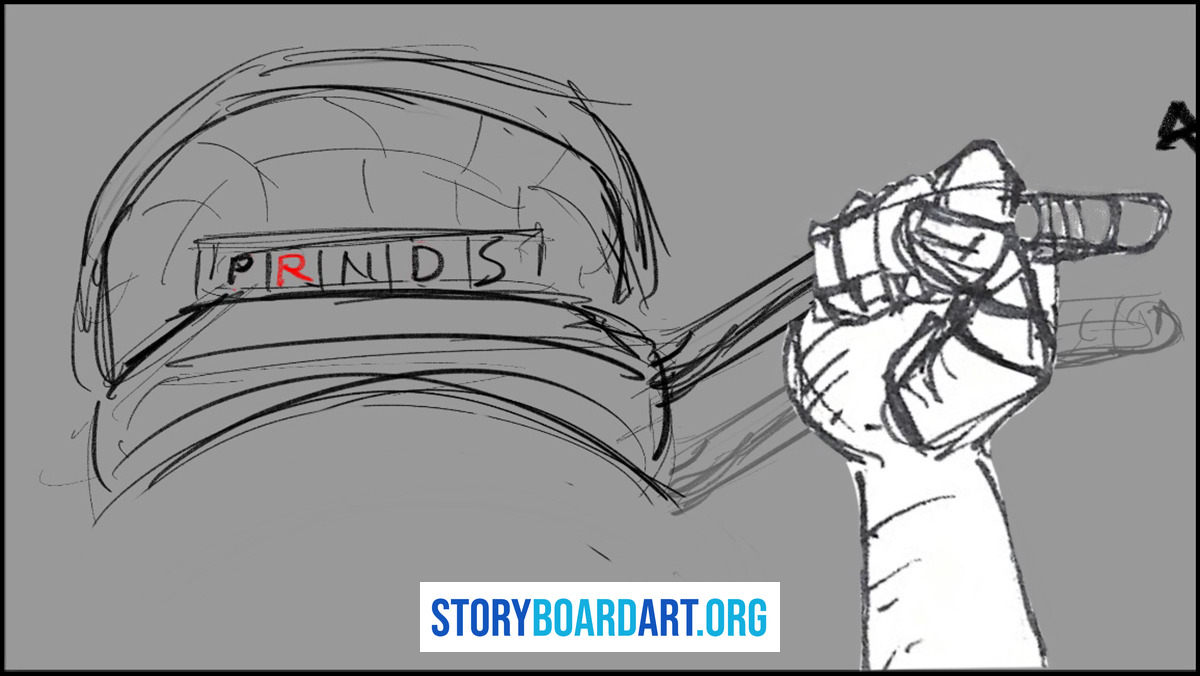
Follow the holy trio: look, then POV, then reaction. Skip any piece and the sequence falls apart. A POV shot makes one promise: you're standing exactly where the character stands. Break these rules and the illusion shatters. Geography has to come first. If we don't know where the character is, their view means nothing. Screen direction needs to stay consistent, which ties directly into the 180-degree rule: keep left and right stable or the audience loses the room entirely. And never cold-open into POV. Always show them looking before cutting to what they see.
Quick fixes when a POV sequence isn't working: add an establishing shot before it, or throw in a dirty foreground element to re-anchor the geography.
One warning worth repeating: over-the-shoulder isn't true POV. It's a different shot entirely. An over-the-shoulder frame still shows part of the character, which keeps the audience outside them rather than inside. That distinction matters even more in dialogue scenes, where POV and shot reverse shot patterns can get confused on the page. Shot reverse shot cuts between two people facing each other. POV replaces one of them entirely.
Sound, editing, and annotating for production
The real POV magic often happens off the page. Flag these in your notes: close breathing, muffled room tone, high-end ringing, dialogue dropping out. These cues tell the editor and sound team how deep inside the character's head this moment goes.
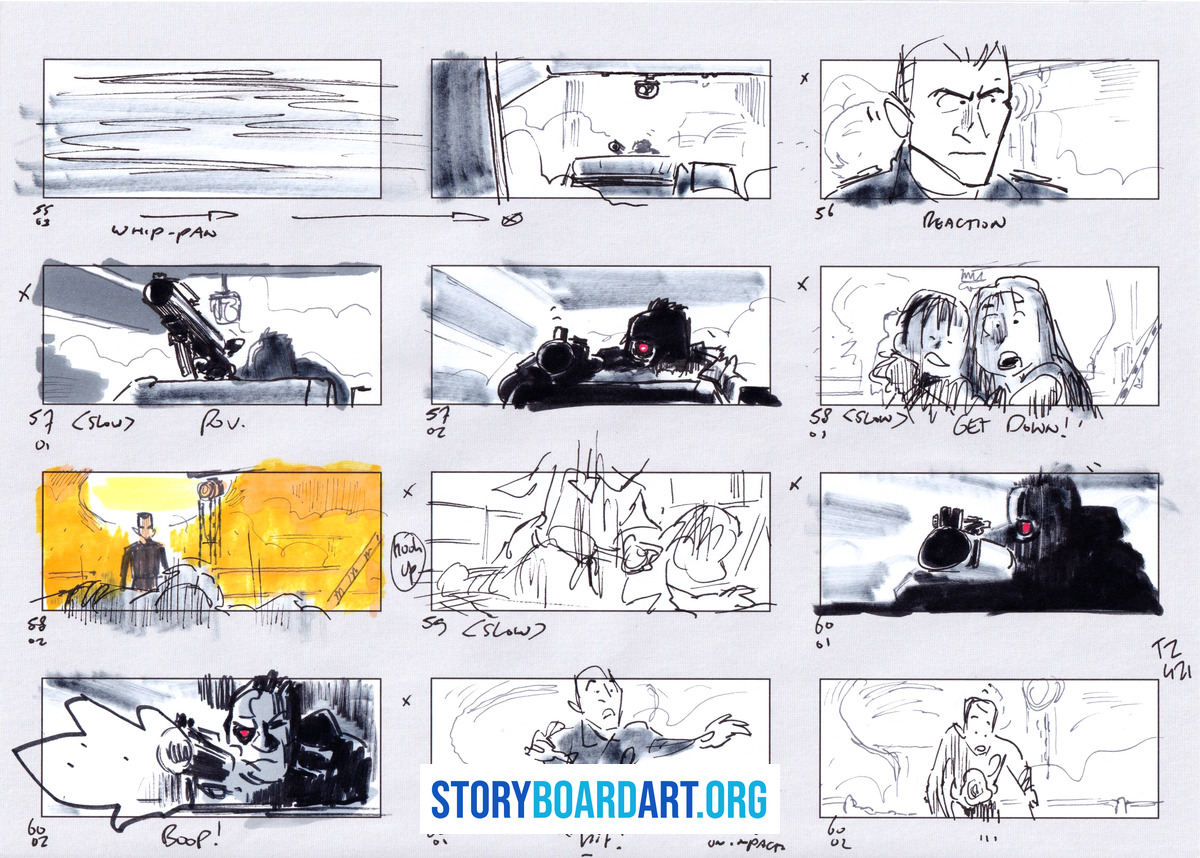
Editing choices matter just as much. Hold longer for discoveries, since the audience needs time to read what the character is reading. Cut fast for reactions, since hesitation kills momentum in a threat or shock beat. Write these instructions next to the panel. Cinematographers and editors will thank you for it.
Your drawing is half the job. Notes prevent disasters on set. Mark the subtype: clean, dirty, or body-mounted. Mark the camera height: standing, seated, or crouched. Mark the movement: a head turn, a stumble, a full run. Mark any safety concerns, like stairs or impacts, so the stunt team isn't guessing.
Modern shoots lean on a few standard setups. Handheld cameras fake a POV convincingly enough for most scenes. Helmet rigs capture a true eyeline when accuracy matters. Chest mounts deliver that body-sway feeling when you want the audience to feel the character's physical motion. Video games have trained audiences to read certain POVs instantly, and VR has pushed that further still, making POV not just a technique but the entire show.
How POV goes wrong, and the questions worth answering first
Four fails show up again and again. Lost geography happens when we never saw where the character is standing, so their view carries no weight. Gimmick shots happen when POV gets used because it looks cool, not because the moment needs it. Motion sickness comes from too much shaky cam held too long. Buried details happen when the one important thing in frame gets lost among everything else.
Bad drawings get forgiven. Unclear storytelling doesn't, and that's the whole argument for slowing down on POV planning instead of rushing it.
A few questions come up constantly. Does over-the-shoulder count as POV? No. OTS shows part of the character, while true POV replaces them entirely. Do hands need to be visible? Only if the space is confusing or the action moves fast enough that a dirty frame helps orient the audience. Can a whole scene run in POV? It's possible but brutal on continuity, and it usually works better as punctuation than as a sustained choice. How should you label it? Something like "POV (dirty), hand on door, standing" beats a vague note every time, because specific instructions are what keep a production from guessing.
This is also exactly the kind of judgment call that separates a working portfolio from a thin one. Every POV choice should look intentional, not accidental, which ties back to the cinematography pillar of storyboard work generally: camera choices need reasons, not just instincts. For more on proving that intentionality on the page, Killer Storyboard Portfolio shows how to make every shot choice visibly deliberate.
