Contents
- What Toon Boom Storyboard Pro is
- How Storyboard Pro fits into a real storyboarding workflow
- How to set up your first project so you don’t fight the file later
- The fastest way to go from thumbnails to real panels
- How animatics actually come together: timeline, audio and camera
- How to handle revisions like a studio: tracking, validating and exporting changes
- How to keep a clean production-style file: assets, naming and repeatability
- Frequently asked questions
You can draw. You can stage a shot and pace a cut. Then you open Toon Boom Storyboard Pro for the first time, and none of that seems to count.
Panels. Layers. Camera keys. A timeline built for an editor, not an artist. An afternoon of clicking around later, you still don’t have one sequence you’d show a recruiter. You’re not missing talent. You're learning it in the wrong order.
This isn't a review or a walkthrough on every button. It’s the order I’d learn Storyboard Pro in if the only goal was a studio-ready sequence: what it does, what to learn first, and what to ignore for now.
What Toon Boom Storyboard Pro is
Toon Boom Storyboard Pro is professional software for drawing storyboard panels and arranging them into scenes. You time each scene against sound and layer camera moves on top. The result plays back like a short edit, not a stack of still images. New to the craft itself? Start with What is a Storyboard?
A stack of pretty drawings can’t tell you if a scene works. A timed sequence with camera moves can, because it forces you to make the same choices an editor makes. How long does a beat hold? Where does the cut land? When does the camera push in?
Storyboard Pro focuses on sequence clarity, timing, and delivery—in that order—not illustration polish. If your goal is a studio-ready sequence, prioritize those: panels first, then timing, then camera, then export. Everything else is secondary.
How Storyboard Pro fits into a real storyboarding workflow
Understanding what each part of Storyboard Pro does isn’t the same as knowing when to use it. Here’s how a real sequence flows, start to finish.
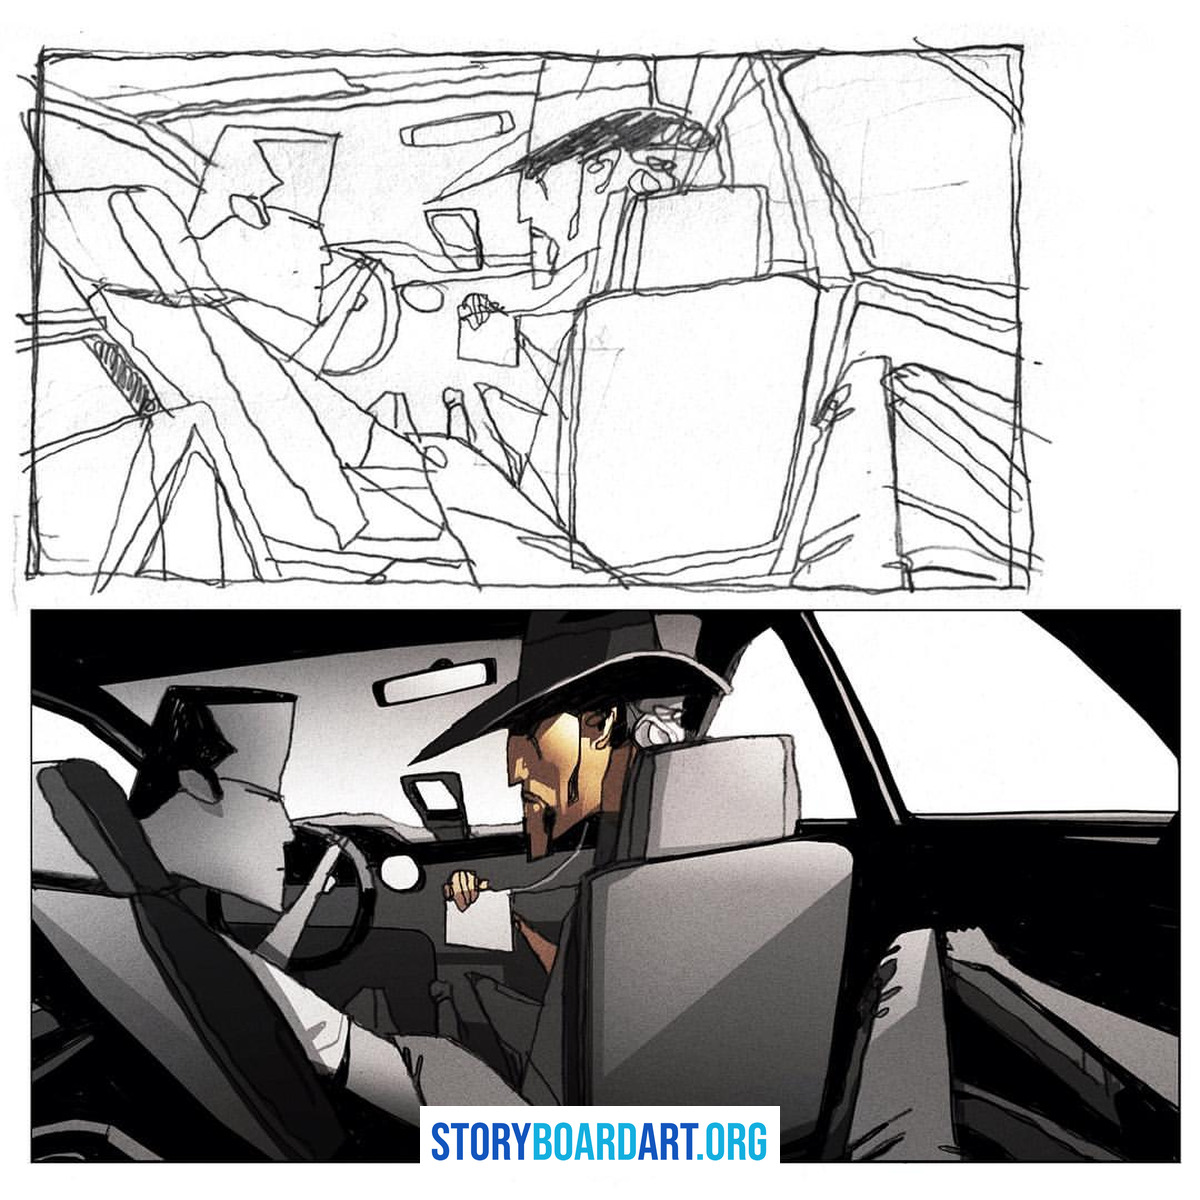
- Set up the project first. Pick your frame rate and aspect ratio before you draw anything. Frame rate is how many frames make up one second of playback. Aspect ratio is the shape of the frame, like widescreen. Get these wrong, and you’ll redo work later.
- Thumbnail fast. Small, rough, messy drawings. Solve the scene here: staging, who’s where, what the camera sees. Don’t clean anything up yet.
- Turn thumbnails into panels. Once the scene works small and rough, redraw it as clean, readable panels. Readable beats pretty. A recruiter needs to understand the shot in two seconds.
- Time it in the timeline. Lay your panels against dialogue or scratch audio, a rough placeholder recording, and set how long each panel holds. This is where a stack of drawings becomes a scene with rhythm.
- Add camera moves where they change the read. A push in, a pan, a slow zoom. Add one only if it changes how the audience feels about the moment. If it doesn’t change the reading, skip it.
- Export an animatic, get notes, revise, export again. An animatic is your timed sequence rendered as a video file. Send it out, take the notes seriously, fix what doesn’t read, and export a new version. Repeat until it holds up without narration.
That loop-thumbnail, panel, time, camera, export-is the whole job. Everything else in the software supports one of those six steps. For the full process beyond the software, see How to Storyboard a Video.
I've watched the tools around that loop evolve. The technical execution of storyboards has changed a lot in my career. I started when we were doing boards on paper, then we moved to digital, then we started adding 3D elements. Now it's common for story artists to create their own animatics, when before you needed a whole editorial department to do that. What hasn't changed are the foundation, evergreen skills a story artist needs to resolve story problems: making a choice between camera staging, between character positions, between fast and slow, and identifying the correct emotional beat to highlight in a scene.
The software is the latest iteration of the paper I started on. Worth learning, not worth worshiping. For the current release, system requirements, and licensing, check the Toon Boom Storyboard Pro product page directly, since all three change over time.
How to set up your first project so you don’t fight the file later
Most Storyboard Pro headaches have nothing to do with drawing. They come from choices you made on day one, before you drew a single panel. Fix the setup, and half your future problems disappear.
Lock your format early. Frame rate is how many frames make up one second of video. Aspect ratio is the shape of your frame, like widescreen or square. Pick both before you start, matching whatever a real production would use for film, TV, or streaming. Then leave them alone. Changing either one halfway through forces you to retime panels and can distort your camera moves.
Think about scene structure before you draw. One long scene is easier to watch in one pass. Several shorter scenes are easier to organize, revise, and export on their own if a recruiter only wants to see part of your work. For a portfolio, pick whatever keeps the file simple to open and export. If you’re unsure, split scenes by story beat, not by panel count.
Name things like someone else has to find them. Someone will, even if that someone is just you in six months. Use a pattern like sequence name, scene number, beat, for example "Chase_Sc02_CarFlip." That lets a reviewer understand the file without opening it. Names like "New Scene 1" and "Untitled_final_v3" turn a portfolio into a scavenger hunt.
Backups are part of the job, not an extra step. Save versions as you go and keep copies somewhere outside your working file. Story departments at real studios do this constantly. Losing work the night before a deadline isn’t a hypothetical—it happens to someone every year.
One more thing worth knowing early: licensing. Terms and pricing for Storyboard Pro change, so students and freelancers should confirm current options directly on the Toon Boom Storyboard Pro product page before committing to a plan.
The fastest way to go from thumbnails to real panels
Storyboarding gets solved at the thumbnail stage, not the panel stage. A thumbnail is a small, rough, messy drawing. It’s fast to make and fast to throw away, and that’s the whole point. You’re not trying to make something pretty. You’re trying to find out if the scene works at all: who stands where, what the camera sees, when the cut lands. Our thumbnail sketch guide goes deeper on this stage.
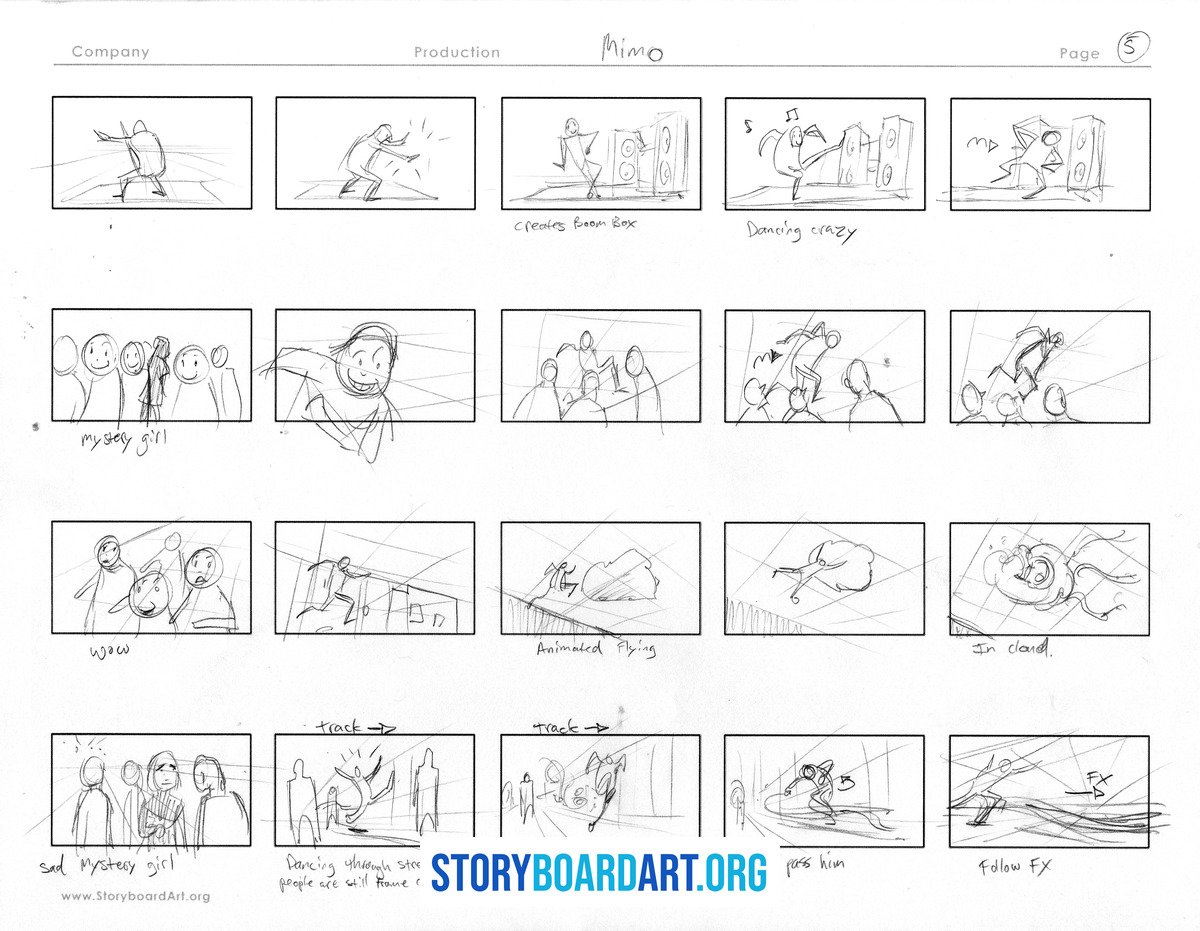
Storyboard Pro has a thumbnailing page built for exactly this. Treat every thumbnail as an option, not a decision. Draw two or three ways to stage the same beat. The software lets you turn drawings on and off with visibility toggles. That means you can flip between versions and compare them side by side without redrawing anything.
Once a version wins, don’t touch it yet. Duplicate the whole thumbnailing page first and keep the copy untouched. This step isn’t optional. Converting a thumbnailing page into panels changes the layout of the thumbnails permanently. If the conversion goes wrong, or you change your mind later, you want the original rough version sitting safely on a duplicate page, not gone.
Now convert. Storyboard Pro turns your chosen thumbnails into full panels or full scenes in one move. From there, do the readable pass: clean lines, clear silhouettes, staging that reads without narration, expressions a stranger could read in two seconds. That’s what "portfolio-ready" means at this stage. Not rendering, not shading. Just clarity.
If you only master one Storyboard Pro workflow before anything else, make it this one. It buys back the hours you’d otherwise lose redrawing a scene that never worked in the first place.
How animatics actually come together: timeline, audio and camera
Here’s a hard truth about how studios review your work. They aren’t just looking at still panels. They’re watching your sequence move.
Animatic sample by mentorship student Magnus Kravik.
An animatic is your timed panels, played back with sound, so it feels like a rough version of the finished scene. A portfolio with one clean animatic looks more professional than a portfolio full of pretty stills. It proves you can handle timing, not just drawing. If the term is new, read What is an animatic? first.
Building one doesn’t need to be complicated. You need three things.
Timeline. Each panel holds for a set number of frames before the next one shows. A frame is a single still image, and most animatics run at 24 frames per second. Don’t leave every panel at whatever the default is, often 12 frames. Decide how long each beat should hold, on purpose. A quiet reaction shot might need 30 frames to land. A quick reveal might only need 8.
Audio. Drop in your dialogue track, even a rough scratch recording of you or a friend reading the lines. Sound gives you something fixed to time your cuts against. Without it, you’re just guessing at rhythm, and every cut will feel arbitrary.
Camera. Add a move only when it changes how the audience feels about the moment. A push in on a face as someone realizes something. A slow pull back to show how alone they’re standing in the frame. Nothing else. A camera move with no story reason attached just looks like decoration, and reviewers notice. Cinematography for Storyboard Artists covers why some moves land and others don’t.
For the camera itself, three habits separate a dead animatic from one that reads like a real scene.
- Preview your framing in Camera View. This is the mode that shows exactly what the final frame will contain, the actual gate, not just your loose drawing sitting on the page. Working in Stage View instead and guessing at the crop is how artists end up with a camera move that looks fine in the workspace and wrong on playback.
- Set a camera keyframe at the start of the move and another at the end. A keyframe marks a fixed camera position at a specific point in time. Storyboard Pro fills in everything between those two points automatically.
- Open the curve editor and adjust the ease in and ease out. Easing controls whether the camera starts and stops smoothly or snaps into motion. A move with no easing looks robotic, even if the framing is perfect.
If you want to see this exact workflow run by a working professional at production speed, watch Storyboard Pro Tricks You're NOT Using (with John Dusenberry).
How to handle revisions like a studio: tracking, validating and exporting changes
Your first pass is supposed to be wrong. It’s not supposed to be sloppy. Those are two different things, and mixing them up costs people weeks. A first pass exists to get notes. Notes are feedback from a supervisor telling you what to fix. That means your first pass needs to be clean enough for someone else to read and react to, even though you already know it will change.
Here’s what the real job looks like. In the story department you’re usually given a brief, and the idea is to drop a presentable iteration as fast as humanly possible, one that can be pitched to your supervisor and will eventually make it into the pitch room for the director. The communication chain is very important, and any doubts about the sequence need to be clearly resolved before committing to the work. Otherwise you can spend days on a sequence that gets cut or changed completely because it was in the wrong direction.
Storyboard Pro has three features built for exactly this loop. Most artists never turn them on.
Turn on tracking before the first round of notes. Tracking marks every panel you touch after you turn it on. Anyone reviewing your file can then see what changed without you explaining it panel by panel.
Export only the changed panels when you send a revised pass. A full re-export buries the actual fixes inside dozens of untouched panels, forcing your supervisor to hunt for what’s new. A changed-only export puts the fix directly in front of them.
Validate changes once a note pass is done. Validating clears the tracking marks so the next round starts clean. Skip this step, and old marks stack on top of new ones until nobody can tell what changed when, or in which pass.
Nobody’s paying you yet. That doesn’t matter. A file that survives a note pass, cleanly marked and cleanly exported, is what makes a portfolio look like it came out of a real story department instead of a bedroom.
How to keep a clean production-style file: assets, naming and repeatability
Most beginners aren’t slow because they can’t draw. They’re slow because they draw the same chair, the same hallway, and the same character from scratch every single time. Then they lose track of which version of a scene is the good one. That’s a file problem, not a drawing problem, and it eats hours you don’t have.
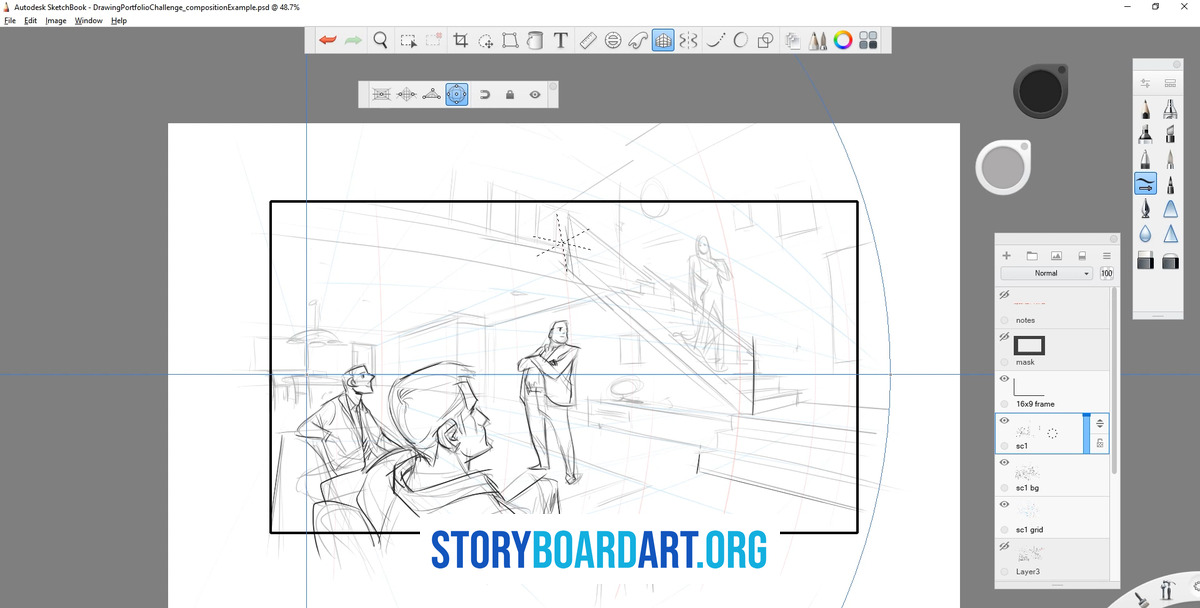
Fix it with a small asset library. An asset library is a folder of drawings you plan to reuse: common character angles, props that show up more than once, and location callouts. A location callout is a quick sketch that establishes where a scene happens. Build each one once, reuse it everywhere, and you stop paying the same drawing cost twice.
Layer naming matters more than it sounds like it should. Name each layer for what’s on it: "Character_Front," "BG_Kitchen," "Prop_Phone." When a supervisor, or future you, asks for one fix, you find the right layer in two seconds instead of hunting through ten layers called "Layer 12."
Two built-in tools protect consistency for free. The lightbox shows you the panel before and after the one you’re drawing, faintly, so a character doesn’t shift size or shape between panels. Onion skinning does the same job for eyelines and proportions across a sequence. Turn both on and leave them on.
Three preference changes remove friction fast:
- Auto Focus: the program follows your cursor instead of making you click into a panel first, so you stop misclicking.
- Auto Save: pick a short interval. A crash then costs you minutes, not hours of redrawn work.
- Undo levels: set the number high enough that you can back out of a bad decision without starting the panel over.
None of this is exciting. It’s the difference between finishing a sequence once and rebuilding it three times.
Frequently asked questions
Is Storyboard Pro worth learning if I’m trying to get hired as a storyboard artist?
Yes, in practical terms. Storyboard Pro is a common tool in real production pipelines for boards and animatics, so walking in already comfortable with it removes friction when you start working with a team. But don’t confuse the software with the skill. As I said earlier, the tools keep changing and the fundamentals don’t. Storyboard Pro is just today’s version of the paper I started my career on. Learn it to express staging, pacing, and clarity, not because the program itself is the point.
What should I learn first in Storyboard Pro if I only have 10 hours this week?
Follow this order and skip everything else for now:
- Thumbnail to panel workflow: solve the scene rough and small, then convert your best version into clean panels.
- Panel editing: get comfortable drawing readable, clear panels without over-polishing them.
- Timeline timing with audio: lay panels against a scratch dialogue track and decide how long each beat holds.
- Camera keyframes in Camera View: add one or two camera moves that change how a moment feels.
Don’t attempt a feature-length script. Build one short scene, ten to twenty panels, and take it all the way through export. A finished short scene teaches you more than a half-finished long one.
Do I need Storyboard Pro to build a portfolio, or can I use cheaper tools?
Not strictly. You can thumbnail and build full sequences in cheaper software or even on paper. What studios actually care about is whether your sequences read clearly, not which program made them. Portfolios for Storyboard Artists breaks down what they look for. That said, if you plan to eventually hand a sequence to an editorial team or apply somewhere that works in Storyboard Pro, test your export path early. Don’t discover a broken pipeline the week before you need to submit something.
Where do I find the official requirements, supported versions, and current licensing options?
Check the Toon Boom Storyboard Pro product page directly. Requirements, supported operating systems, and pricing all change over time, so treat that page as the current source rather than any article, including this one.
I want to work in the US. Does union membership matter for story artists?
It’s worth understanding, even if it’s not the first thing to worry about. The Animation Guild is the union representing animation artists in the US, including story artists, and it covers things like minimum rates and working conditions on union productions. Read up on what it does and who it represents before you assume it does or doesn’t apply to the work you want. You can start at The Animation Guild (IATSE Local 839).
If your real bottleneck right now is knowing what a hiring studio actually wants to see rather than the software itself, that’s a portfolio problem. Start with Killer storyboard portfolio.
