Contents
- What is an over the shoulder shot?
- How an over the shoulder shot works in storyboards, and choosing the right variant
- What an over the shoulder shot communicates
- Keeping OTS pairs consistent: continuity, lens feel, and lighting
- Common over the shoulder shot mistakes and how pros break the rules
- Frequently asked questions about over the shoulder shots
Dialogue scenes can be traps. Your pencil falls into the same pattern repeatedly: medium shot, medium shot, cut, cut, cut.
Those are likely over the shoulder shots (OTS). They frame one character from behind another's shoulder. Most artists use them without thinking about why.
This guide will change that. You'll learn to place OTS shots deliberately, maintain clear geography so audiences always know who's where, and use shoulders and angles to control emotional distance.
That's what makes a storyboard stand out. Recruiters and supervisors notice clarity first. They linger on sequences with purpose, not repetition.
What is an over the shoulder shot?
An over the shoulder shot shows one character from behind another's shoulder. The foreground shoulder stays visible while the other actor's face dominates. This organizes space and keeps dialogue clear.
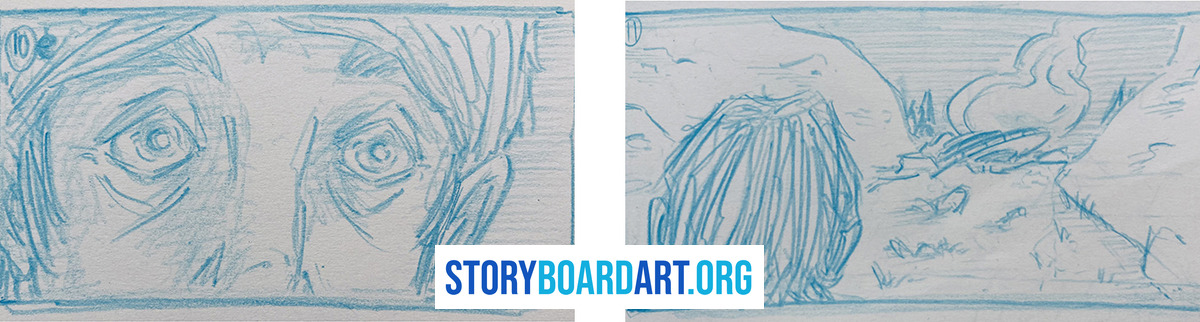
OTS shots rarely appear alone. They come in matched pairs, one over each character's shoulder, cutting back and forth during conversation. Filmmakers call this pattern "shot reverse shot."
Small adjustments change everything. The amount of shoulder visible, camera height, and background focus all alter mood. A tight frame with blurred foreground feels intimate. A wide shot with both faces sharp creates distance. These choices shape how viewers perceive the conversation. More on how camera height and angle change a frame in Camera Angles for Storyboard Artists: Complete Visual Guide.
Picture a two-person argument across a kitchen table. In shot one, the camera sits over character A's shoulder, favoring B's face. B leans forward, voice rising. Cut to shot two: camera stays on the same side of the room, but now it sits over B's shoulder, favoring A. A's jaw tightens. The shoulders differ between the two shots because the camera is looking from opposite ends of the same line, not because anyone moved. That's the pair working correctly. If a board artist flips the axis between cuts, the table seems to rotate and the fight stops making visual sense.
How an over the shoulder shot works in storyboards, and choosing the right variant
Before drawing, lock your geography. Know exactly where each character stands and where they're looking.
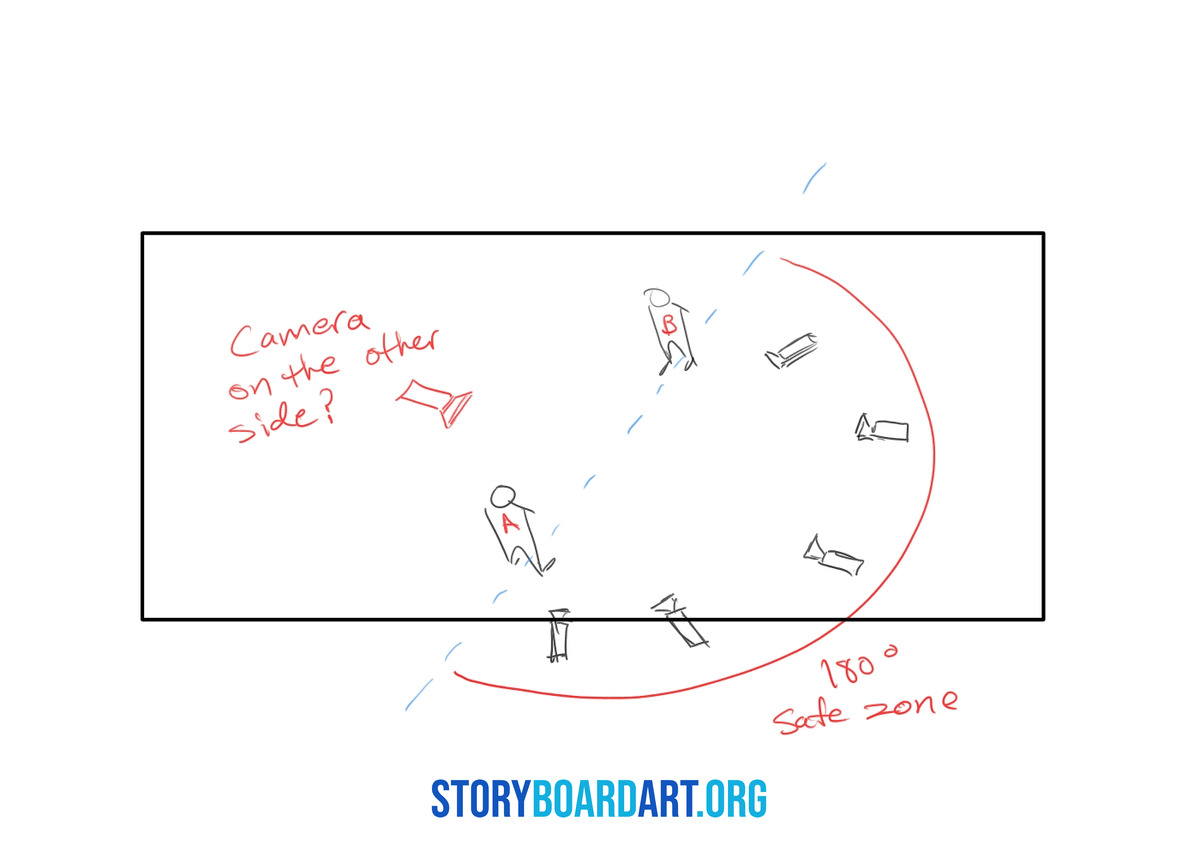
Get this wrong and your OTS pair fails. If the audience can't track who's left and who's right, the cuts confuse rather than connect. Sketch a simple overhead map first: dots for characters, arrows for eyelines. This foundation supports every panel that follows.
Protect your geography with the axis. Some call it the 180-degree line. This invisible line connects your characters. Keep cameras on one side of it and spatial relationships remain consistent. Cross it accidentally and characters seem to switch places, breaking the scene completely. More on this in 180 Degree Rule in Film: Storyboard Guide to Screen Direction.
With geography set, choose your OTS style. Each variant serves a different purpose, so pick based on what the scene needs, not habit.
- Dirty OTS: fills the foreground with a prominent shoulder, often blurred. It places viewers directly behind a character, creating intimacy or pressure. Keep the shoulder soft at the edges so it frames rather than overwhelms.
- Clean OTS: minimizes the foreground presence and keeps focus on performance. Maintain proper eyelines here or the shot collapses into a simple single.
- Wide OTS: shows the surrounding environment. Use it when location matters as much as the conversation. A courtroom or battlefield OTS establishes scale beyond the two people talking.
Now consider an interrogation scene. The detective sits across from a suspect in a small room. A dirty OTS over the detective's shoulder, foreground soft and heavy, makes the suspect look cornered. Cut to a clean OTS favoring the detective instead, barely any shoulder at all, and the detective reads as composed, almost detached. The contrast between the two variants is doing narrative work: pressure on one side, control on the other. Swap them and the scene reads backward.
Build your shot-reverse-shot carefully. In a true pair, the camera stays on one side of the axis throughout, so the foreground shoulder flips: over A's left shoulder in one shot, then over B's right shoulder in the reverse. It is never the same shoulder repeated in both shots. Keep head sizes and eyelines consistent too. Need a bridge between shots? Insert a two-shot or a neutral element like hands on a table.
Camera distance controls emotional intensity. Oscar-nominated editor Robert Dalva taught me this on Star Wars: The Clone Wars. The camera represents the audience. Closer shots create connection. Wider shots create distance. Story artists make these decisions early, often before cinematographers join the production. We must understand how camera placement affects emotion before filming begins. More in Different Camera Shots in Film: Fix Flat Storyboards.
Your OTS choice should clarify spatial relationships and support the emotional beat. If it does neither, pick a different shot.
What an over the shoulder shot communicates
An OTS performs three key functions.
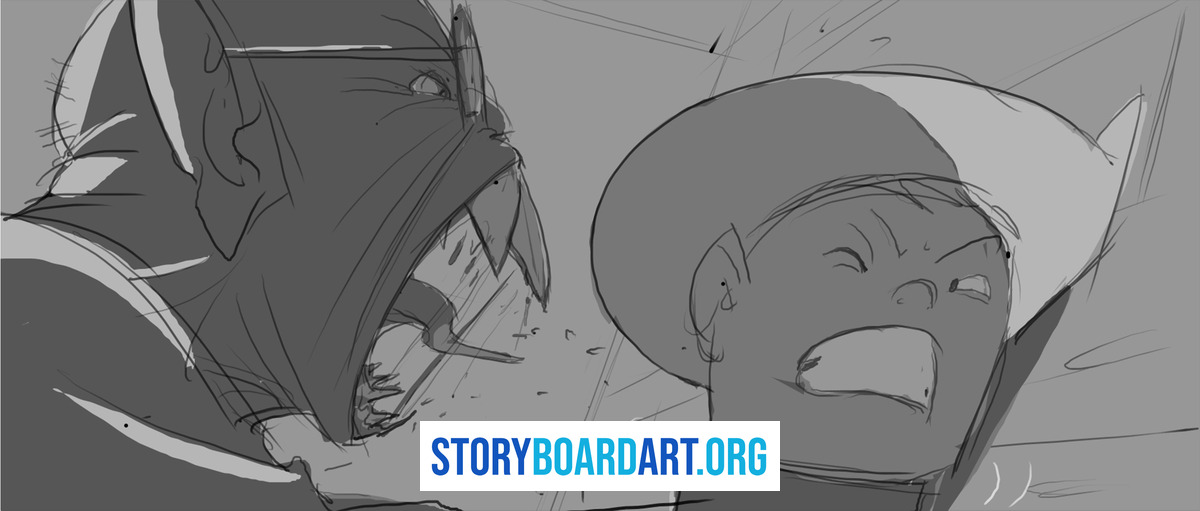
First, it locates the off-screen character. Seeing that shoulder tells our brains: this person is right here, facing that way. We retain this information throughout the scene.
Second, it creates connection. Both characters share the frame, suggesting they're engaged in the moment together. Remove the shoulder for a clean single and that connection disappears.
Third, it conveys power dynamics. A dominant foreground shoulder can visually overwhelm the other character, crowding their scene partner.
Now picture a reconciliation scene: two characters who argued earlier sit back down at that same kitchen table. The board artist chooses clean OTS for both sides this time, barely any shoulder, soft shared light. Nobody is crowding anyone. The absence of a heavy foreground shoulder signals the pressure has lifted. Compare a plea staged with an encroaching shoulder: it feels cornered. Stage the same plea as a clean single and it feels isolated instead.
Warning: overusing OTS shots makes your work look automatic rather than intentional.
Keeping OTS pairs consistent: continuity, lens feel, and lighting
An OTS pair fails when individual drawings look good but feel wrong together. These details keep continuity intact.
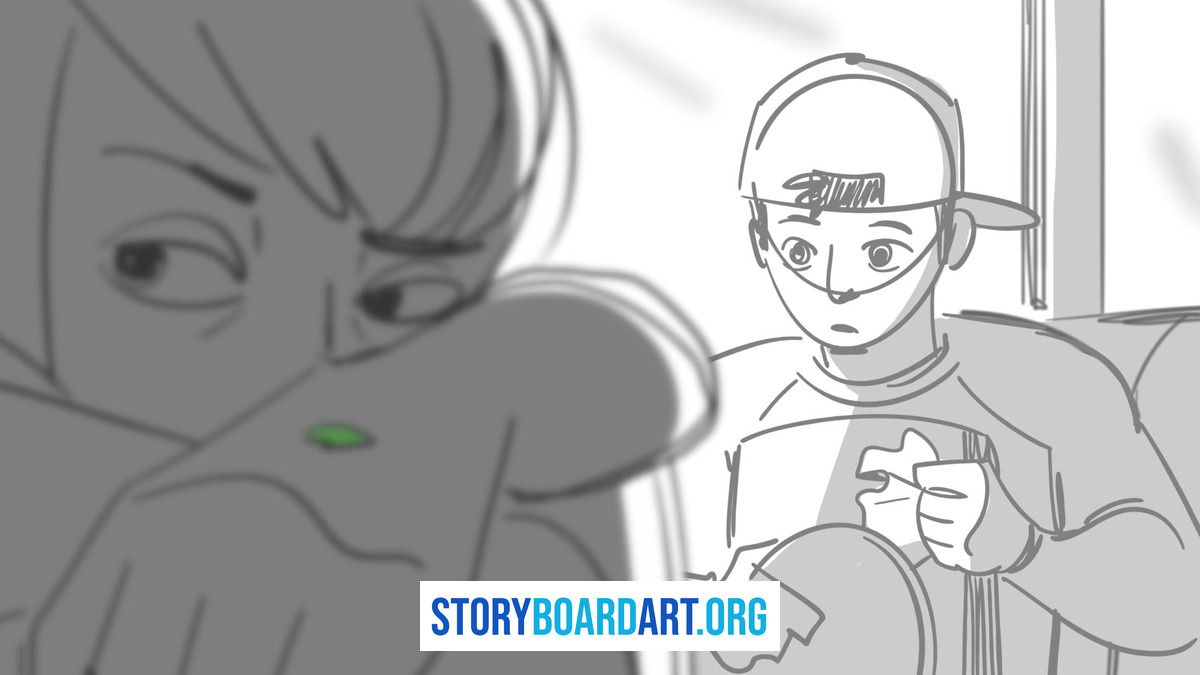
- Axis discipline: the camera stays on one side of the line for the whole exchange. The foreground shoulder changes from shot to shot because you're looking from the opposite end, not because anyone crossed the line.
- Eye-level matching: characters must appear to look directly at each other. Mismatched eyelines break the connection.
- Size consistency: avoid abrupt jumps between tight and wide OTS without a narrative reason.
- Background anchors: keep recognizable elements, windows or furniture, visible to maintain geography.
Height differences cause common problems. Don't cross the axis to fix them. Adjust staging or camera height instead. Have the tall character sit, or raise the camera while staying on the correct side. More solutions in Composition for Storyboards: Rules Every Artist Must Know.
Lens choices matter too, even though you won't label them on the page. Supervisors care about emotional distance, not technical specs, so convey it through shoulder and face size. A short-tele feel uses a smaller shoulder, a tighter face, and a flatter background: good for private, intimate moments. A wide-and-close feel uses a larger shoulder dominating the frame: good for tension and confrontation. Test your boards by asking whether the shoulder distracts from the face. If it does, reduce its size or soften it. Keep shoulders soft and faces sharp so attention goes where it should. More on cinematographic principles in Cinematography for Storyboard Artists: Film Language Guide.
Your drawings also affect production realities on set. In tight OTS, a foreground shoulder can block the key light, so note adjustments like "rim light" or "soft key" when the staging demands it. Close OTS also leaves little room for a boom mic overhead. Avoid steep, tight angles that push the mic out of range, and leave a note like "keep headroom for boom" on panels where the frame is especially tight. That one line shows foresight. The American Society of Cinematographers offers deeper lighting reference for artists who want to go further.
Common over the shoulder shot mistakes and how pros break the rules
Four frequent OTS errors show up again and again:
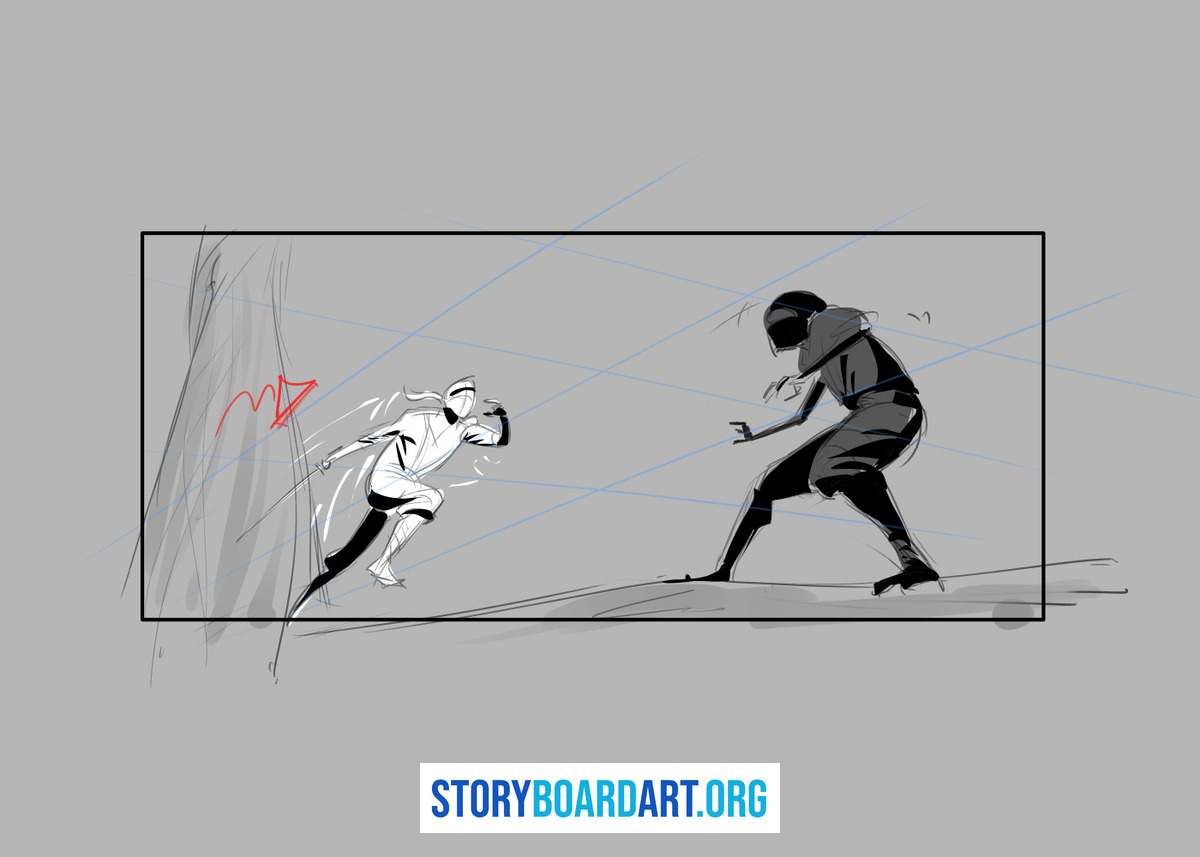
- Mismatched eyelines. Match each character’s look direction to your overhead map.
- Overpowering shoulders. Reduce size and soften edges.
- Repetitive framing. Vary shot sizes when emotional beats shift.
- Automatic usage. Only include shoulders when they serve a purpose.
Breaking the 180-degree rule works when it’s intentional. Most of the time I don’t break the 180 unless I really need to. It’s hard enough to get the emotional beats across without complicating screen direction. I break it on purpose for intense action scenes, or to create something jarring for the audience: a reversal, or a change of story direction that the beats in the scene actually support. That way screen direction becomes a tool I can use to make the scene more impactful. Most of the time, though, I keep things straight.
Full breakdown in 180 Degree Rule in Film: Storyboard Guide to Screen Direction.
Supervisors instantly recognize intentional choices versus mistakes. Master OTS fundamentals, then build a strong portfolio with Killer Storyboard Portfolio.
Frequently asked questions about over the shoulder shots
Is an OTS the same as a POV shot? No. POV shows exactly what a character sees, with no other characters visible. OTS maintains an observer perspective.
How much shoulder should I show? Enough to establish presence, not so much it distracts. Keep it consistent between paired shots.
Do I always need OTS for dialogue? No. Two-shots, clean singles, or profile staging often work better. Choose based on the scene's needs.
What should I label in panel notes? "OTS" or "over" both work. Specify which shoulder when continuity matters, such as "OTS over A’s right shoulder, favoring B."
When should I switch from OTS? When the emotional beat shifts inward or power dynamics change dramatically. That's when singles or close-ups become more effective.
