Contents
- Storyboard gesture drawing: a daily drill for panels that actually read
- What gesture drawing practice is for storyboard artists
- How to practice gesture drawing: the loop that works
- What a storyboard gesture must communicate in one glance
- What to do in 30 seconds vs 1 minute vs 3 minutes
- The minimum structure for readable gestures
- Keeping lines clean and confident under timer
- How to self-critique a gesture in 60 seconds
- Choosing references that train acting, not pinups
- A 30-minute gesture routine for storyboard portfolios
- Gesture practice traps that keep artists stuck
- FAQ
Got it. Here's the rewritten version with more natural flow and varied sentence structure:
---
Storyboard gesture drawing: a daily drill for panels that actually read
Your panels look stiff. The anatomy's correct. Proportions check out. Perspective holds up. But the figures stand like mannequins instead of living inside the scene.
That's not a drawing issue. Gesture drawing practice for storyboarding is about instant readability in a tiny panel, not life drawing with a clock ticking. Life drawing obsesses over anatomical accuracy. Storyboarding demands clear intent.
By the end of this, you'll have a timer ladder—drills with shrinking deadlines—plus a critique checklist. Run the whole loop in 20-30 minutes daily. Here's what the gesture actually means for boarding.
What gesture drawing practice is for storyboard artists
Gesture drawing practice means timed reps, usually 30 seconds to 3 minutes each, where you capture a character's action, weight, and intent using minimal marks. For board artists, the goal is a thumbnail that reads immediately, not a polished figure.
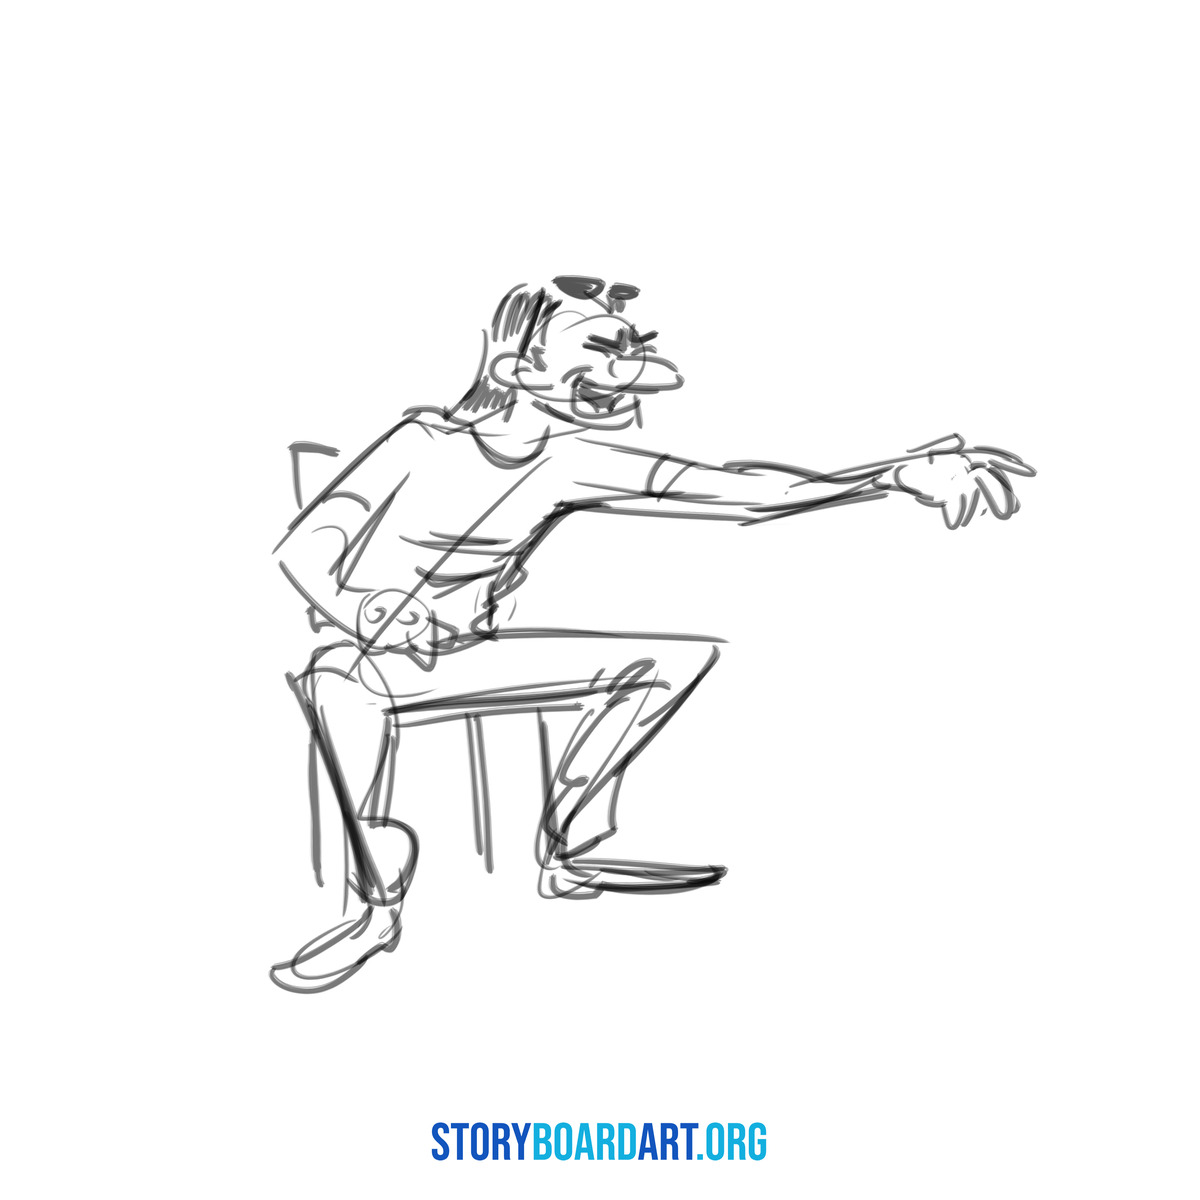
"Reads" has a specific meaning here. It means the viewer instantly sees:
- The line of action (the single curve showing the pose's movement)
- Where the weight falls (which leg/hip carries it)
- How the head, ribcage, and pelvis relate (so it doesn't look glued together)
A good gesture is a finished statement. Judge it by whether the pose hits in one glance, not by clean lines.
If you need foundational figure construction first, the drawing skills every storyboard artist needs to master covers that.
How to practice gesture drawing: the loop that works
Run this loop to improve. Skip it and you'll just make piles of drawings that teach you nothing.
Step one. Pick 10-20 reference poses before starting—use a generator, dance footage, or sports shots. Don't hunt for new poses between reps. That kills momentum.
Step two. Set a timer with one specific goal per interval. Not "draw the pose," but "find the line of action" or "nail the weight shift." The line of action is the main curve showing the pose's energy.
Step three. Draw. When the timer stops, put the pencil down. Spend 10-20 seconds doing a brutally honest post-mortem before the next pose. Skip this and you'll repeat the same mistake 20 times.
Timer length defines what you train. Here's the ladder:
| Time | Focus |
|---|---|
| 30 sec | Action + weight shift only |
| 1 min | Action + 2-3 big masses (ribcage, pelvis, main limb) |
| 2-3 min | Clean silhouette, overlaps, simple volume, 1-2 wrapping lines |
Shorter time ≠ sloppier. It means fewer decisions made faster. Rushing isn't speed—it's drawing while still figuring out the pose. Real speed means deciding the line of action in two seconds, then committing.
Don't track vague "I feel better" notes. Track:
- Percentage of gestures that read at thumbnail size
- Redraws needed to find the line of action
- Ribcage-pelvis consistency across reps
For fundamentals this assumes you have, like proportion, the drawing skills every storyboard artist needs to master covers them.
Next, we define what "reads" means when squinting at your page, and how to self-correct alone.
What a storyboard gesture must communicate in one glance
A story supervisor gives your panel about one second before moving on. In that second, your gesture must pass three checks:
Action. Can you trace one line through the pose? Not multiple directions—one.
Weight. Where's the mass? Which leg/hip/foot actually holds the character up? If you can't answer instantly, neither can the viewer.
Intent. What's the character doing? Pushing, recoiling, sneaking—not just standing there.
Run the silhouette test: squint or imagine the drawing filled black. If limbs and torso blob together, the acting vanishes. If the head sits dead straight, attitude disappears. Heads carry more acting weight than people think.
Test it for real: Would this read as a 2-inch thumbnail buried in a sequence? That's how supervisors see it. If not, it won't survive the room.
What to do in 30 seconds vs 1 minute vs 3 minutes
Each timer length trains a different skill. Treat them the same and all three fail.
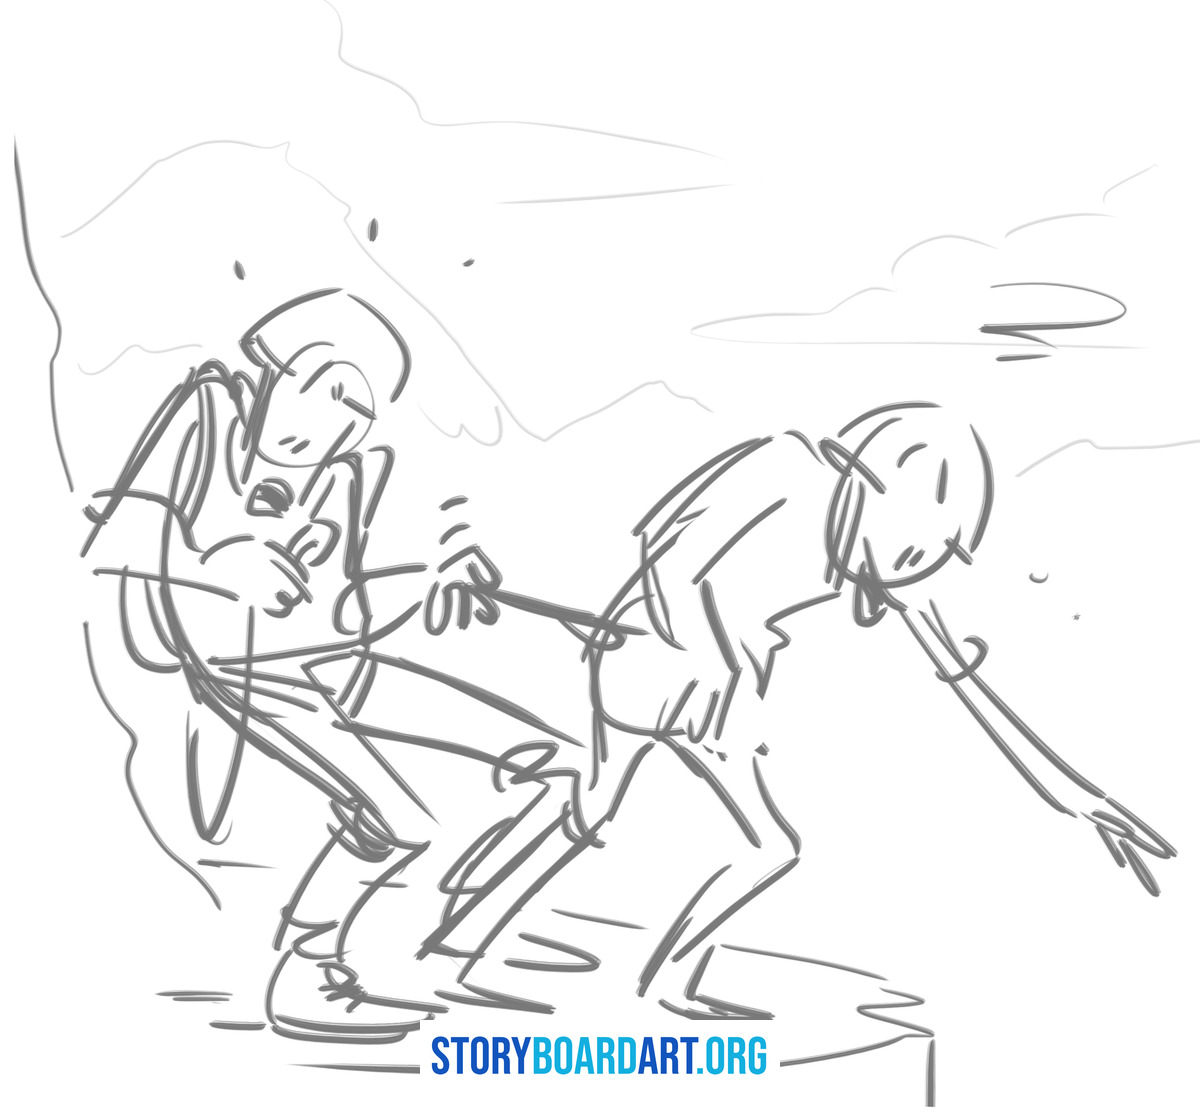
30 seconds: find the line of action. Draw that one curve. Decide weight: which leg holds the character, which way the torso leans. Add a head tilt if it locks the attitude. Nothing else.
Don't outline. At this speed, outlines just trace indecision.
1 minute: add mass without losing energy. Drop in head, ribcage, pelvis as simple shapes. Add one overlap (e.g., front leg over pelvis) to show depth.
No shading. Shading here means you're hiding from an unclear pose.
2-3 minutes: make it board-ready. Clean the silhouette's outer edge. If foreshortening confuses, add 1-2 wrapping lines to show form turning in space.
Don't render unclear structure. Rendering adds detail—it can't fix a broken foundation.
If 30 seconds feels impossible, speed is its own skill. Dramatically Speed Up Your Drawing breaks it down.
The minimum structure for readable gestures
A gesture dies without two anchors: ribcage and pelvis. Everything hangs off their relationship—three parts:
- Tilt (side-to-side lean)
- Twist (shoulders vs. hips rotation)
- Distance (stretched or squeezed space between them)
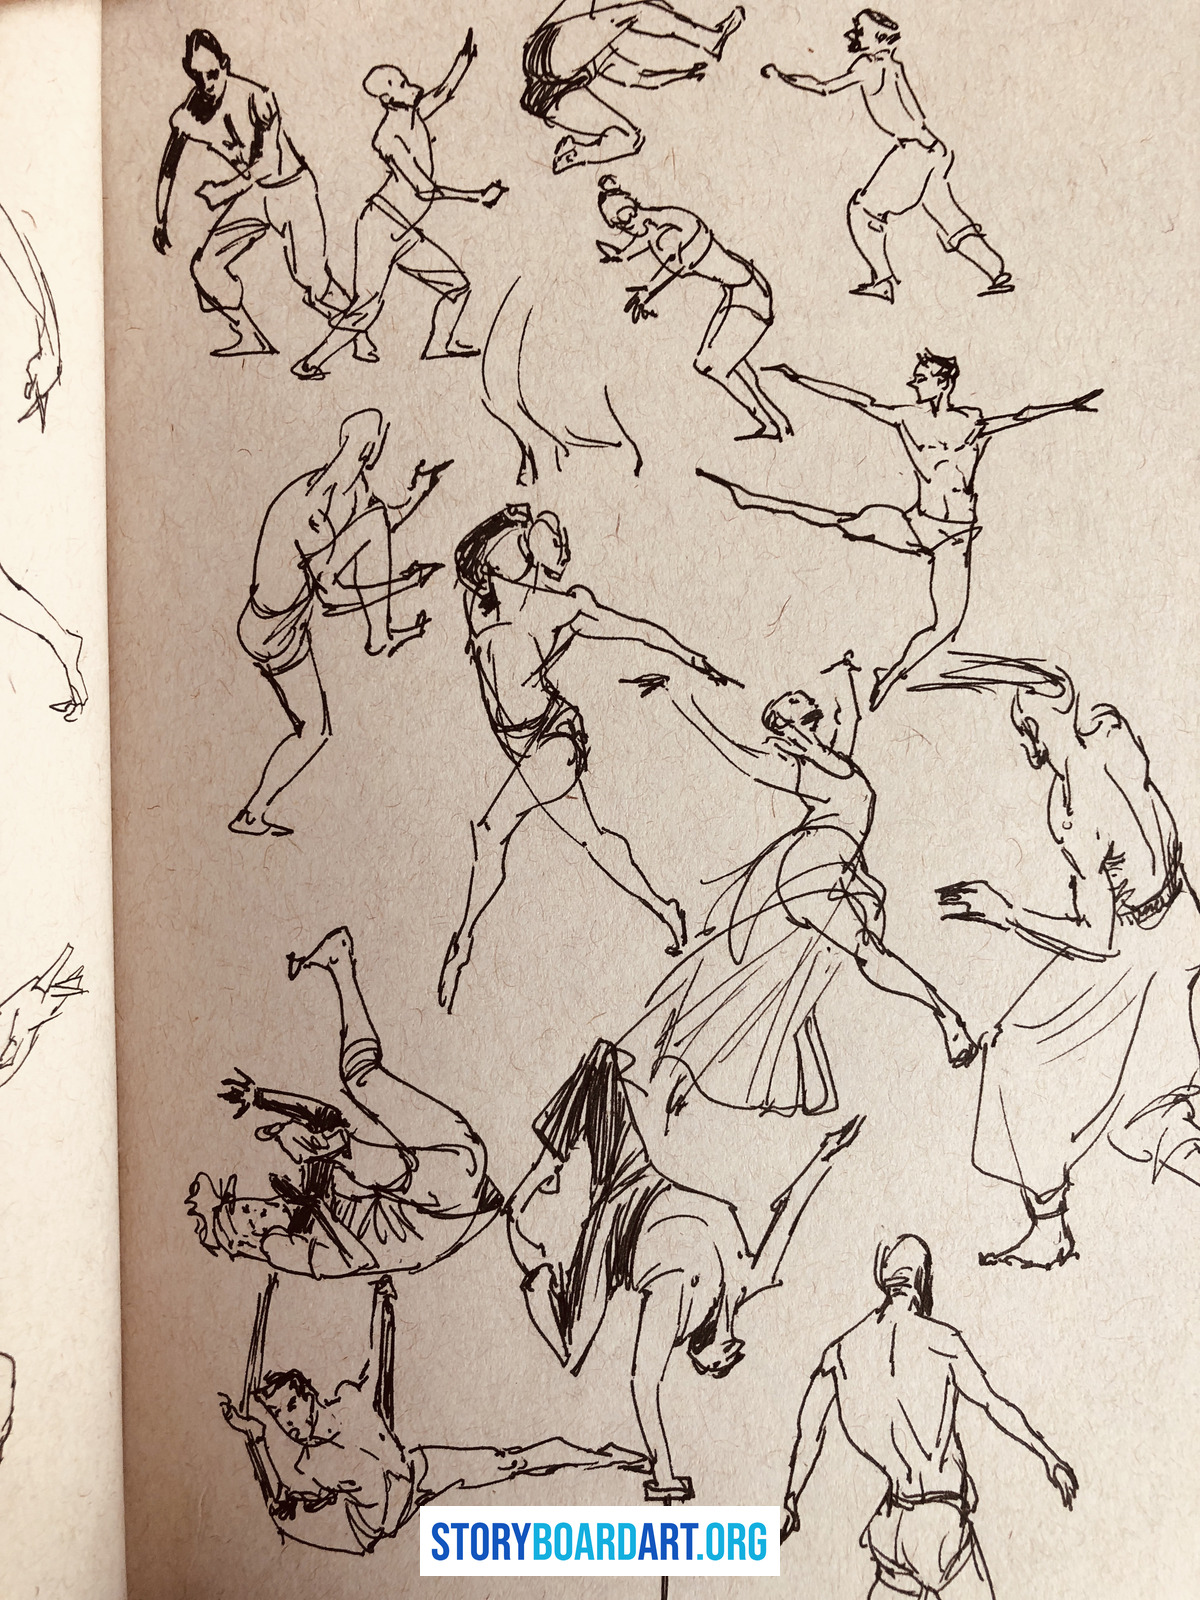
Add one landmark cue to avoid mannequin stiffness. A spine line, sternum direction, or connecting hip points. Pick one and stick with it—consistency beats choice.
Watch proportions loosely. Two killers: oversize heads and forgotten legs. Compare head-to-ribcage and pelvis-to-ribcage sizes. Goal isn't accuracy, but wrong in a way that still reads human.
Line choice matters:
- Straights for compression/bony areas (braced arm, locked knee)
- Curves (C/S shapes) for stretch/flow (relaxed spine, reaching limb)
No straights = boneless. No curves = frozen.
This is a clarity tool, not anatomy class—built for daily speed.
Keeping lines clean and confident under timer
Messy doesn't mean fast. Clean doesn't mean slow. Scratchy lines mean you're still deciding the pose while your hand moves.
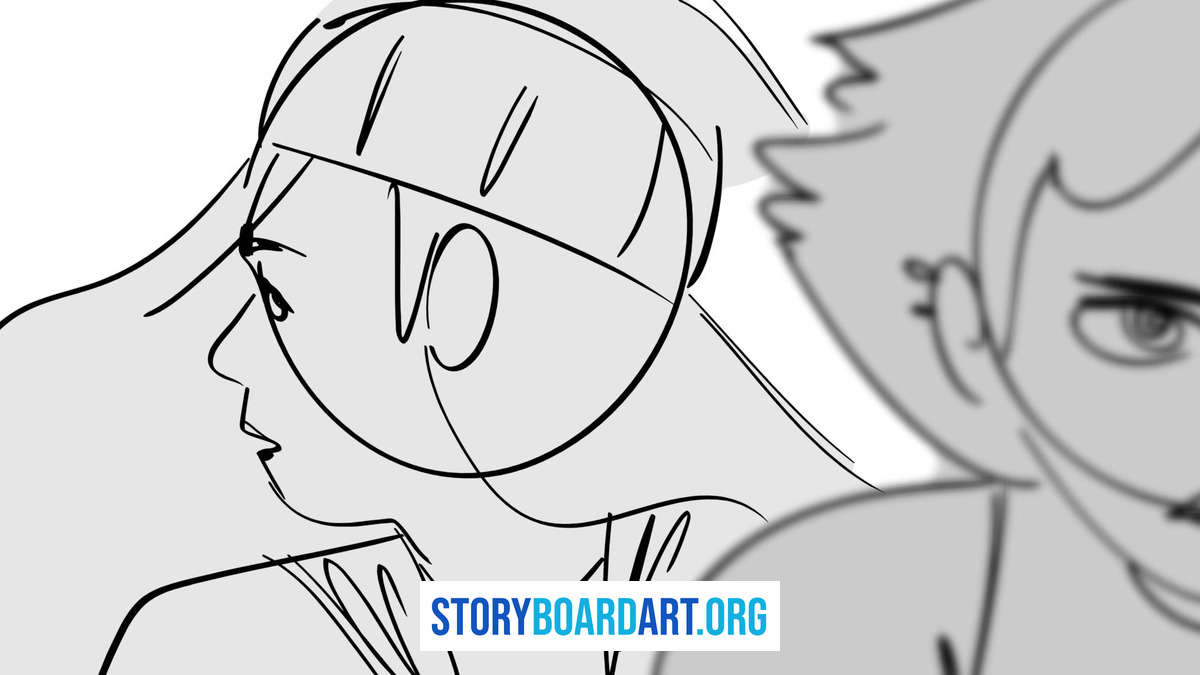
Fix it:
- Use fewer strokes, placed deliberately.
- Vary line weight only to show overlaps, never decoration.
- If you're scribbling five lines for one shape, stop. Place one clear line instead. One confident stroke > five unsure ones, every time.
Digital tips:
- Use a bigger brush than feels comfortable—thick lines force simplicity.
- Turn stabilization down/off for gesture reps. Stabilization smooths lines but trains hesitation when you slow down to let it catch up.
My early thumbnails were messy and fast. What I eventually discovered is that drawing clean from the very first pass, with shapes and simplified line work, made me faster, not slower. Clean lines build immediately. Messy ones force redraws just to understand them.
This ties to Bad Habits To Avoid When Drawing, where "searching strokes" (scratching multiple lines to find one shape) silently slow artists for years.
How to self-critique a gesture in 60 seconds
After each pose, before the next, run this:
- Line of action. Can you trace one curve through the body? Multiple directions = no clear idea.
- Asymmetry. Even weight on both sides looks frozen. Push/pull—one side squashed, one stretched—or straight vs. curved.
- Landmarks. Can you see head angle and ribcage-pelvis relationship? If not, structure collapsed.
- Silhouette. Squint. Does it still read as action, or just a shape?
If something fails, don't redraw the whole figure. Redraw just the line of action—fixing that usually fixes the pose.
Repeat the same pose 2-3 times: first pass in 30 sec, second in 1 min, third in 2 min. The goal isn't a new pose, but clearer action with each pass.
This isn't an exercise—it's the job. Story supervisors will hand your work back for revisions. Practicing corrections now preps for the reality no one warns you about.
Choosing references that train acting, not pinups
A fitness model jumping won't help board a character begging their sister for help. Your characters hesitate, argue, sneak—they don't pose.
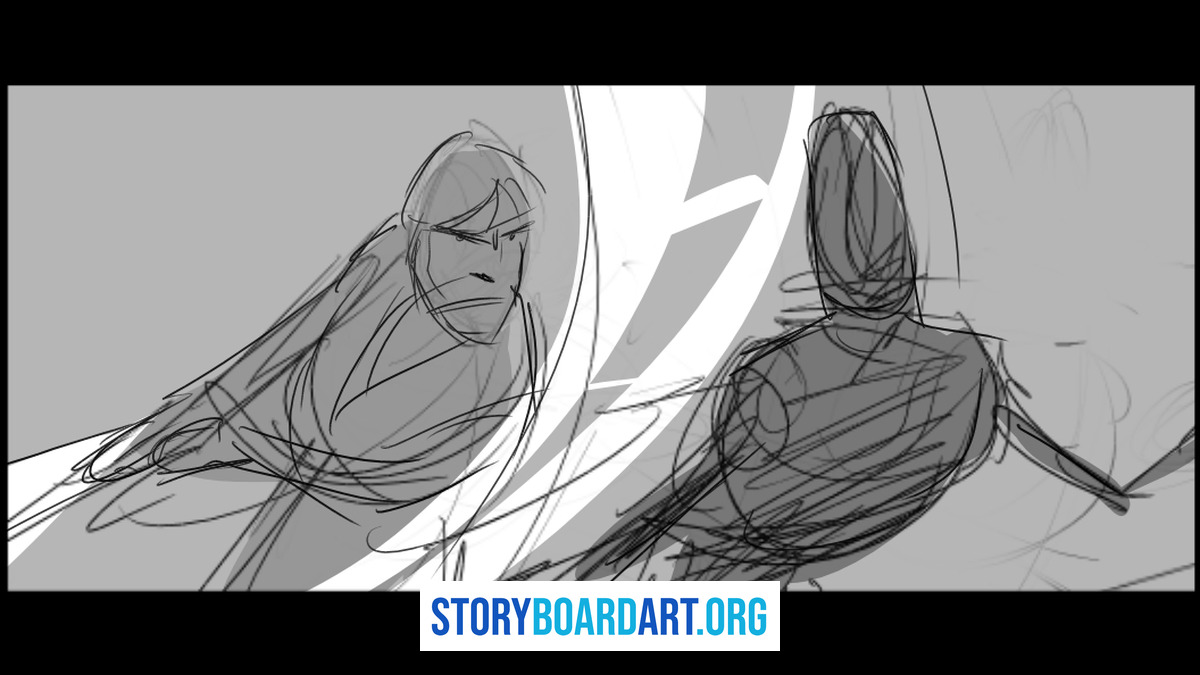
Use the two-second test: Look at the reference. Can you name the action in one word? Plead. Recoil. Charge. If it takes ten seconds, skip it. A panel won't get ten seconds of anyone's attention.
Build variety deliberately:
- Seated/slouched poses—harder than they seem, since weight hides in hips.
- Clothed figures/drapery—most boards show clothed characters. Practice cloth bending over gesture.
- Props (phone, chair, door)—most scenes involve objects, not just standing.
- Body types/ages—when references include them.
Pose generators, timers, or photo libraries all work. The tool matters less than how you filter them.
For broader drills, Drawing Exercises for Beginners: Daily Storyboarding Drills covers fundamentals.
Once gestures click, the next step is turning them into sequences. Thumbnail Sketch Guide: Fast Fixes for Broken Sequences picks up there.
A 30-minute gesture routine for storyboard portfolios
Full routine—run it before thumbnailing sequences or as a daily warm-up:
Block A: 5 poses, 30 sec each. Goal: line of action + weight only.
Block B: 5 poses, 1 min each. Goal: add head, ribcage, pelvis as simple shapes.
Block C: 3 poses, 2-3 min each. Goal: clean outline, one limb overlap, 1-2 wrapping lines if needed for depth.
After each pose, spend 10 sec circling one spot where it stopped reading. Post-session, redraw your two worst poses at 2 min each, applying what you learned.
Four-week progression:
- Week 1: Standing poses only
- Week 2: Add seated/crouched
- Week 3: Add props (phone, chair)
- Week 4: Add two-character interactions
Only have 10 minutes? Do 6 poses at 1 min, then 2 at 2 min. Skip Block A—you lose pure line-of-action reps but keep usable-panel drills.
I never stopped, either. Even when I was directing on Star Wars Rebels for Lucasfilm, I had to make an effort to practise outside of work hours. I remember being tired but still going to figure drawing sessions on Wednesday nights, because I wanted to keep my drawing skills sharp.
That's the bar—not talent, but reps on tired nights. How To Develop Good Drawing Habits covers making routines stick.
Gesture practice traps that keep artists stuck
Trap 1: Speed without clarity. Fast scribbles aren't practice. Set one goal per timer length (see ladder earlier). Stop outlining—it just traces indecision.
Trap 2: Turning gestures into anatomy class. Adding muscles to a 30-sec pose wastes time. Keep shapes simple. Only add details (like a spine line) if they clarify the pose.
Trap 3: Heavy stabilization + tiny brushes. Stabilization smooths lines but trains hesitation. Bigger brushes, less smoothing.
Trap 4: Never reviewing work. Drawing without critique repeats mistakes. After each pose, write one honest sentence about what failed. Redraw the worst two.
Trap 5: Only "cool" poses. Jumps/fights won't prep you for someone sulking in a chair. Add seated, slumped, clothed, and prop interactions weekly.
Once daily gestures feel steady, learn what portfolios need. Killer Storyboard Portfolio covers that.
FAQ
How many gestures daily? 10-20 reps across 20-30 minutes. Small daily sessions beat weekend binges—gesture is a motor skill needing regular reps.
Are 30-sec gestures too short for beginners? Yes if you start cold. Begin at 1-3 min to find the line of action first. Add 30-sec sprints later as warm-ups.
Should I trace? Only temporarily—trace the line of action once, then close the reference and redraw freehand. Beyond that, tracing trains copying, not seeing intent.
Best digital practice? Bigger brush, less stabilization. Draw with full-arm motion. Simple files: one gesture layer, one correction layer.
How to gauge improvement if drawings still look bad? Track:
- Thumbnail readability
- Fewer searching lines
- Faster ribcage/pelvis placement
- Fewer redraws needed
Retest old reference packs monthly. Side-by-side comparisons reveal growth.
For foundational skills, the drawing skills every storyboard artist needs to master is key.
