Contents
- Before you start: what to gather and what to decide
- Step 1: Find the scene's shape, beginning, middle, and end
- Step 2: Track the character arc across the scene
- Step 3: Read for subtext, not just dialogue
- Step 4: Mark the script for visual decisions
- Step 5: Turn the beats into a beat board
- Step 6: Lock geography and build your shot list
- Step 7: Thumbnail, then review like a story supervisor
- Tips and troubleshooting
- Frequently asked questions
You open the script. You grab a pencil. You start drawing panel one before you know what the scene is actually doing.
I did this too. The boards came out random. Or they went on forever with nothing at stake, because I never figured out what the scene needed before I started drawing it.
How to break down a script for storyboarding means finding the story before you find the shots. You are looking for structure: a beginning, a middle, an end. You are tracking how a character changes across the scene, and what's happening underneath the dialogue that never gets said out loud. Story supervisors, directors, and writers all work this way. Structure and subtext first, shots second. That order is the whole job.
By the end of this guide you will have a script marked with the story decisions that matter, a clear read on the scene's arc and subtext, and a shot plan that follows from what the story actually needs instead of guesswork.
Before you start: what to gather and what to decide
Get your script pages ready. Use the newest version of the scene, with scene headings and full dialogue included. Print the pages if you can. Marking up paper is faster than fighting a screen, but a PDF you can annotate works fine too.
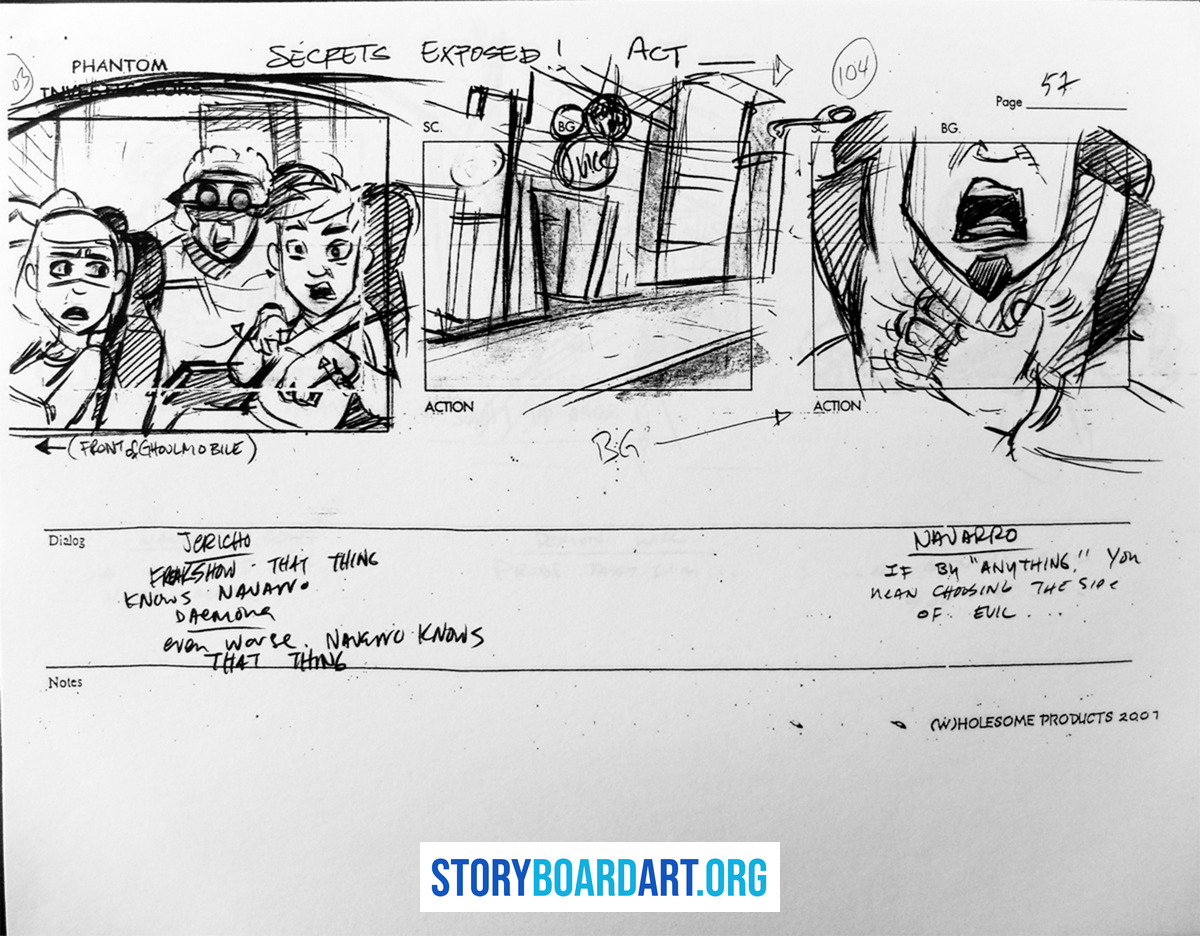
Grab two highlighters and a pen, or a PDF app that lets you underline and comment. Keep one blank page free for beat notes and arc tracking.
Make one decision before you read a single line. Are you breaking this down to understand the story, or to plan production logistics like schedules and budgets? This guide covers the storytelling version only. That choice changes everything you write in the margins.
Writing your own script too? Check our guide on writing for storyboards. It covers script choices that make a scene easier to board later.
Step 1: Find the scene's shape, beginning, middle, and end
Read the whole scene once before you draw anything. No pencil, no thumbnails. Just read.
You're looking for the scene's shape. Every scene, even a short one, has a beginning state, a middle where pressure builds or shifts, and an end state that is different from where it started. If the end matches the beginning, the scene probably doesn't need to exist. Find the line, or the moment, where things stop being what they were.
Write down two sentences when you finish reading.
- Sentence one: Who the scene is about, and what does this person want.
- Sentence two: How does the scene begin, and what has changed by the end.
If you cannot answer both in one short sentence each, read the scene again. Do not move on until you can.
Step 2: Track the character arc across the scene
A scene is a shape, but it's also a change in a person. Before you think about a single shot, work out what each major character wants walking in, and what they walk out with instead. That gap is the arc, and it might be small: a character who was hopeful becomes guarded, or someone who was in control loses it for a moment.
Go through the scene and mark the beats. A beat is one moment where something changes: power shifts, a secret comes out, someone makes a choice, someone enters or leaves. Mark three to seven of these. Fewer than three and you've probably missed a shift. More than seven and you're marking every line instead of the moments that matter.
For each beat, note which character is moving and which way. Is someone gaining ground or losing it? Is someone closer to the truth or further from it? This is the spine your shots will eventually hang on. A shot that doesn't serve the arc is a shot you don't need yet.
Step 3: Read for subtext, not just dialogue
Dialogue tells you what characters say. It rarely tells you what they mean. Subtext is the gap between the two, and it's where most of your visual storytelling will live.
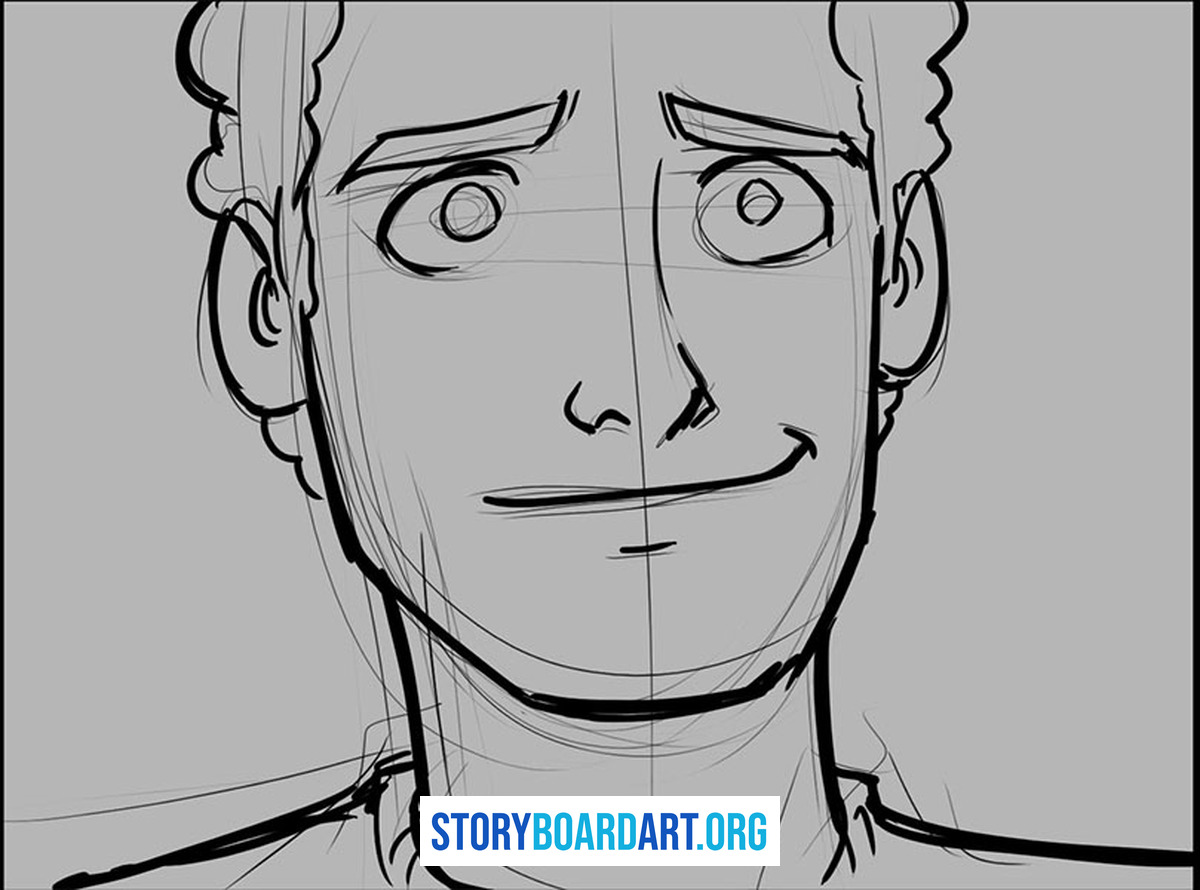
Go back through the scene and ask, for each significant line: is this person saying what they actually feel? If not, what are they really doing? Lying, stalling, testing, hiding? Box any line that flips the scene's direction, where someone lies, gives in, threatens, or finally says the thing they were avoiding.
Next to each boxed line, write one word describing what has to show on a face or in a body instead of in the dialogue. Is it a reaction, a decision, a lie held together by will? That word tells you later whether the shot should be a close-up or something wider. A line of dialogue with no note attached is just words. A line marked "lying, wants her to believe him" already tells you what to draw.
Watch for the quiet stretches too, the long dialogue exchanges with no stage direction at all. Those aren't empty. They're visual problems the script left for you to solve using subtext instead of stage direction.
Here is a short made-up example, not from a real script, just to show the style:
> He crosses to the window and looks out. "I never wanted this." (box: lie, he wanted exactly this) He picks up a photograph. (circle: her and someone else, he's never seen this man before)
Step 4: Mark the script for visual decisions
You now understand the shape, the arc, and the subtext. Go through the script one more time with a pen, this time marking the physical, visible things a camera actually needs.
- Underline every verb and physical action that has to be shown on screen. Someone stands up, throws a punch, grabs a phone, closes a door. If a body moves, underline it.
- Circle props, entrances, exits, and anything that marks where things are in a room. A gun on a table, a door on the left, a car pulling up outside. These are things your camera has to show clearly.
- Boxes you've already placed in Step 3 for the lines that turn the scene.
Next to a circled prop, write what the audience needs to know about it. Where is it, who owns it, is it dangerous or valuable. A gun with no note is just a gun. A gun marked "loaded, his, hidden from her" tells you exactly what to draw.
Watch for one warning sign while you mark. If you catch yourself writing a shooting day, a cost, or a location budget in the margin, stop. That belongs in a different document, not this one.
You should now have a script that is easy to scan at a glance. Underlines, circles, and boxes sit next to short notes, and each mark points to a story decision, not just a piece of action.
Step 5: Turn the beats into a beat board
Now turn your beats into pictures. Not shots yet, just the minimum images that tell the scene without any dialogue.
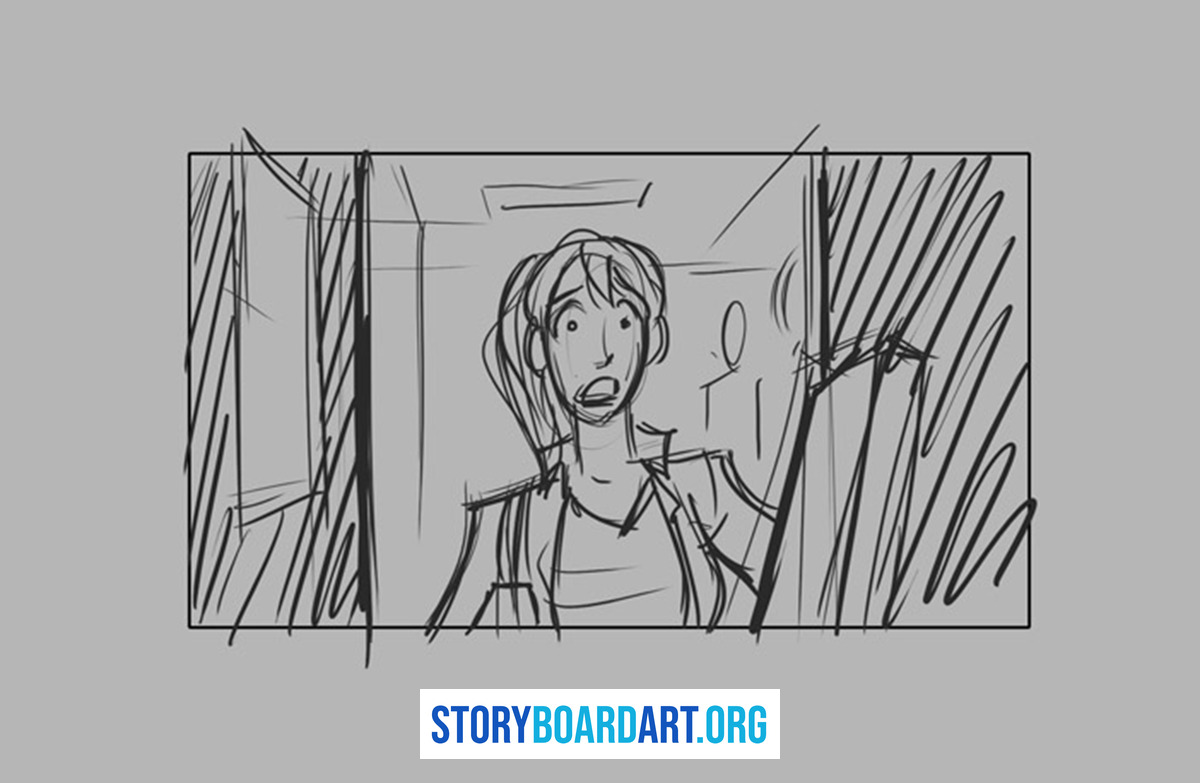
For each beat, write one simple sentence describing what the audience sees, not what they hear or what the script says in words. This is a visual statement. If your beat says "she realizes he's lying," that won't work, since a camera can't film a realization. Rewrite it as "her smile drops and she steps back."
Look at any two beats sitting next to each other. If nothing changes on screen between them, merge them into one. Two beats that look the same on the page are really one picture with two labels.
Build the beat board itself: a row of panels, one per beat, telling the whole scene with no dialogue. Aim for 5 to 9 panels in a normal dialogue scene. Save extra panels for the moments that actually turn the arc, a reveal, a decision, a reversal, a silent reaction. A line of small talk usually doesn't earn its own panel.
Write CUT between two panels only when the audience needs something new: new information, a new person taking control, a new space, a new feeling. If the beat hasn't changed, hold the shot instead of cutting.
Step 6: Lock geography and build your shot list
Grab a fresh sheet of paper for a rough floor plan. Draw the room as a few simple boxes, one for a wall, one for a door, one for a table if the scene needs it. Place your characters as dots and label them A and B.
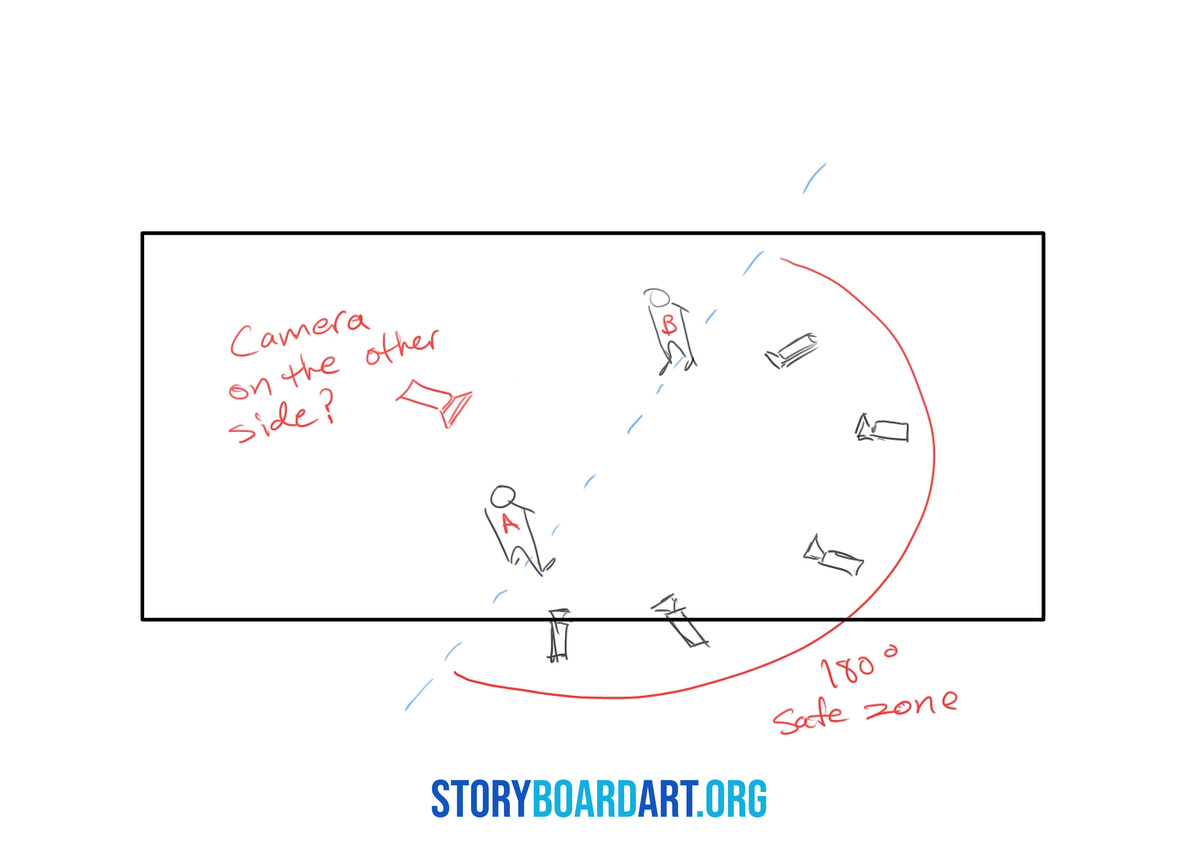
Only track movement when it changes something. Does this move shift who holds power in the scene? Does it change which way the camera should face? If yes, mark it with an arrow. If someone just shifts their weight, skip it.
Open your beat board. For each beat, write one job in a few words: establish, isolate, reveal, pressure, reaction, or consequence. That word should come directly from the arc and subtext you tracked earlier, since that's the actual reason the shot exists.
Next to each job, add a rough framing idea: wide, medium, close, or OTS. OTS means over-the-shoulder, a shot from behind one character looking at the other's face. This is a rough guess for now, refine it later.
Go back to your marked-up script and write, next to each beat, the exact line where that beat turns. This lets you check your board against the page fast. If your drawing turns a beat too early or too late, you'll catch it right away.
Step 7: Thumbnail, then review like a story supervisor
Now you draw. A thumbnail is a small, fast sketch, nothing more than a stick figure and a frame box.
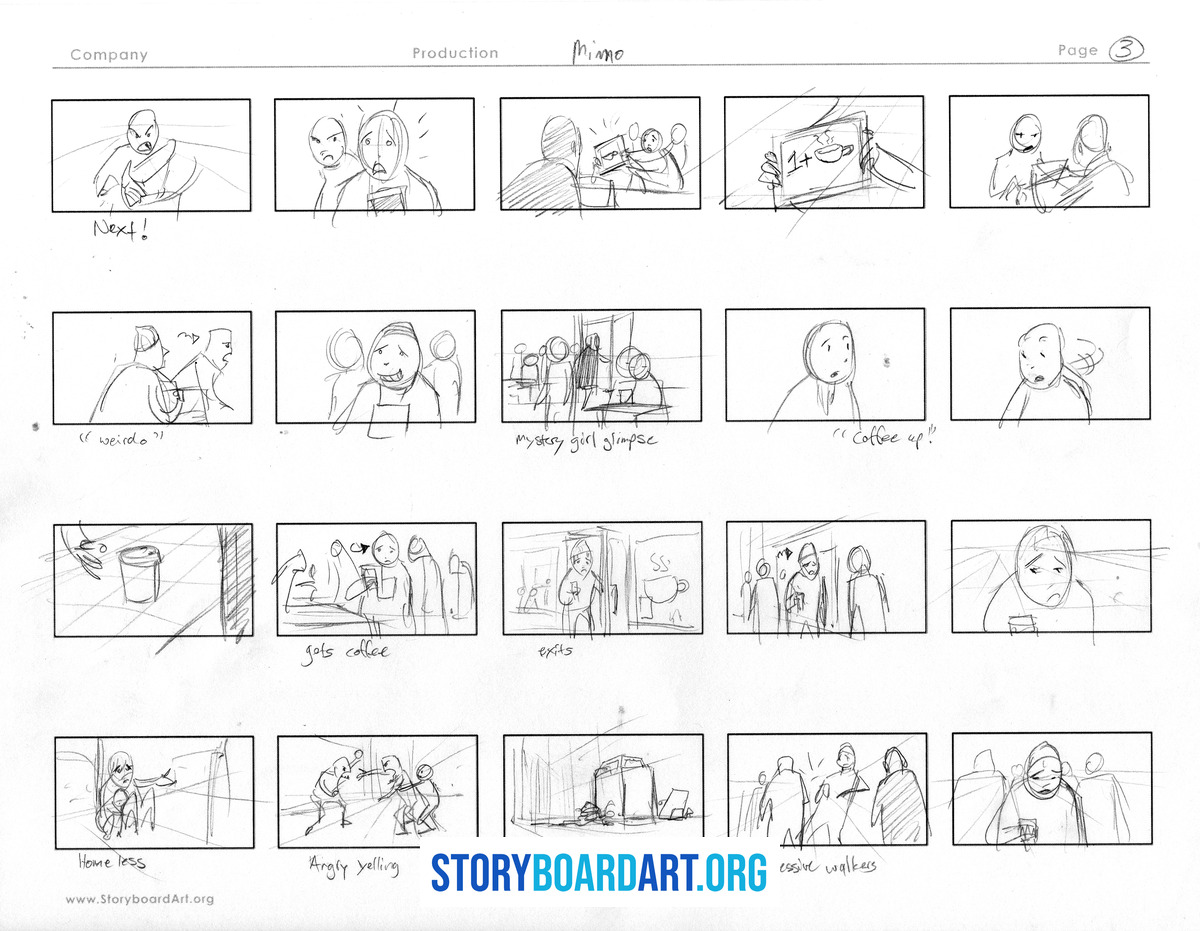
Work through the beats in order. Draw the panel for beat one, small and fast. Ask yourself: does the reader need anything between this beat and the next to follow what happened? If yes, add a panel to fill the gap. If no, move on.
Focus on three things while you draw. Staging: where people stand, and what that says about them. Silhouettes: can you tell what a character is doing just from the outline? Eyelines: the direction a character looks. Get eyelines wrong and the scene feels confusing no matter how clean the drawing is.
Once you finish the full pass, review it the way a story supervisor would. Cover the dialogue with your hand. Read the panels alone, like a silent film. Can you still tell what changed in the scene, and who changed, without any words? If not, the drawing isn't doing its job yet.
Check your shot sizes again. A long run of the same shot size only works if the scene truly holds still that long. Then check screen direction against your floor plan. A character crossing the wrong way breaks the sense of space instantly.
Circle every panel that feels repeated, unclear, or off the beat. These circles are your revision list. Fix these panels before you touch rendering, the clean, detailed version of the art.
Tips and troubleshooting
You storyboard every line of dialogue. This buries a good scene fast. Only cut to a new panel when the tactic, the power, or the information changes. A tactic is what a character is trying to do in the moment. If nothing changes, hold the shot. A held shot is a choice, not a lazy shot.
Your boards look like illustrations, not a sequence. Too much finished detail hides your storytelling. Drop the detail. Push clean poses, clear silhouettes, and shot sizes you picked on purpose.
You lose the geography after three cuts. Go back to your floor plan and re-check the line of action, the line you draw between two characters to decide which side of the screen each one stays on. Rebuild just the broken section with two to four new thumbnails. Do not redraw the whole scene.
You treat AI output as finished coverage. AI can group beats fast, as Step 5 showed. That is typing help, nothing more. You still choose every beat, every arc turn, and every camera angle.
Frequently asked questions
Should I storyboard every shot in the script?
No. Board what is hard to understand, easy to stage wrong, or carries the character's arc forward. A held shot is not a failure just because dialogue keeps going. Adding panels for coverage instead of clarity is how sequences turn bloated and slow.
What is the difference between a scene breakdown and a production breakdown?
A scene breakdown for storyboarding is about structure, arc, subtext, and the staging that follows from them. A production breakdown is a different document. It lists cast, props, and locations so a production office can build a schedule and a budget. If you catch yourself writing a shooting day or a cost estimate in your margins, you've slipped into the wrong document.
What do I do when the script has long dialogue and no action?
Look at the subtext instead of waiting for stage direction to help you. Ask who wins the line, who backs down, who is lying, who changes tactics mid-conversation. Cut on reaction and decision, not because a sentence ended. A silent stretch of dialogue is a visual problem the script left for you to solve, not empty space.
Do I need Storyboard Pro, or can I do this on paper?
Paper works fine for the breakdown and the thumbnails. Storyboard Pro is a software program built for making storyboards, but the skill this process teaches is visual thinking, not button-pushing. If you're delivering into a studio pipeline, match whatever tool your team already uses.
Where can I get feedback from someone who actually does this job?
Reading about structure and beats only gets you so far. You cannot see your own blind spots, because you already know what you meant the scene to say. If you want professional-level notes and real revision loops, apply for the StoryboardArt.org mentorship program. If you're writing your own scripts to board later, read the internal guide on writing for storyboards first. Clean scripts make breakdowns faster.
