Picture a film that keeps jumping between a hero racing against the clock and the danger waiting at the other end. That back and forth is called cross cutting, and you have almost certainly seen it, even if you never knew its name. It is a simple idea, and when it is done well it can be the most exciting part of a film.
It is also where many beginners get lost on the page. When two places share the screen, every panel has to tell the audience which one they are looking at, or the scene turns into a puzzle.
Below I explain cross cutting in film in plain words, starting with an everyday example you could board yourself. Then I walk through three cross cutting examples from real films, as one of our instructors broke them down in a mentorship live session. I finish with how to storyboard it yourself and the mistakes to avoid.
What cross cutting means, in plain words
Cross cutting means cutting back and forth between two or more scenes that happen at the same time, usually in different places. Each scene is one thread of the story, which I will call a line. A line can be as simple as a hero running toward a door or a villain waiting behind it.
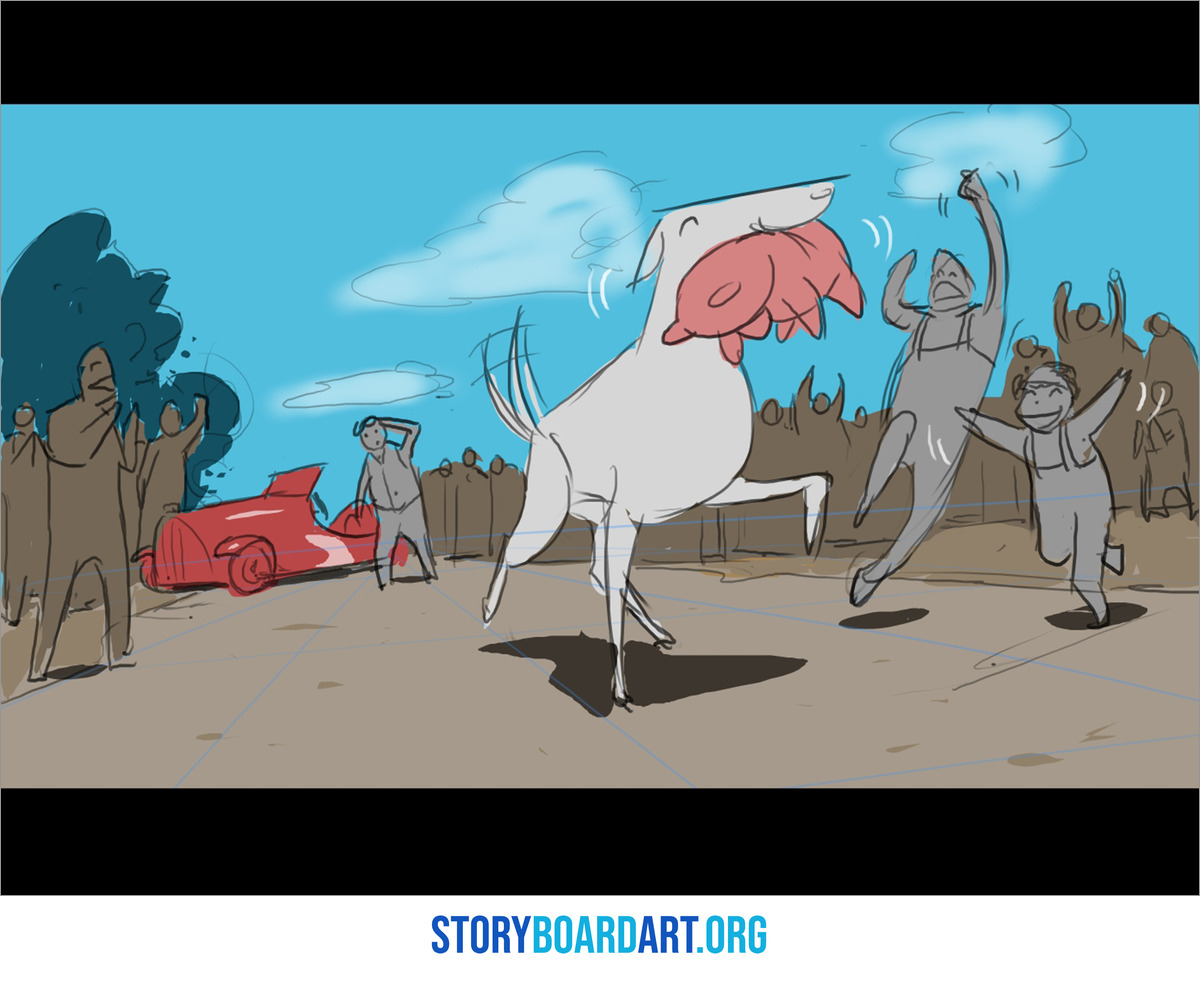
If the words "shot" and "cut" are new to you, a shot is one unbroken piece of film, and a cut is the switch from one shot to the next. A Storyboard Artist's Guide to Film Editing explains how editors think about cuts, and it is worth reading before you storyboard your first cross cutting scene.
Here is an everyday example you could board this afternoon. A boy has to catch the last train home, and he is still a few streets away from the station. Cross cutting can tell that moment in four panels:
- The boy bursts out of a shop and starts to run, checking the time on his phone.
- At the station, the last train pulls in and opens its doors.
- The boy sprints up the station stairs, pushing his way through the crowd.
- A whistle blows, and the train doors start to close.
Panels 1 and 3 follow the boy, and panels 2 and 4 follow the train. Nothing in them says "meanwhile", because the back and forth already tells the audience that both things are happening at once. By panel 4 the audience is asking one question, which is whether the boy will make it.
That is cross cutting at its simplest: two lines that happen at once, with cuts that keep switching between them until the lines meet. Everything else in this guide builds on that one idea.
You will also hear the term parallel editing. Many people use it as another name for cross cutting. Some editors keep it for lines that do not happen at the same time, which is how I use it in the Gladiator example below.
A match cut is a single cut that joins two shots through a shared shape, movement or sound, so one image seems to turn into the next. You can use a match cut to jump from one line to the other, but one match cut on its own is not cross cutting. Match Cut in Film: How to Storyboard Seamless Transitions shows how to board one.
A cutaway is a single shot that leaves the main action for a moment, such as a close-up of a ticking clock, and then comes straight back. Cross cutting is different, because it keeps two lines going and keeps returning to both of them.
Why filmmakers use cross cutting: the Munich example
Filmmakers use cross cutting to create suspense, to show a contrast and to build toward the moment the lines finally meet. Suspense is the most important of the three, and Alfred Hitchcock explained it with a simple example: a bomb under a table.
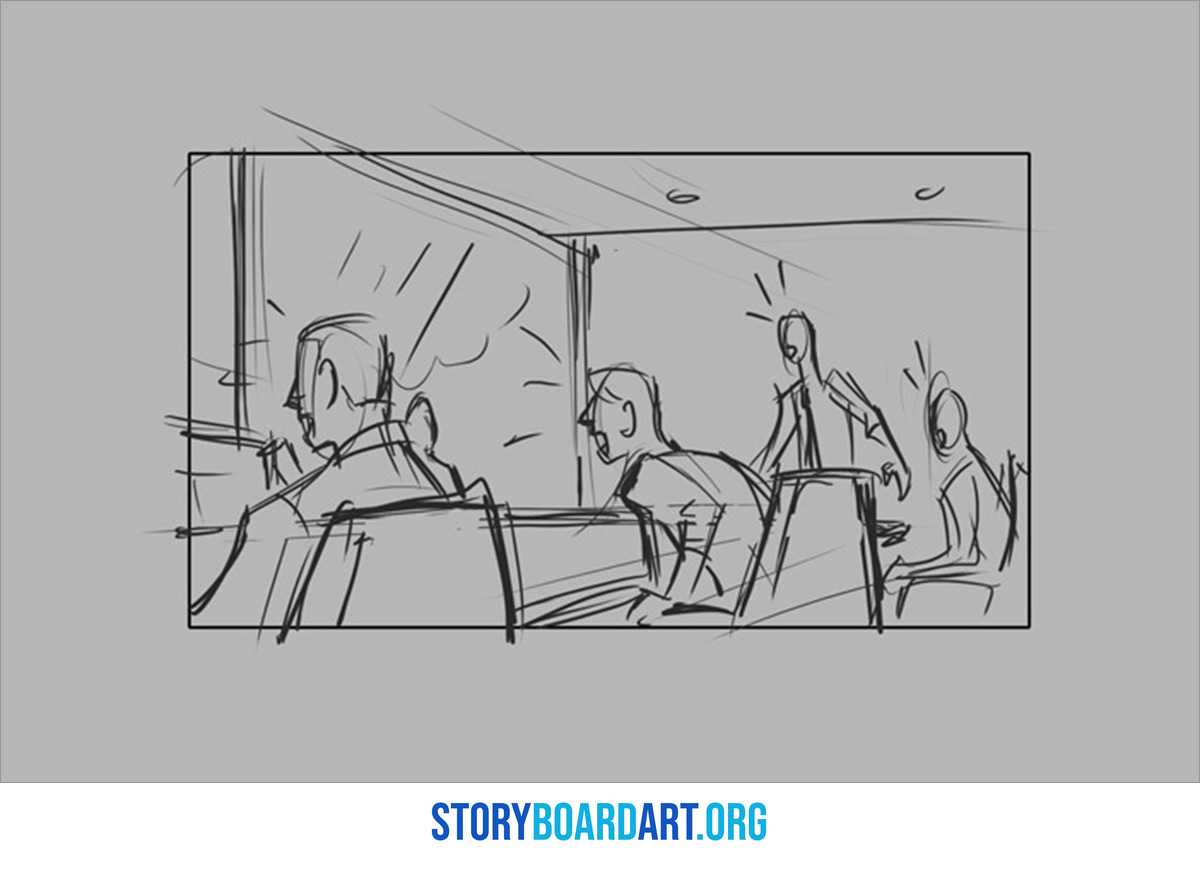
Imagine two people talking at a table when a hidden bomb goes off with no warning. The audience gets a few seconds of shock, and then it is over. Now let the audience see the bomb first and know when it will go off, and the same ordinary conversation becomes hard to watch, because they know something the characters do not.
Cross cutting is how a film shows the audience the bomb. One line shows the danger and the other shows the people who do not know about it, and every cut between them reminds the audience of what is coming.
One of our instructors, John Dusenberry, is Head of Story at Warner Bros, with credits including Space Jam: A New Legacy, Scoob! and DuckTales. In one of our mentorship live sessions, he broke down a scene from Steven Spielberg's Munich that works exactly this way.
In the scene, agents try to kill their target with a bomb hidden in his telephone, and his young daughter comes back into the apartment. That gives the scene two lines, the agents outside and the girl inside.
John pointed out how differently the film treats the two lines. Outside, the panicking agents are filmed handheld, which means the camera operator holds the camera, so the picture moves and feels nervous. The sound drops out too, so the audience holds its breath.
Inside, slow locked-down wide shots show the calm girl on the phone. Locked-down means the camera sits still on a tripod, and a wide shot shows a whole space with the person in it. The stillness inside against the moving camera outside is the contrast that makes the scene so tense.
The scene also changes its rhythm as it goes. It starts with shots that stay on screen a long time, which drags the suspense out, and once the bomb is armed the cutting gets faster and more broken up. John compares that rhythm to a piece of music that moves between tense and calm.
Choices like handheld or locked-down, sound or silence and slow or fast cutting are part of the language of film, and on a storyboard they start with you. Cinematography for Storyboard Artists: Visual Film Language explains how camera choices like these carry meaning.
Cross cutting in one location: Shaun of the Dead
Cross cutting does not need two places. John also broke down a scene from Edgar Wright's Shaun of the Dead, where zombies close in while the characters rifle through a record collection.
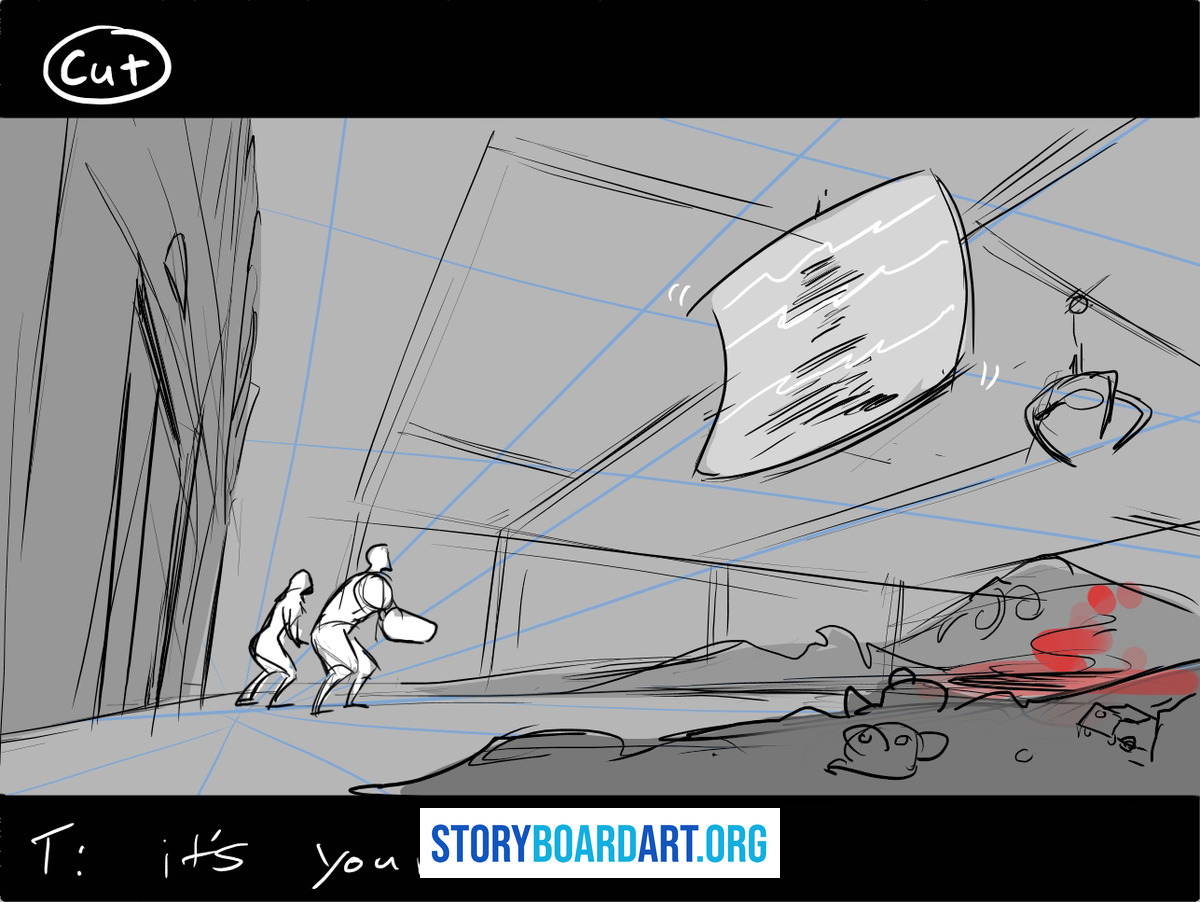
These are two situations in the same place, and the film keeps cutting between them the way Munich cuts between two places. One line is the danger getting closer, and the other is the characters, still busy with the records.
So a line is defined by what the audience is following, not by where it happens. Two lines in one location still need their own framing and their own part of the frame, so the audience can tell at a glance which one they are watching.
When two lines share one location, start with an establishing shot, a wide view that shows the whole space and where each line sits in it. Establishing Shot: How to Orient Your Audience in Storyboards explains how to set up a space so the audience knows where they are.
This example also shows that the contrast between two lines can make an audience laugh as well as hold its breath, which is why cross cutting works in comedies and thrillers alike.
Parallel editing: cutting to a memory in Gladiator
If you have not seen Gladiator yet, this example gives away the ending.
The third scene John broke down, from Ridley Scott's Gladiator, works differently from the other two. Shots of the hero, Maximus, dying are intercut with his vision of pushing open a door onto a field. Intercut simply means the editor cuts back and forth between the two.
The scene also cuts to shots of his wife and son in that field, shots we saw earlier in the film. Placed next to his death, that earlier footage takes on a new meaning.
Here the two lines do not happen at the same time. One is the present, with Maximus dying, and the other is a vision and a memory, so this is not cross cutting in the strict sense. When the lines do not happen at the same time, some editors call it parallel editing instead.
The name matters less than the effect. Whether you call it cross cutting or parallel editing, you are asking the audience to compare two lines and feel something from that comparison.
If you are curious about the people who make these cuts for a living, the Motion Picture Editors Guild is the union that represents picture and sound editors.
For a storyboard artist, a scene like this is a reminder that boards are more than pictures of what happens. They are a plan for what the audience will think and feel, one cut at a time.
How to storyboard cross cutting, step by step
Here is the process I would teach a beginner, in the order I would do it. Each step answers a question the audience will have while the cuts jump between lines.

- Establish each line: before the cutting speeds up, give each line an opening panel that shows where it is and who is in it, so the audience always knows where they are.
- Give each line its own look: make the lines easy to tell apart at a glance, the way Munich films its agents handheld and the girl in locked-down shots. Sound can do the same job, with sound on one line and silence on the other.
- Keep screen direction consistent within each line: screen direction is the way a character moves or looks across the frame, left to right or right to left. If the boy runs left to right, keep him running that way every time you cut back to him, or the audience will think he turned around. Continuity Editing: Storyboard Rules That Make Cuts Work covers the rules that keep cuts like these smooth.
- Mark which line each panel belongs to: in each panel's notes, write A for the boy or B for the train, so the director and editor can follow along.
- Plan the rhythm: hold your early shots longer, then make the cuts shorter and faster as the lines come together, the way the Munich scene speeds up once the bomb is armed.
- Test the timing in an animatic: an animatic is your boards played in time with sound, and it is the best way to feel whether the rhythm works. What Is an Animatic? How Storyboards Become a Timed Scene covers the whole process.
The last step is where your boards meet the edit, and that is where a beginner learns the hardest lesson. Some of your panels will be cut, including ones you love, because the scene plays better without them. Directing taught me that lesson, and it applies to every cross cutting scene you board.
One of the things I learned directing on Star Wars Rebels and Star Wars Resistance was the speed at which I had to decide and commit to a decision. There was no time in the production to debate or think internally about which direction to take. It is a skill I built up over time, partly by watching others.
Some of the most important decisions I made were the cuts I had to make to bring the running time down. All of our episodes had to be around 21 minutes and they could not go over, and most of the time we were dealing with raw assemble edits around 25 to 30 minutes long. There was a significant amount that had to go.
The supervising directors would help direct that, but in the end I had to make decisions that affected scenes I had worked on myself. It was about never being precious, never falling in love with any one scene or with anyone's output, including my own. It was about looking at the episode as a whole and making sure it was an exciting and engaging experience for the audience.
Cross cutting needs that same attitude. When the animatic shows that a line drags, trim it, even if those are your favorite panels, because the audience only cares whether the race between the lines works.
Common cross cutting mistakes and how to avoid them
Here are four mistakes that make cross cutting fall apart on the page, and how to avoid each one.
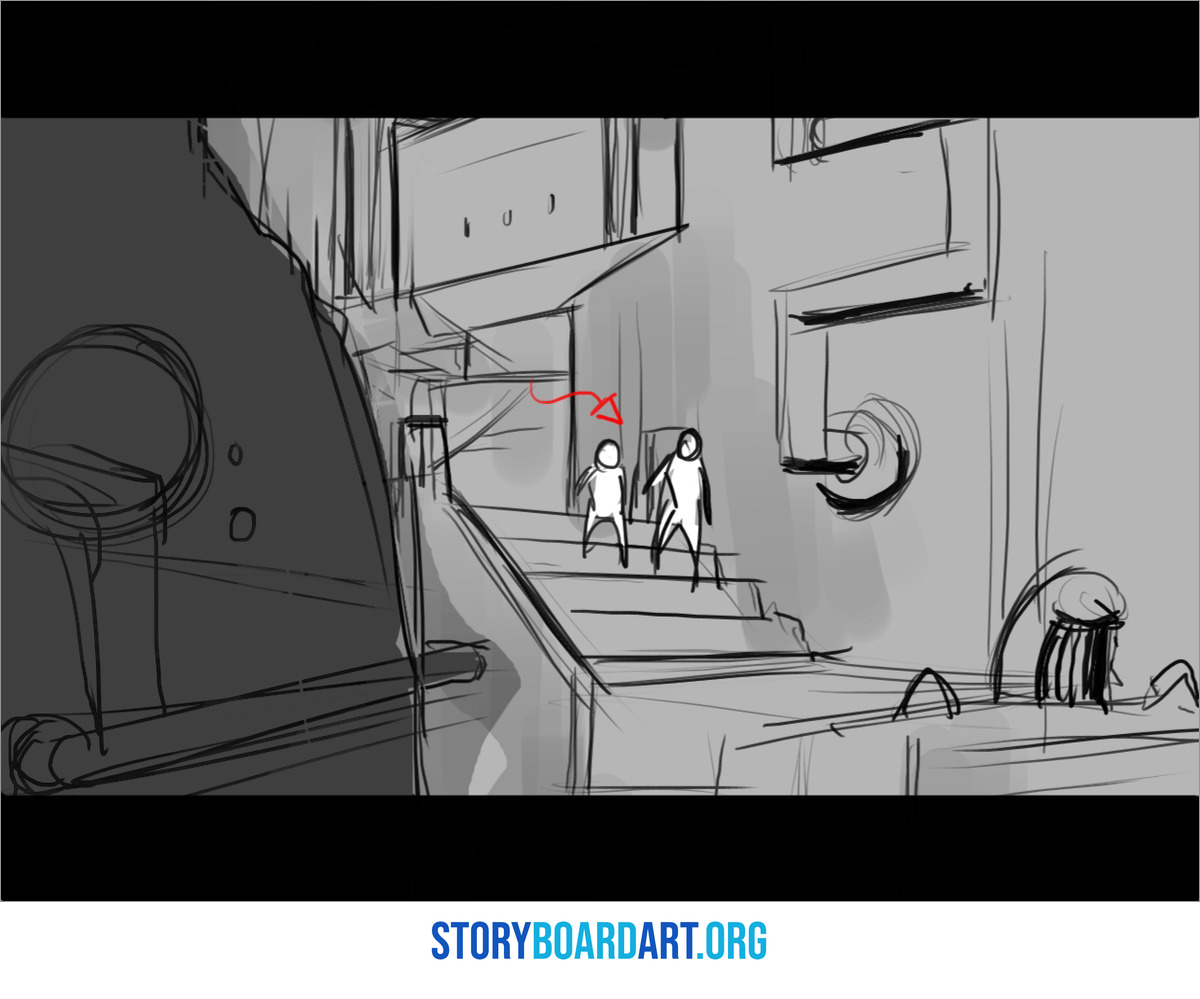
- Cutting away without a reason: every cut to the other line should tell the audience something new, such as the danger getting closer or a character running out of time. If a cut adds nothing, the audience feels the jump and loses the thread.
- Lines that never affect each other: two lines create suspense when the audience expects them to meet or clash. If nothing connects them, the cuts feel like switching between two different films.
- Cutting so often that neither line builds: each line needs enough screen time to build before you leave it, or the audience never settles into either one. How to Storyboard Action Scenes: Fights, Chases and Pacing goes deeper into pacing.
- Leaving a line unresolved: once you set up a line, the audience wants to know how it ends, so give every line you open a payoff, even a small one.
When you board your first cross cutting scene, start with something as simple as the boy and the train. Board it in a handful of panels, cut it together in an animatic and watch whether the race works, then try it with a scene of your own.
If you want help turning sequences like these into a strong portfolio, start with Free Training: Build a Killer Storyboard Portfolio, where I walk you through how to build one.
