Contents
- Before you start
- Step 1: Write your storyboard spec before you open Word
- Write your one-sentence purpose
- Decide what goes in every panel
- Pick one shorthand and stick to it
- Estimate your panel count
- Set one rule to protect clarity
- Step 2: Set up the Word document for consistent pages
- Step 3: Build a stable storyboard grid using a table
- Step 4: Add panels using images, shapes, or ink without breaking alignment
- If you place an image
- If you draw inside Word
- Keep it simple and consistent
- Step 5: Write shot notes that read like a professional board
- Step 6: Export, share, and iterate without losing version control
- What a finished Word storyboard should look like
- Tips and troubleshooting
- Frequently asked questions
Most Word storyboards do not fail because the drawings are weak. They fail because the panels drift the moment someone adds a note. A column shifts half an inch and every panel after it goes crooked. You export to PDF for review and the layout that looked clean on your screen turns into a mess of overlapping boxes and orphaned text.
That is a formatting problem, not an art problem, and it is fixable. Creating a storyboard on a Word document comes down to one thing: building a layout that survives edits instead of breaking under them.
Here is what you get: a template with panels that stay the same size, shot notes that stay put, and a layout that holds together through revision after revision. Export it to PDF and it still looks right.
This is not a design exercise. Nobody is grading how pretty your template looks. A story supervisor checks whether the sequence reads clearly and whether your notes say something useful. Clarity beats decoration every time. Get the structure right and the drawings can be rough. Get the structure wrong and even great drawings won't save the pitch.
Before you touch layout, decide your format and gather your inputs. That comes next.
Before you start
Five minutes of decisions now saves you a rebuild later. Word fights you if you change the layout halfway through, so lock these in first.
Pick your deliverable. A portfolio PDF for review needs clean panels and nothing loose. A working document for critique needs room for notes and marks showing what to fix. If you need both, build the critique version first and strip it down for the portfolio later.
Choose an aspect ratio. This is the shape of your panel, width compared to height. Use 16:9 for anything modern: screens, animatics, most shows in production now. Use 4:3 only if you are matching an older TV show or specific reference footage.
Pick your density. This means how many panels fit on one page. Three frames per page gives you bigger drawings and room to show real acting. Six per page suits quick beats and action, where each panel carries less weight on its own.
Gather your assets before you open Word. You want your script page or beat outline, reference screenshots, and character height notes. Height notes keep your figures the same size from panel to panel.
Choose your input method. A tablet and stylus works best for the Ink tool, which lets you draw directly in Word. A mouse is fine if you are working mostly with Shapes and placed images.
Decide naming and numbering now. Settle your sequence name, scene name, and shot numbering style before panel one. Do not leave it for export day.
With those six decisions made, open Word and start building the panel grid.
Step 1: Write your storyboard spec before you open Word
Before you open Word, make a plan. A storyboard is a tool for telling other people what happens in a scene. It is not just a page of empty boxes. If you skip this step, you will end up rebuilding your layout halfway through, because you never decided what each box needs to hold.
Write your one-sentence purpose
Start with one sentence that says why this board exists. A few examples:
- Pitch clarity, so a director can see your idea fast.
- Staging clarity, so you can check a scene works before anyone animates it.
- A camera plan, showing exactly how each shot moves.
- An animatic plan. An animatic is a rough video made from your storyboard, cut together and timed like a real scene.
Write your one sentence down. It decides how much detail each panel needs.
Decide what goes in every panel
Every panel needs three parts:
- Visual: a drawing, a screenshot, or simple shape blocking. Shape blocking means using plain boxes to stand in for characters and sets.
- Text: the shot number and the shot size.
- Notes: the action, any dialogue, the camera move, and the timing.
Pick one shorthand and stick to it
Choose short codes for your notes and use the same ones every time. Do not switch terms partway through your board.
- Shot size: WS for wide shot, MS for medium shot, CU for close-up.
- Camera moves: PAN L, TRUCK R, TILT UP.
- Screen direction: L to R, R to L.
This shorthand lets anyone read your notes in a glance instead of a paragraph.
Estimate your panel count
Count the beats in your scene. A beat is one small moment or change. Then round your total up. A one-minute dialogue scene usually needs eight to twelve panels.
Set one rule to protect clarity
Commit to this rule: one main idea per panel. If a panel needs two ideas, split it into two panels.
You should now have a short written spec for your board: your aspect ratio, how many frames fit on each page, a fixed list of fields under every panel, your shorthand list, your panel count, and the one-idea rule.
Step 2: Set up the Word document for consistent pages
Open a new Word document. This is where your layout gets locked in. Do not skip ahead to drawing panels yet, or you may end up rebuilding the whole thing later.
Set the page to landscape. Landscape means the page is wider than it is tall, like a TV screen. Go to Layout, then Orientation, then pick Landscape. A storyboard reads left to right like a film frame, so landscape is the right choice.
Set your margins. A margin is the blank space between your content and the edge of the page. Go to Layout, then Margins. Pick Moderate for a fast start, or set custom margins if you want more room for handwritten notes. Keep at least half an inch on all sides. Any less and your panels will look cramped once you print or export to PDF.
Pick your page size. Use Letter if you print in the US. Use A4 for anywhere else, or if your client is outside the US. Keep the same size on every page. Mixing page sizes in one document is a common way storyboards break when you export them.
Build a header block on page 1. A header is the strip of text at the top of the page that repeats useful info. Add a simple line with:
- Project or sequence name
- Page number
- Date and version number
- Your name or handle
Keep it plain text. It just needs to tell anyone who opens the file what they are looking at and when you made it.
Switch to a view that shows the whole grid. Go to View and turn on Multiple Pages. This shows several pages at once. If a panel drifts or a margin shifts on page three, you catch it right away instead of finding it after export.
Save the file now. Use a versioned filename, like SequenceName_v01.docx. A version number just means a number that goes up each time you save a new draft. Every time you make a real change later, save a new number instead of typing over this file.
You should now have a landscape Word document with consistent margins and a header block on page 1. The file is saved with a version number in the name. Next, you build the panel grid itself.
Step 3: Build a stable storyboard grid using a table
Text boxes will wreck your storyboard the moment you add a page. Text boxes are floating shapes you can drop text into. They drift out of place, overlap each other, and land in a different spot on every page. A table fixes this problem. A table is a grid of boxes, called cells, arranged in rows and columns. Tables lock those rows and columns in place, so your panels stay lined up no matter how much you edit.
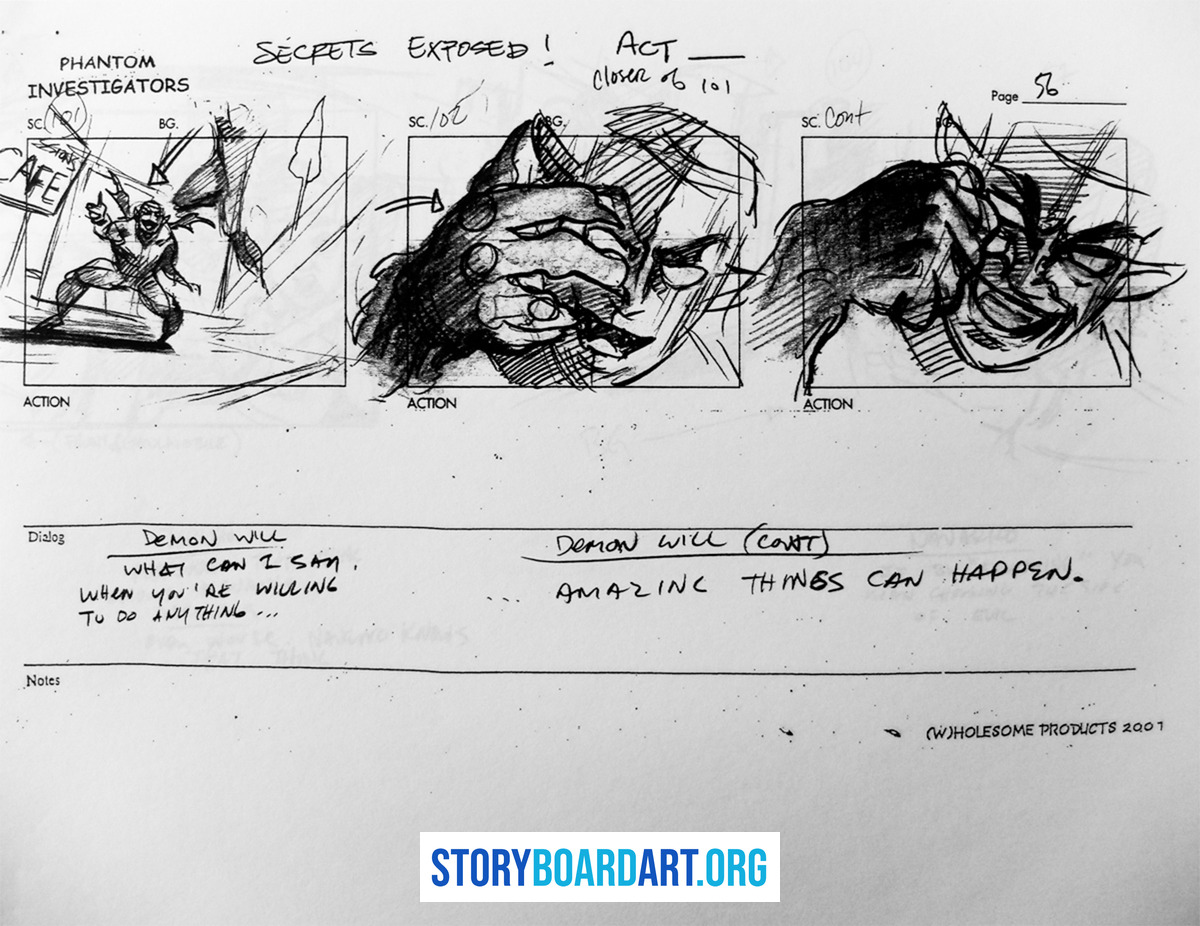
Insert a table that matches your frames-per-page plan from step 1. Click Insert, then Table. A frame is one storyboard panel. Three frames per page can be a table with three rows and one column, since each row holds one full frame.
Split every row into two stacked cells, one on top of the other:
- Top cell: the image area, where you place your drawing or screenshot.
- Bottom cell: the notes area, for your shot number, shot size, and action notes.
Lock the sizing so nothing shifts later. Click into a top cell. Go to Table Layout, then Cell Size. Type an exact height, such as 2.5 inches. Repeat this for every top cell. Set the bottom cells to a smaller fixed height, such as 0.8 inches. Fixed heights keep every panel and note box the same size across the page, even after you add an image or type a long note.
Clean up the spacing next. Go to Table Properties, then Options, and reduce the cell margins. Smaller margins stop text from crowding into your image space. Set one border weight for the whole table, a thin, even line works best. A single consistent line looks cleaner than mismatched borders once you print or export the file to PDF.
Once page 1 looks right, select the whole table and copy it. Paste it onto a new page for every additional page you need. Never rebuild the grid from scratch. Copying keeps every measurement identical, so nothing drifts between pages.
Leave this first page blank before you duplicate it. That blank table becomes your reusable template for every future storyboard.
You should now have a table-based storyboard grid where every image area and note area stays aligned, even as you add pages, drop in images, or type long notes.
Step 4: Add panels using images, shapes, or ink without breaking alignment
Your grid is locked in place. Now put pictures inside it.
You have three ways to fill a panel. Pick whichever one fits the shot you're working on.
- Place a rough image. Drop in a sketch you drew somewhere else, or a rough screenshot from reference footage.
- Block it with shapes. Use simple boxes and arrows to show where characters and the camera stand.
- Draw with Ink. Ink is Word's built-in drawing tool. If you have a tablet and stylus, draw straight into the panel using Word's Draw tab.
If you place an image
Click inside the top cell first, then insert the picture. Placing it inside the cell locks it to that panel. If you drop it outside the cell border, it will float loose and drift out of place the next time you edit the page.
Crop the image so the panel stays easy to read. A tiny screenshot squeezed into a small box just looks like noise. Crop in tight on the part that matters most.
If you draw inside Word
Use Shapes for the frame and for blocking out characters. Use arrows for eyelines. An eyeline just shows the direction a character is looking.
Keep your line weight heavy enough to read at print size. A thin line that looks fine on your screen can disappear completely once you print or export the page.
Keep it simple and consistent
Whichever method you use, follow one rule: make the focal point obvious. Don't add background detail that fights for the reader's attention. A busy panel slows down everyone who has to read it.
When a setup repeats across panels, copy the previous panel's visual and change only the part that moved. This is faster than redrawing from scratch, and it keeps your staging consistent from panel to panel.
Keep each panel fast to make. Clarity comes first. Rendering, if you bother with it at all, comes last.
You should now have real visuals sitting in several panels. Everything should still line up, with nothing overlapping or shifted out of place.
Step 5: Write shot notes that read like a professional board
A pretty drawing with a blank note space tells a reviewer nothing. Most of the meaning in a storyboard lives in the notes, not the picture. A reviewer is anyone checking your work: a director, a teacher, or another artist. Use this same order for every note block, every time.
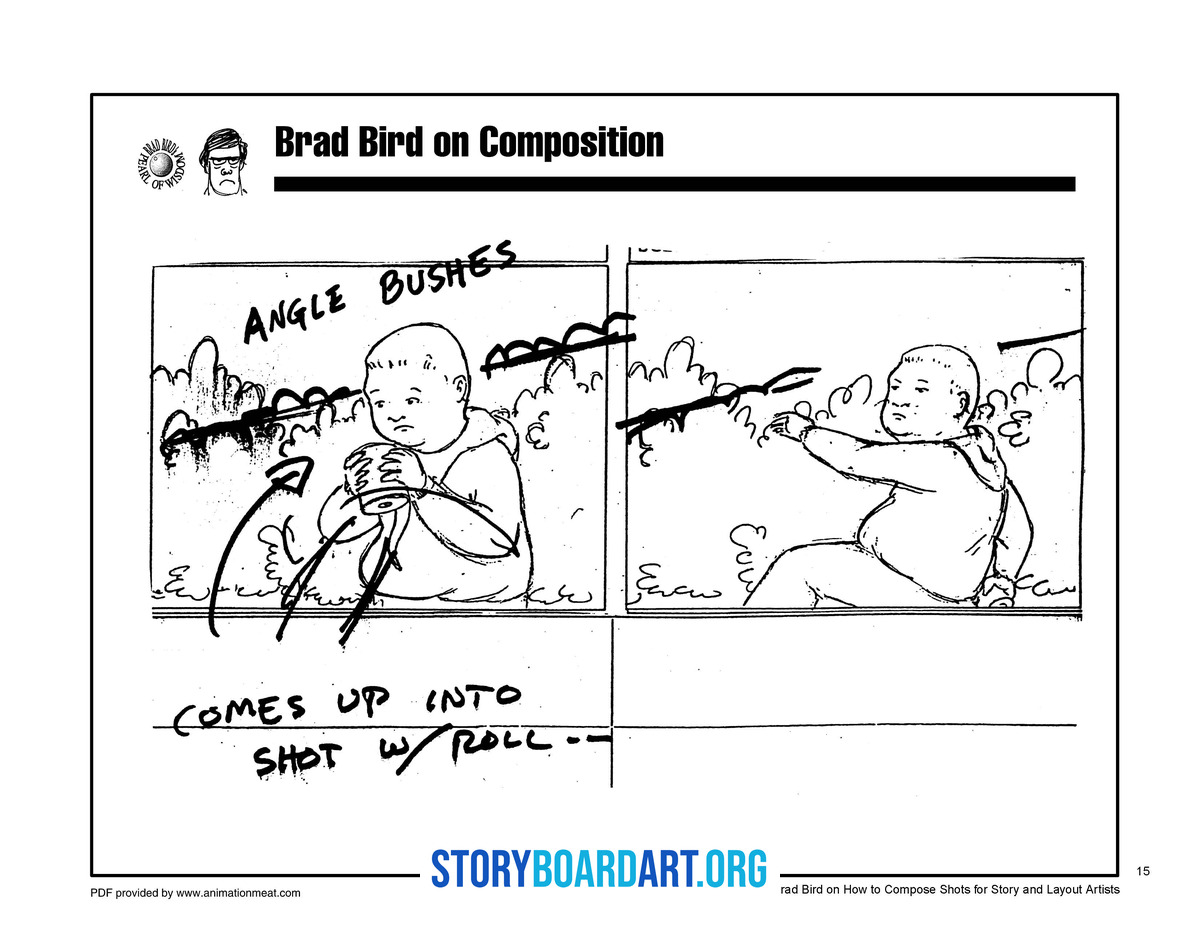
Line 1: shot number and shot size. Bold this line only. It's the only bold text in the whole block.
Line 2: the action, in one plain sentence. Write "Sarah grabs the phone off the counter," not a paragraph.
Line 3: dialogue or a key sound cue, if there is one.
Line 4: camera move or timing, only if the shot actually needs it. Skip this line if there's nothing to say.
Use plain verbs, not fancy prose. Write "she turns," not "she pivots gracefully toward the window." A story supervisor is the person in charge of a studio's story team. They read dozens of these pages a day, so plain words are faster to scan and harder to misread.
Mark the beat change clearly when one happens. A beat is a small shift in the scene: a decision, a reaction, a new piece of information. If panel six is where the mood turns, say so plainly. Write "Beat change: she realizes he's lying."
Track continuity in the notes whenever it matters. Continuity means keeping details consistent from panel to panel. Note screen direction, which hand holds a prop, and every entrance and exit. A reviewer should never have to guess whether a character crossed the room off-panel.
Keep your typography boring on purpose. Use one font, one size, for every note block. Bold only the shot number line. Mixed fonts and random bold text make a page look sloppy even when the drawings are strong.
Add a page-level identifier to every page: sequence name and page number. PDFs get separated from their original file constantly, and a labeled page always finds its way back to the right stack.
You should now have a clear shot label and a clean note block under every panel, readable without you explaining a single one out loud.
Step 6: Export, share, and iterate without losing version control
Your board is built. Now make sure it survives contact with other people. Feedback loops break sloppy files fast, so set up a simple system before you send anything out.
Keep one clean master file. Your working file stays in DOCX format. That is the regular Word file type, the one you can still type and draw in. Every time you finish a real round of feedback, save the file again under a new version number, like "Storyboard_v2." Do not just save over the old file. If you need to see what you had before someone's notes, that old version needs to still exist.
Export a PDF for every review. Click File, then Export, then Create PDF/XPS. A PDF locks the page so it looks the same no matter whose computer opens it. A Word file can shift around when it opens somewhere else. Fonts change. Margins move. A PDF stops that from happening. Always send the PDF, not the DOCX, when someone outside your process needs to look at the board.
Use Word's built-in tools for real feedback. Save the working file in OneDrive so a reviewer can open it anytime, without you emailing a new copy each round. OneDrive is Microsoft's online storage tool that keeps one shared version of your file. Use the Comments tool to leave notes tied to one specific panel. Turn on Track Changes only if someone is editing your actual sentences, not just reacting to the drawings. Track Changes marks every text edit so you can see exactly what changed.
Build a PowerPoint version if you need separate image files. Some editors and animators want one image per shot instead of a full Word page. Treat each slide as one shot. Type your dialogue and camera direction into the Notes area below the slide, not on the slide itself. Then click File, Export, Change File Type, and export as PNG. PowerPoint saves each slide as its own numbered image file automatically, in order.
Package the final folder so a supervisor can open it without asking questions. Put everything in one folder: your review PDF, your reference images, and your PowerPoint export frames if you made them.
You now have a shareable PDF version of your Word storyboard, a clear version history, and a feedback loop built for revisions, with PowerPoint frames ready to export if you need them.
What a finished Word storyboard should look like
Flip through your pages fast. Every panel should be the same size on every page. Every notes box should line up at the same height under the panel above it.
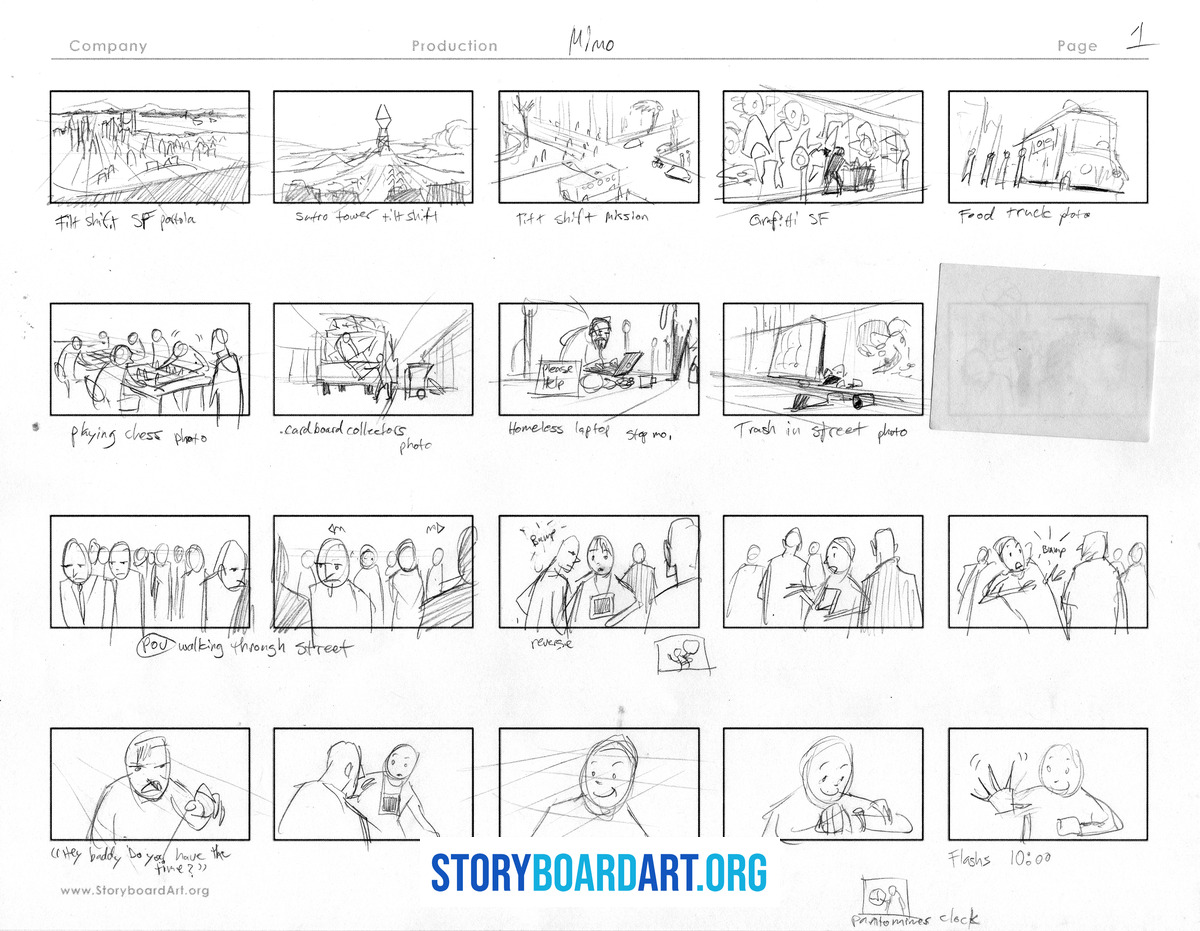
If a panel looks bigger than the others, or a notes box has drifted out of line, go back to step 3. Check your table's cell sizes there.
You should understand the scene just from flipping through quickly. You shouldn't need to read every note out loud to follow it. Shot numbers should climb in order, with no repeats and no gaps.
Export the PDF from step 6. Put it side by side with your DOCX file and check that the layout matches exactly. A DOCX is a Word document file. A PDF is a fixed, uneditable version of it that looks the same on any device.
Then open that PDF on a different computer or phone. Nothing should shift. If panels move or resize on another device, your table isn't locked down and you'll need to fix the column widths before sending it anywhere.
One last check. Does the board show staging and beats, or just nice drawings? Staging means where characters and the camera sit in each shot. Beats are the small moments where the story turns.
A finished board proves you can direct a scene, not just draw a set of illustrations.
Tips and troubleshooting
If panels keep drifting. Text boxes probably snuck back in. Go back to step 3 and check that every image and note sits inside a table cell, not floating on the page. A table locks rows and columns in place. A floating text box does not.
If your file gets heavy and slow. Large image files are the usual cause. Shrink each picture down before you place it, not after. If a setup repeats, reuse and edit the panel you already have instead of inserting a new large image each time.
If the board reads flat. Label every shot W, M, or C. These stand for wide, medium, and close, the three basic shot sizes. Then read the string of letters. A long run of the same letter means your shot sizes are not doing any work.
If you want speed for early ideas, use paper. Print your blank Word grid. Sketch thumbnails on it with a pen. Then scan or photograph the page and drop the image back into the table cells. Paper is still the fastest way to think before you commit to Word.
Once your sequences hold up, the next problem is portfolio order. The Killer Storyboard Portfolio resource covers how to sequence your work and present it.
Frequently asked questions
Is Word good enough for a storyboard portfolio? Yes, for most cases. Word works fine when your goal is a clean PDF, a review packet, or a class assignment. It falls apart when your layout drifts across pages or your notes stop matching each other in format. If you followed the table setup in Step 3 above, Word holds up fine for a finished portfolio piece.
Should I use a template or build my own? A template saves time, but it does not save you from the work of standardizing your notes and shot numbering. Before you commit to any template, check its grid and aspect ratio. A lot of free templates online use inconsistent panel sizes or the wrong ratio for what you're building. A bad template costs you more time than building from scratch.
How do I create a PowerPoint storyboard if I need separate image files? Put one shot per slide, and set your slide size to match your final aspect ratio, 16:9 for most modern work. Type your dialogue and camera direction into the Notes area under the slide, never on the slide itself. Export as PNG using File, Export, Change File Type. Name your files with leading zeros, like "shot_001," so they stay in order once they leave PowerPoint. Full steps are in Step 6 above.
How do I make a storyboard on paper without wasting time? Print a blank grid, sketch fast, and keep your notes to a few words per panel. Speed matters more than neatness at the thumbnail stage. A thumbnail is a small, rough sketch that just shows where things sit in the frame. Once you're happy with the panels, scan or photograph them and drop the images into your Word table for a clean PDF.
How many panels should a sequence have? Enough to make every beat change clear, and no more. A beat is a small shift: a decision, a reaction, a new piece of information landing. If you find yourself adding panels because a reader got confused, the fix usually isn't more panels. Go back and check your staging and your shot progression instead. Padding a sequence with extra panels never fixes a scene that isn't reading.
